The wonderful world of make believe is such an amazing place to be, I remember as a child when you thought EVERYTHING was real… Call it the Disney syndrome or perhaps it’s the Peter Pan? Whatever the name it’s all the same a world where everything is magical that’s where I want to live.
If any of you out there is like me with “issues” about being a grown up I’m sure you’d agree. Life was so simple when the worst thing was your mom not letting you go to a friend’s house and you’d feel like it’s the end of the world.
If we only knew what was REALLY in store:) Well moving right along before it turns into a therapy session…….
The world of make believe. Santa, Tooth Fairy and the Easter Bunny are those things that make you tingle and feel young.
I had to make the experience of Jennah’s wiggly tooth and the much awaited Tooth fairy visit extremely special.
I decided to make a little tooth fairy door for that occasion. I debated for a while if it should be a surprise or make Jennah involved but I figured it would make it all that more special if Jennah made it.
So here’s your inspiration and How to…..
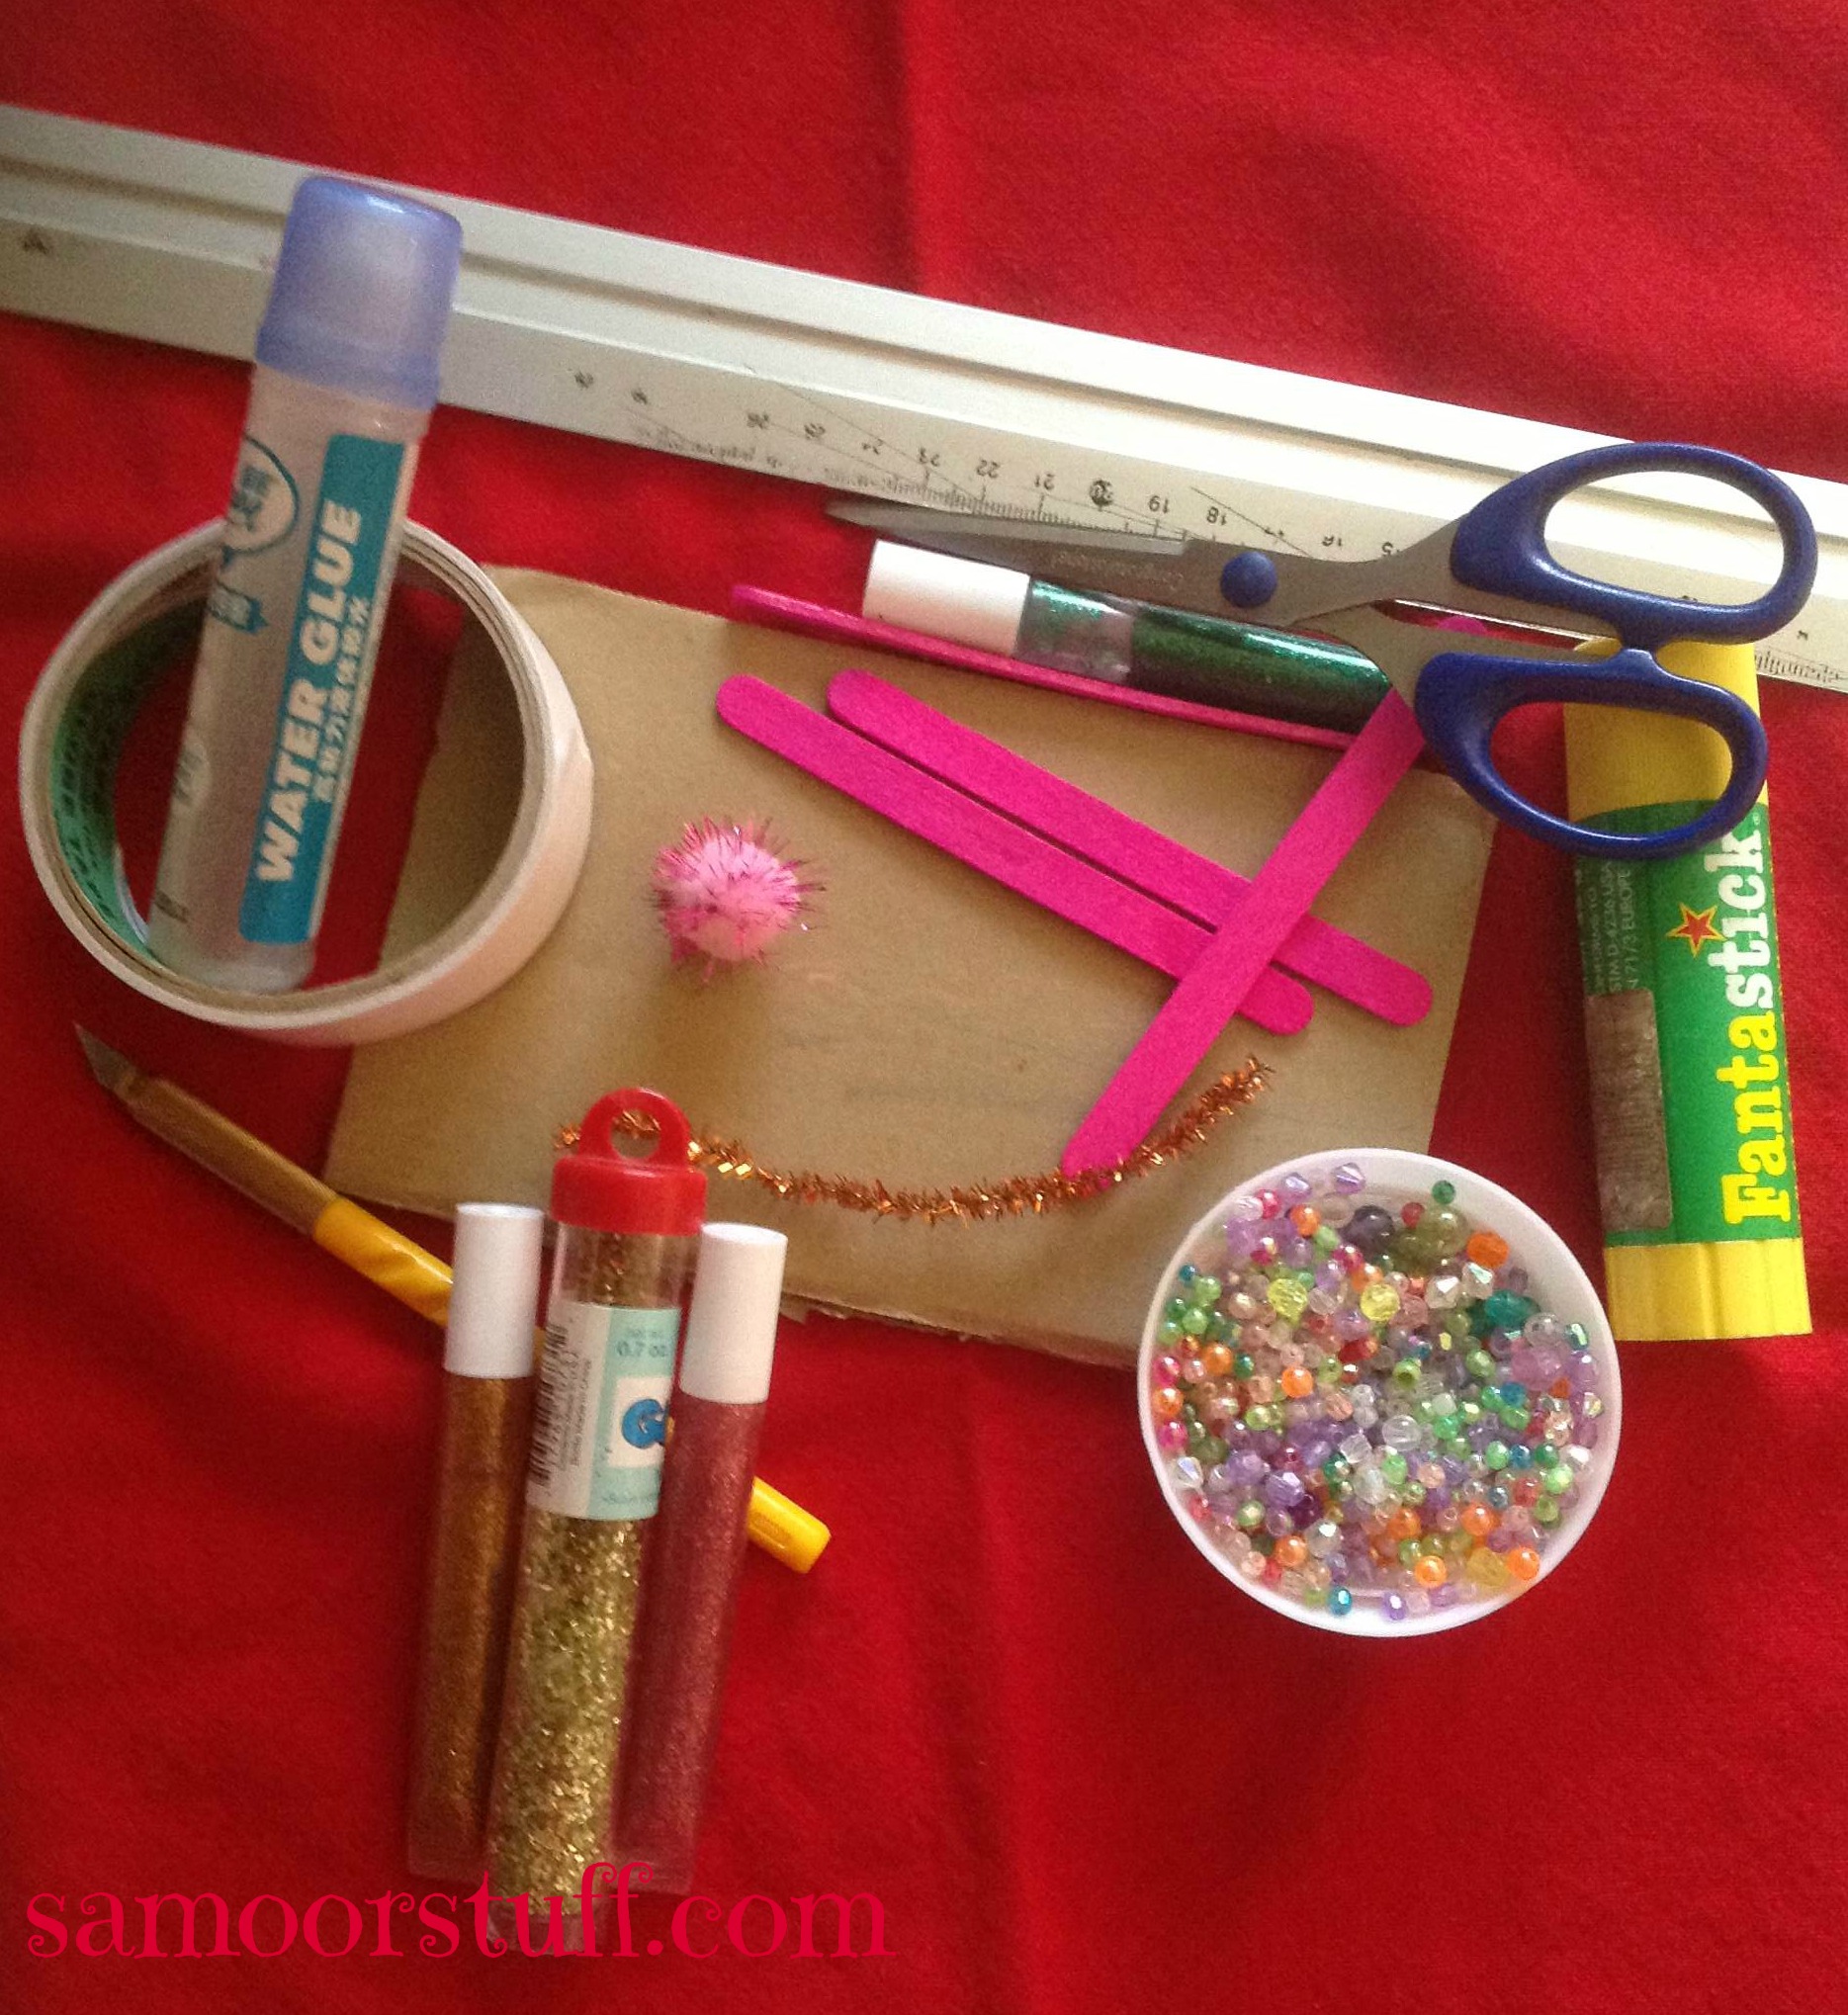
You’ll need:
Ruler
Cardboard (about 18cm x 11cm, 7inchx4.5inch)
3 Popsicle sticks
Glue
Pencil
Glitter
Beads
Paint
Pipe cleaner
PomPom
Any cutting tool (scissors, razor blade..)
Directions:
Measuring and cutting the door.
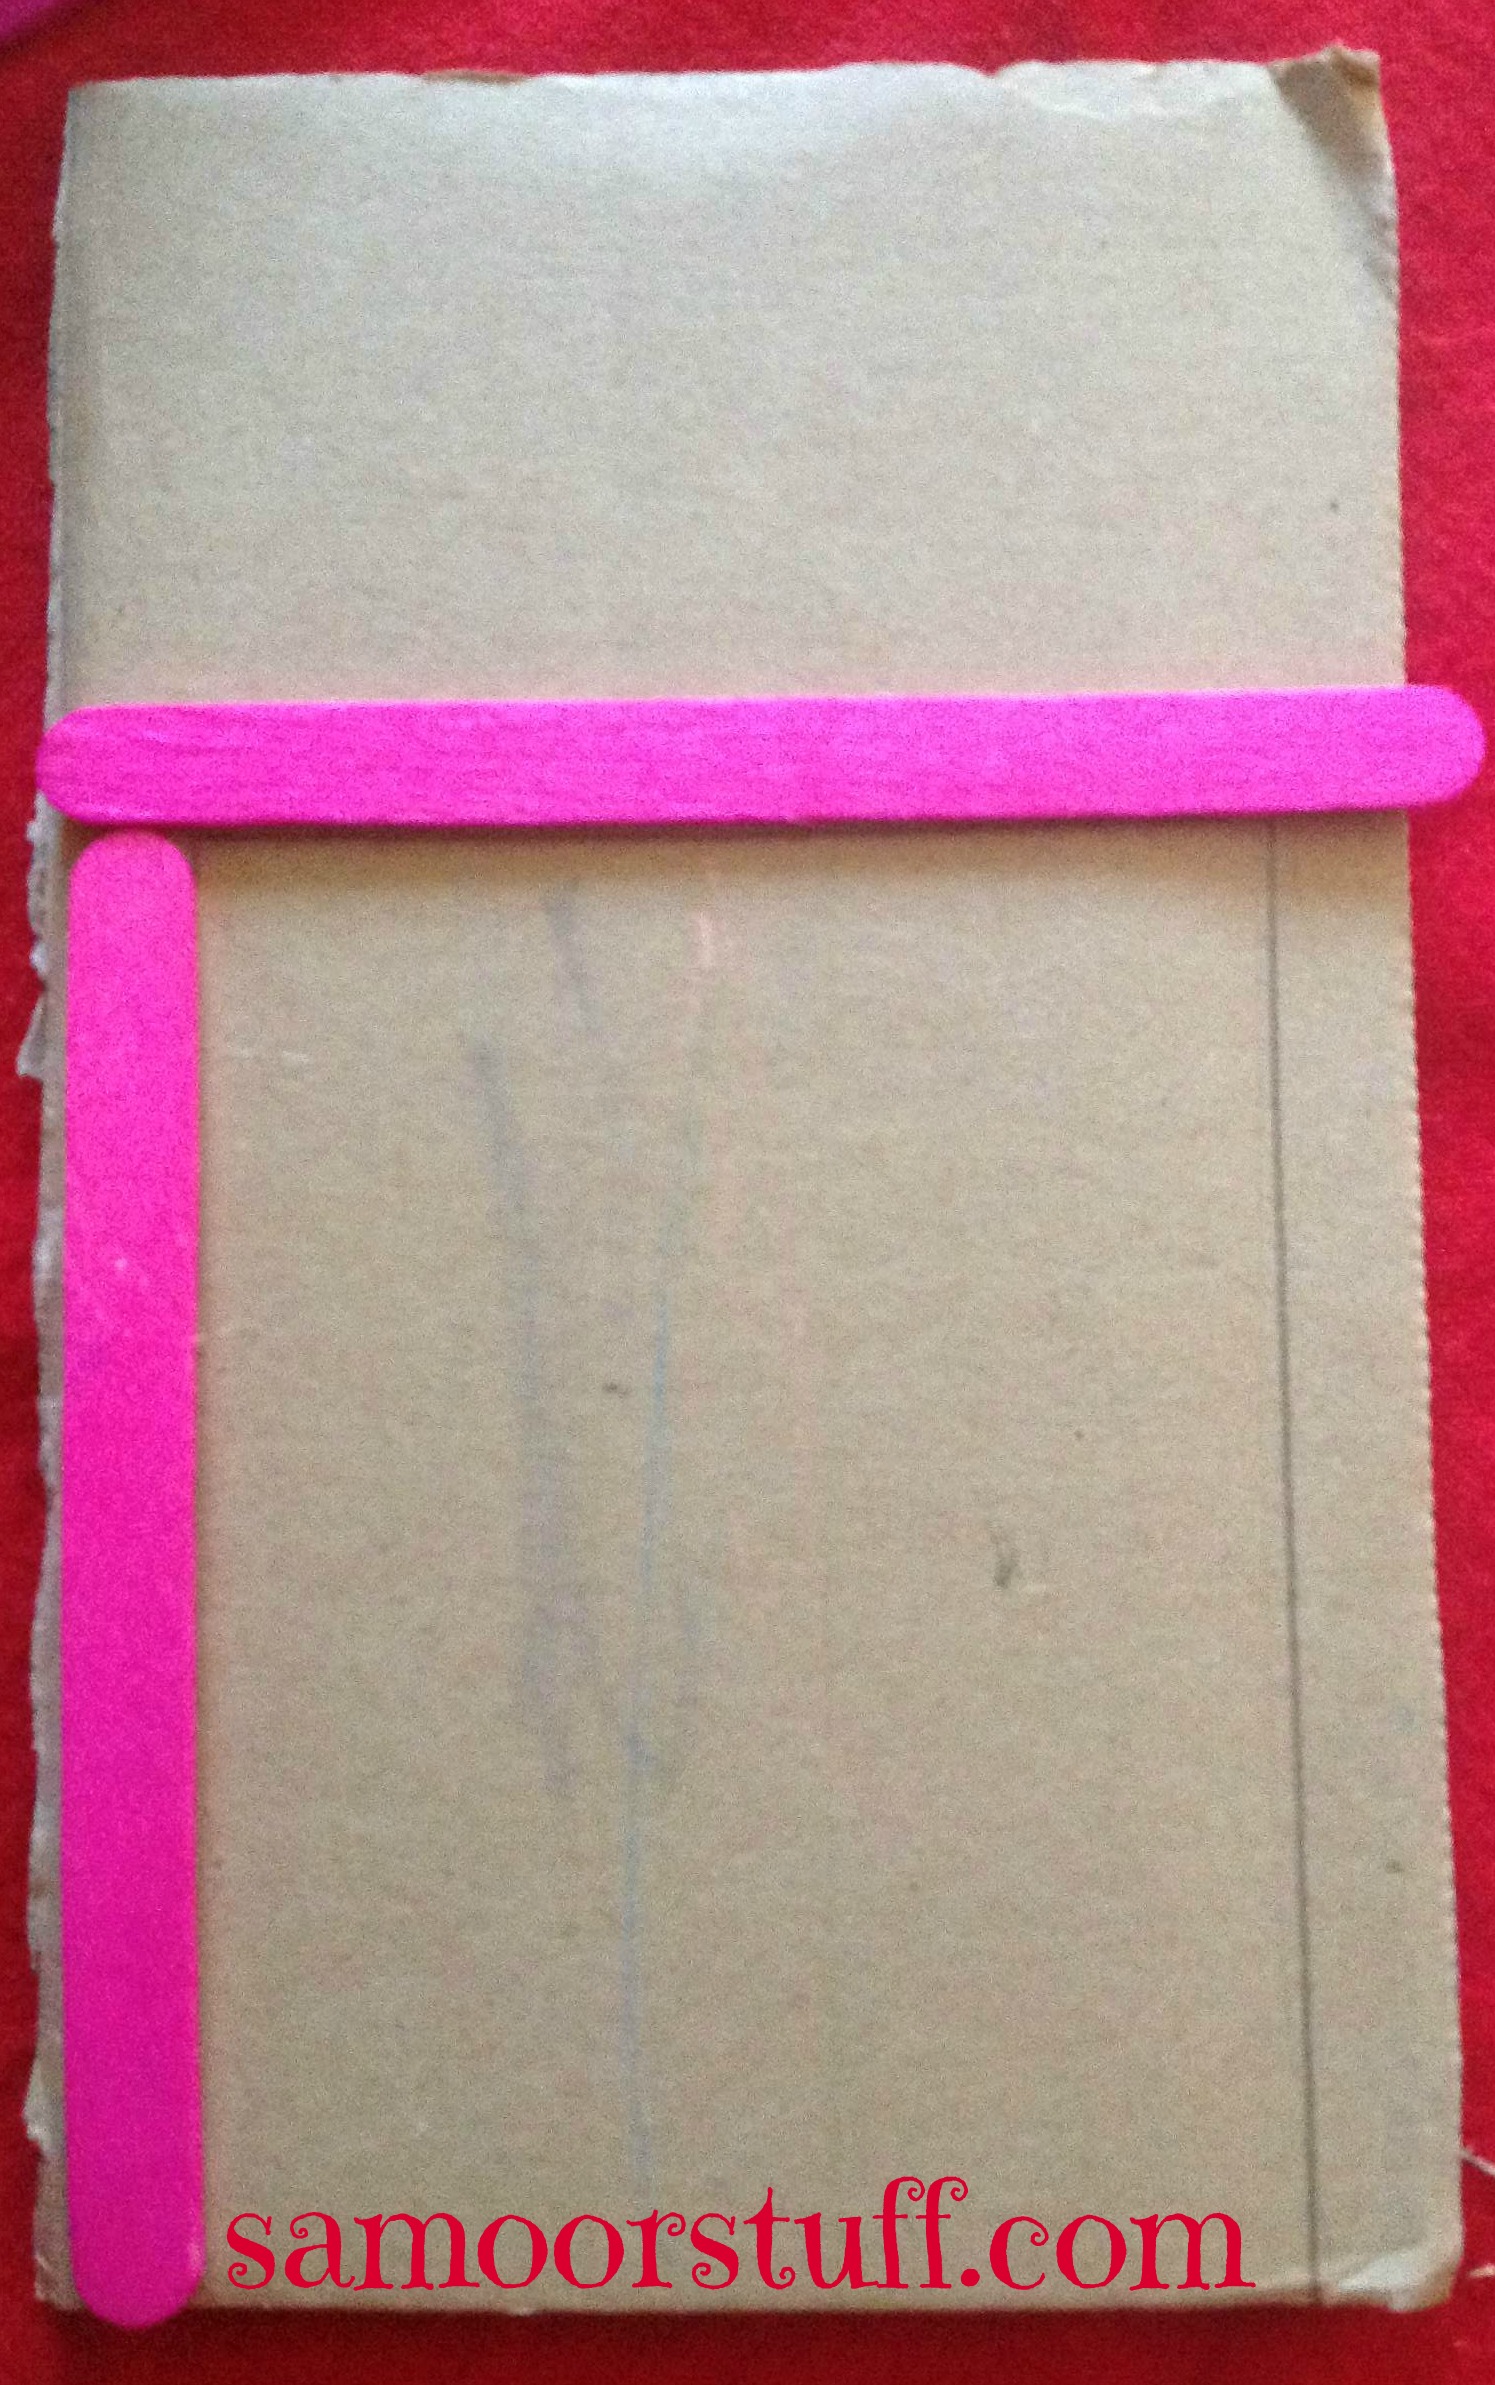
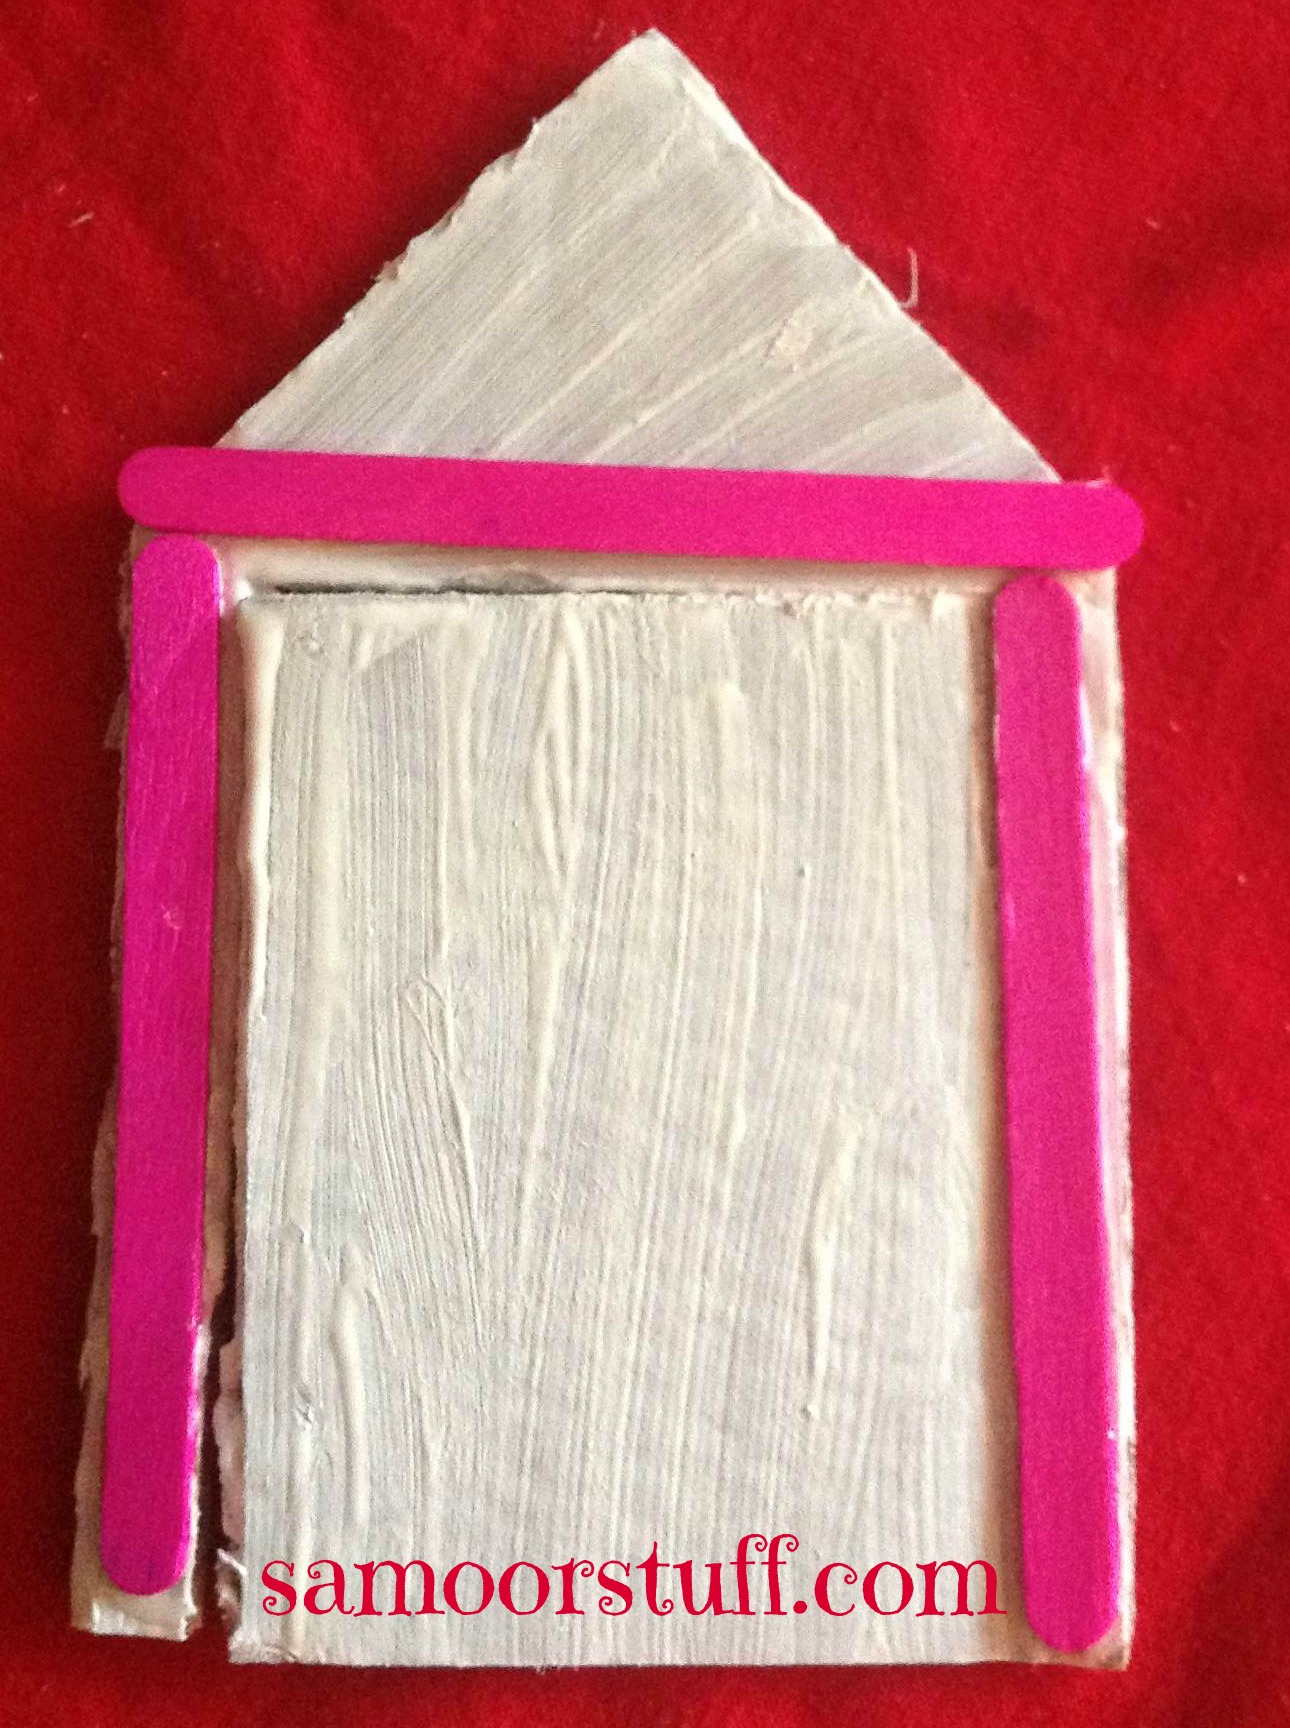
Place 2 of the popsicle sticks on the sides of the cardboard from the bottom to make and the third on the top to attach the other two making a rectangle.
Mark the inside of the sticks with a pencil.
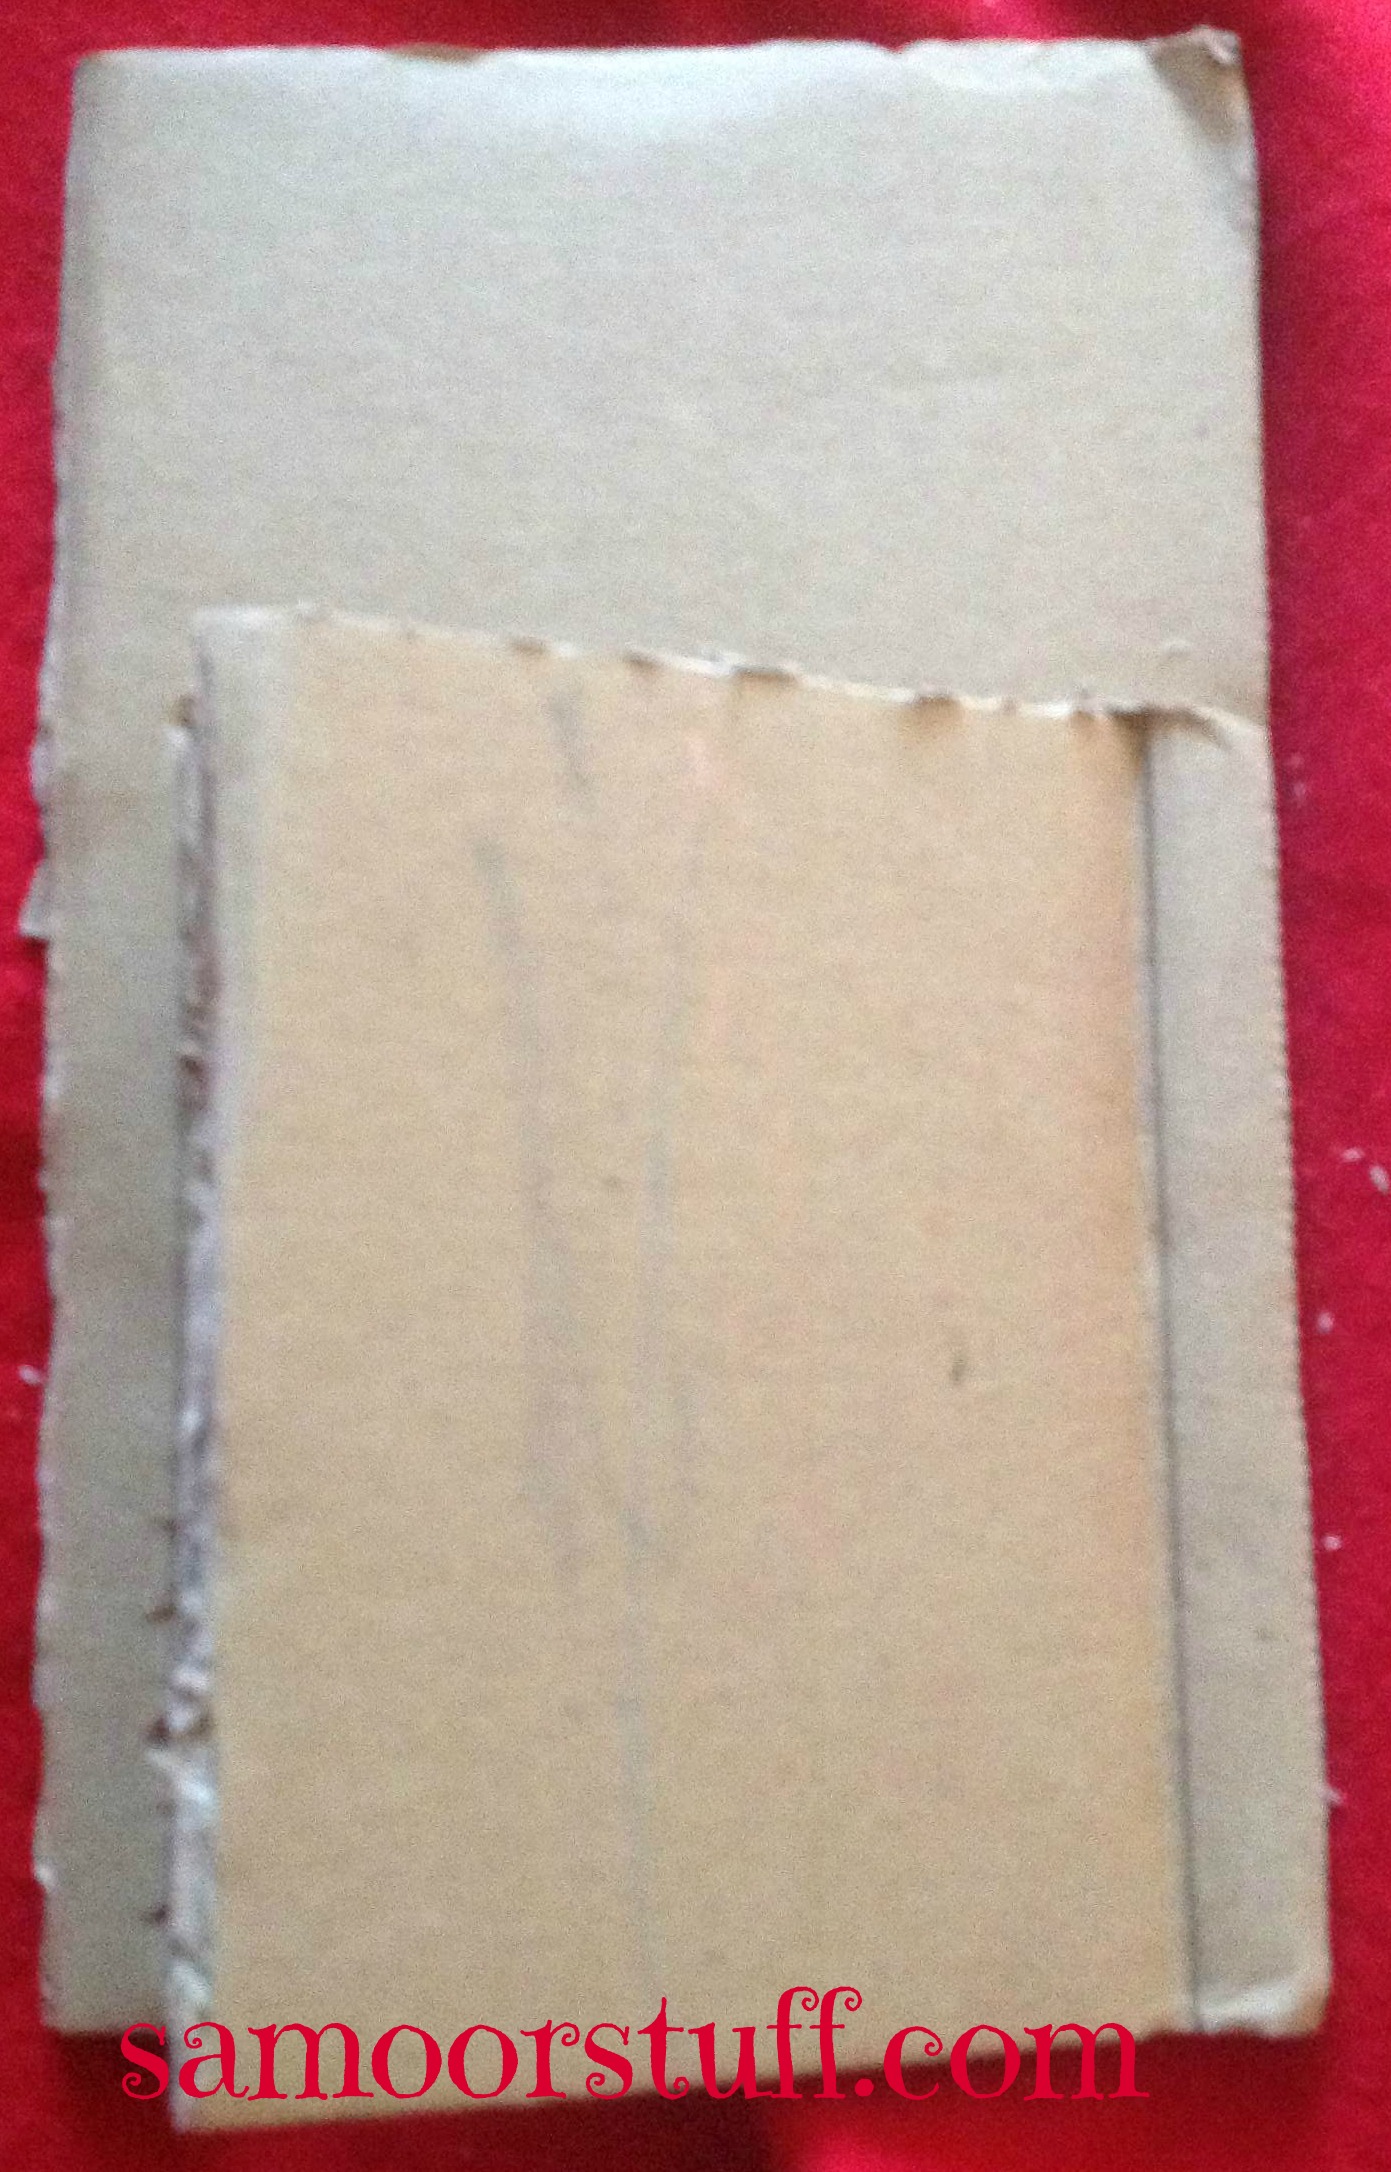
With your cutting tool, I suggest a razor blade, cut the left marking and top all the way through. Slightly shear the right marking to enable you to bend it easily.
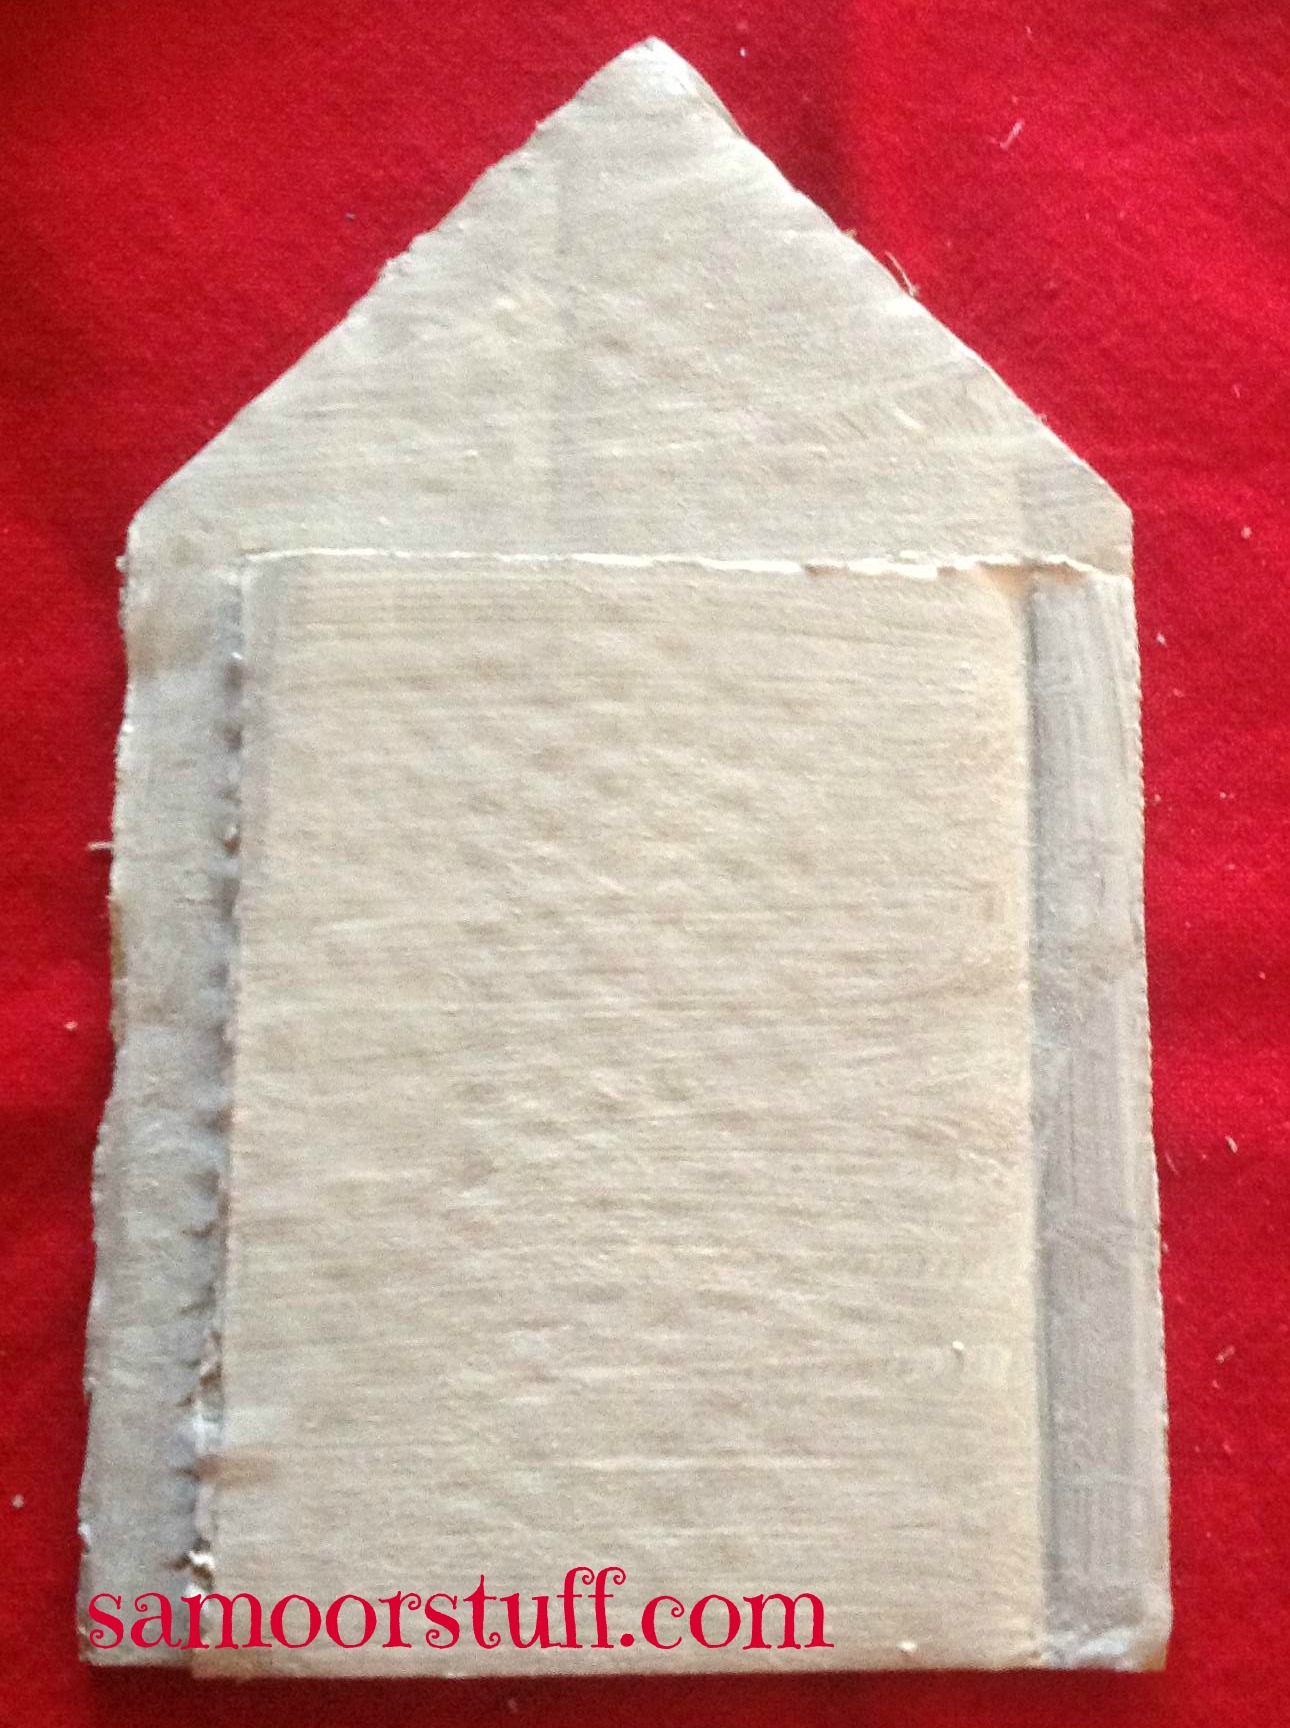
Cut the top of the door as to resemble a rooftop.
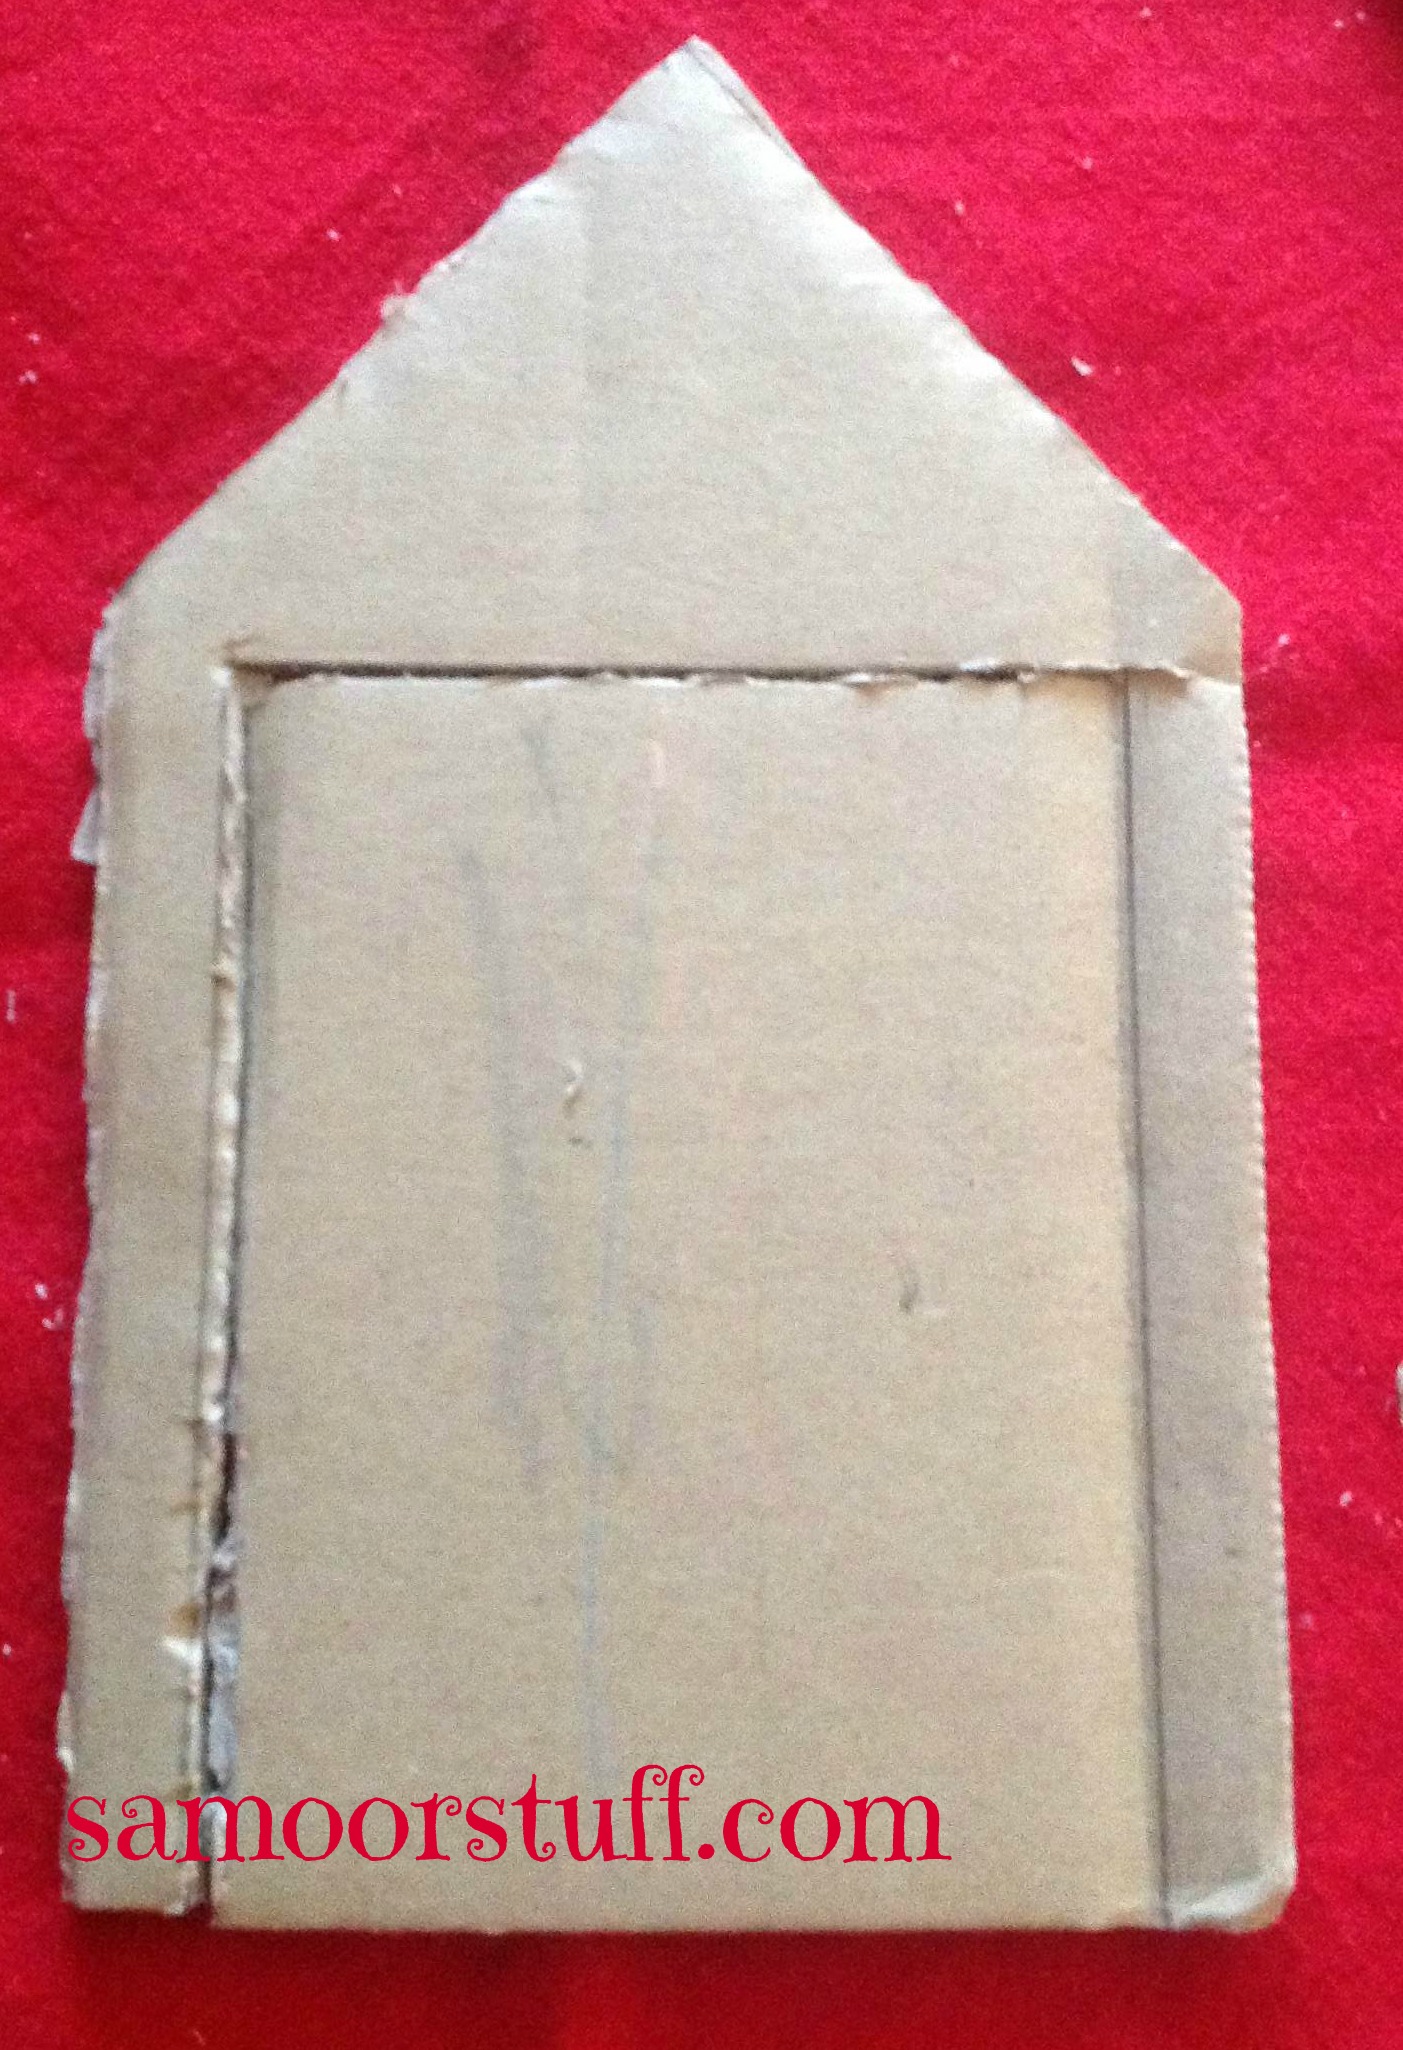
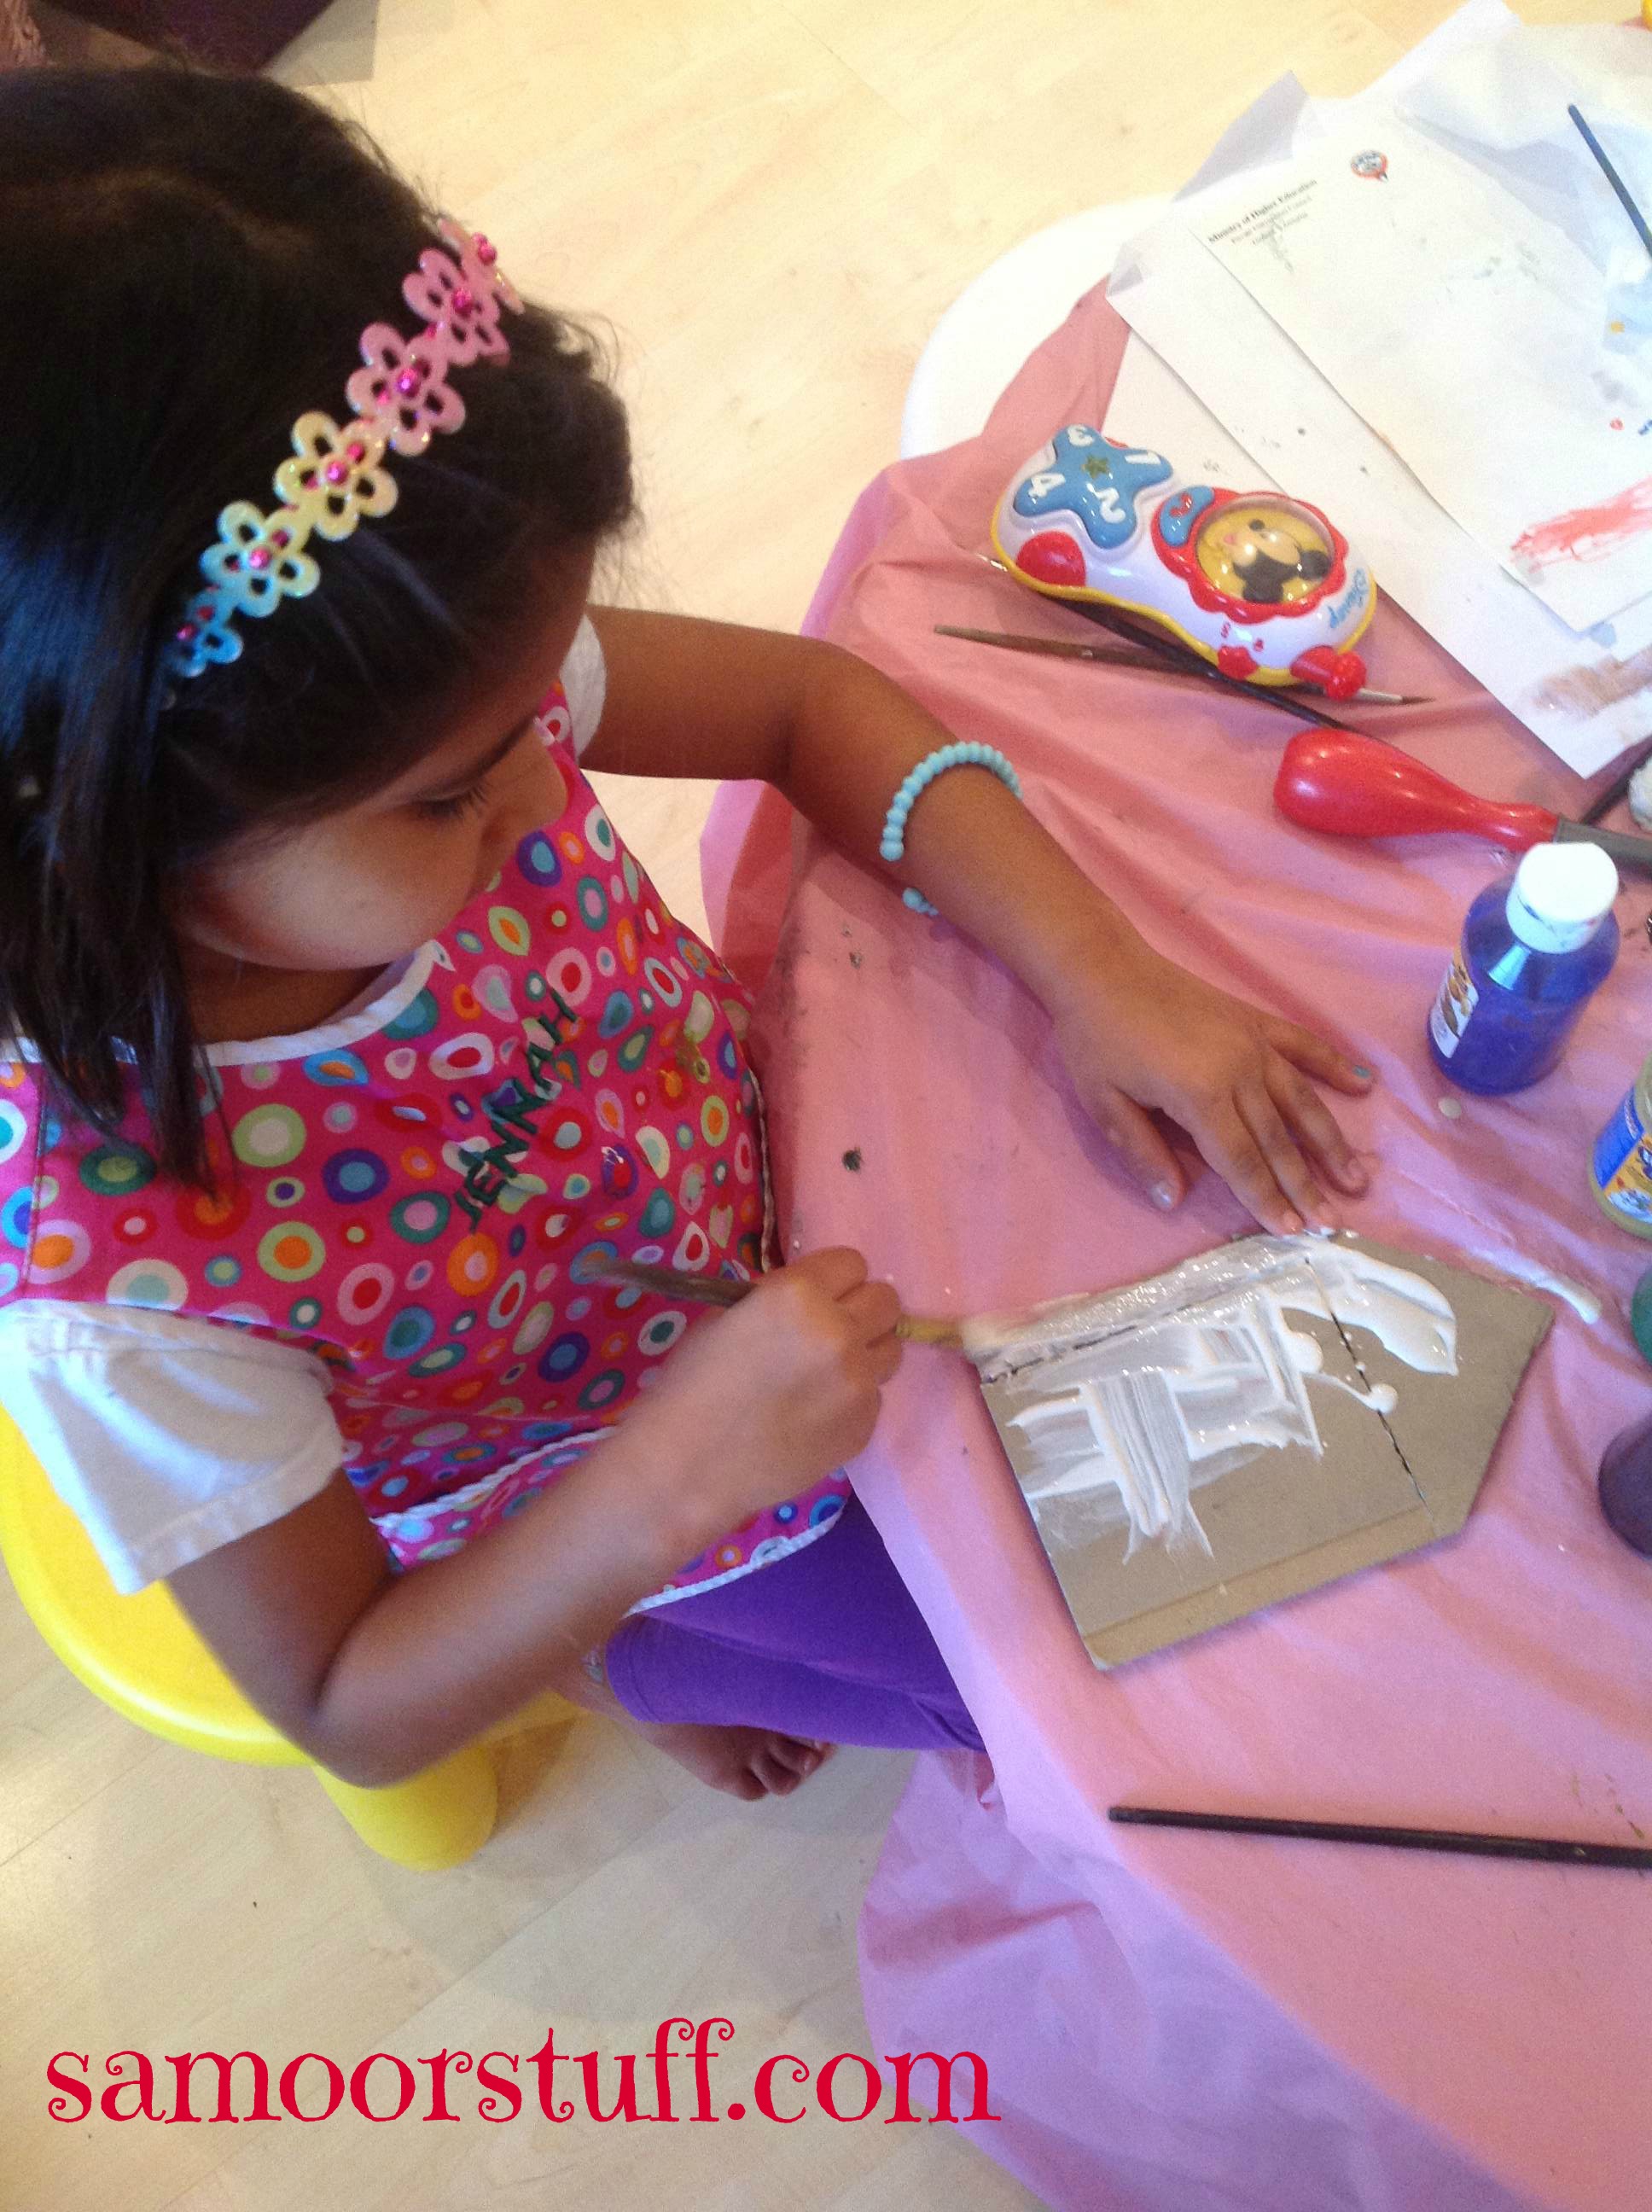
Paint the cardboard white or any color your child prefers.
Other ideas would be to either use white cardboard or cover it with tissue or construction paper…
We went with painting because it’s just more fun for the kids!
Off course the challenge is to keep them occupied with something else while the paint dries.
My suggestion is stick to the Tooth Fairy theme and either makeup or read a tooth fairy story or find cute facts online about Tooth Fairies.
Glue the popsicle sticks on the sides and top of the cut/ folded edged of the cardboard.
Now the real fun begins….
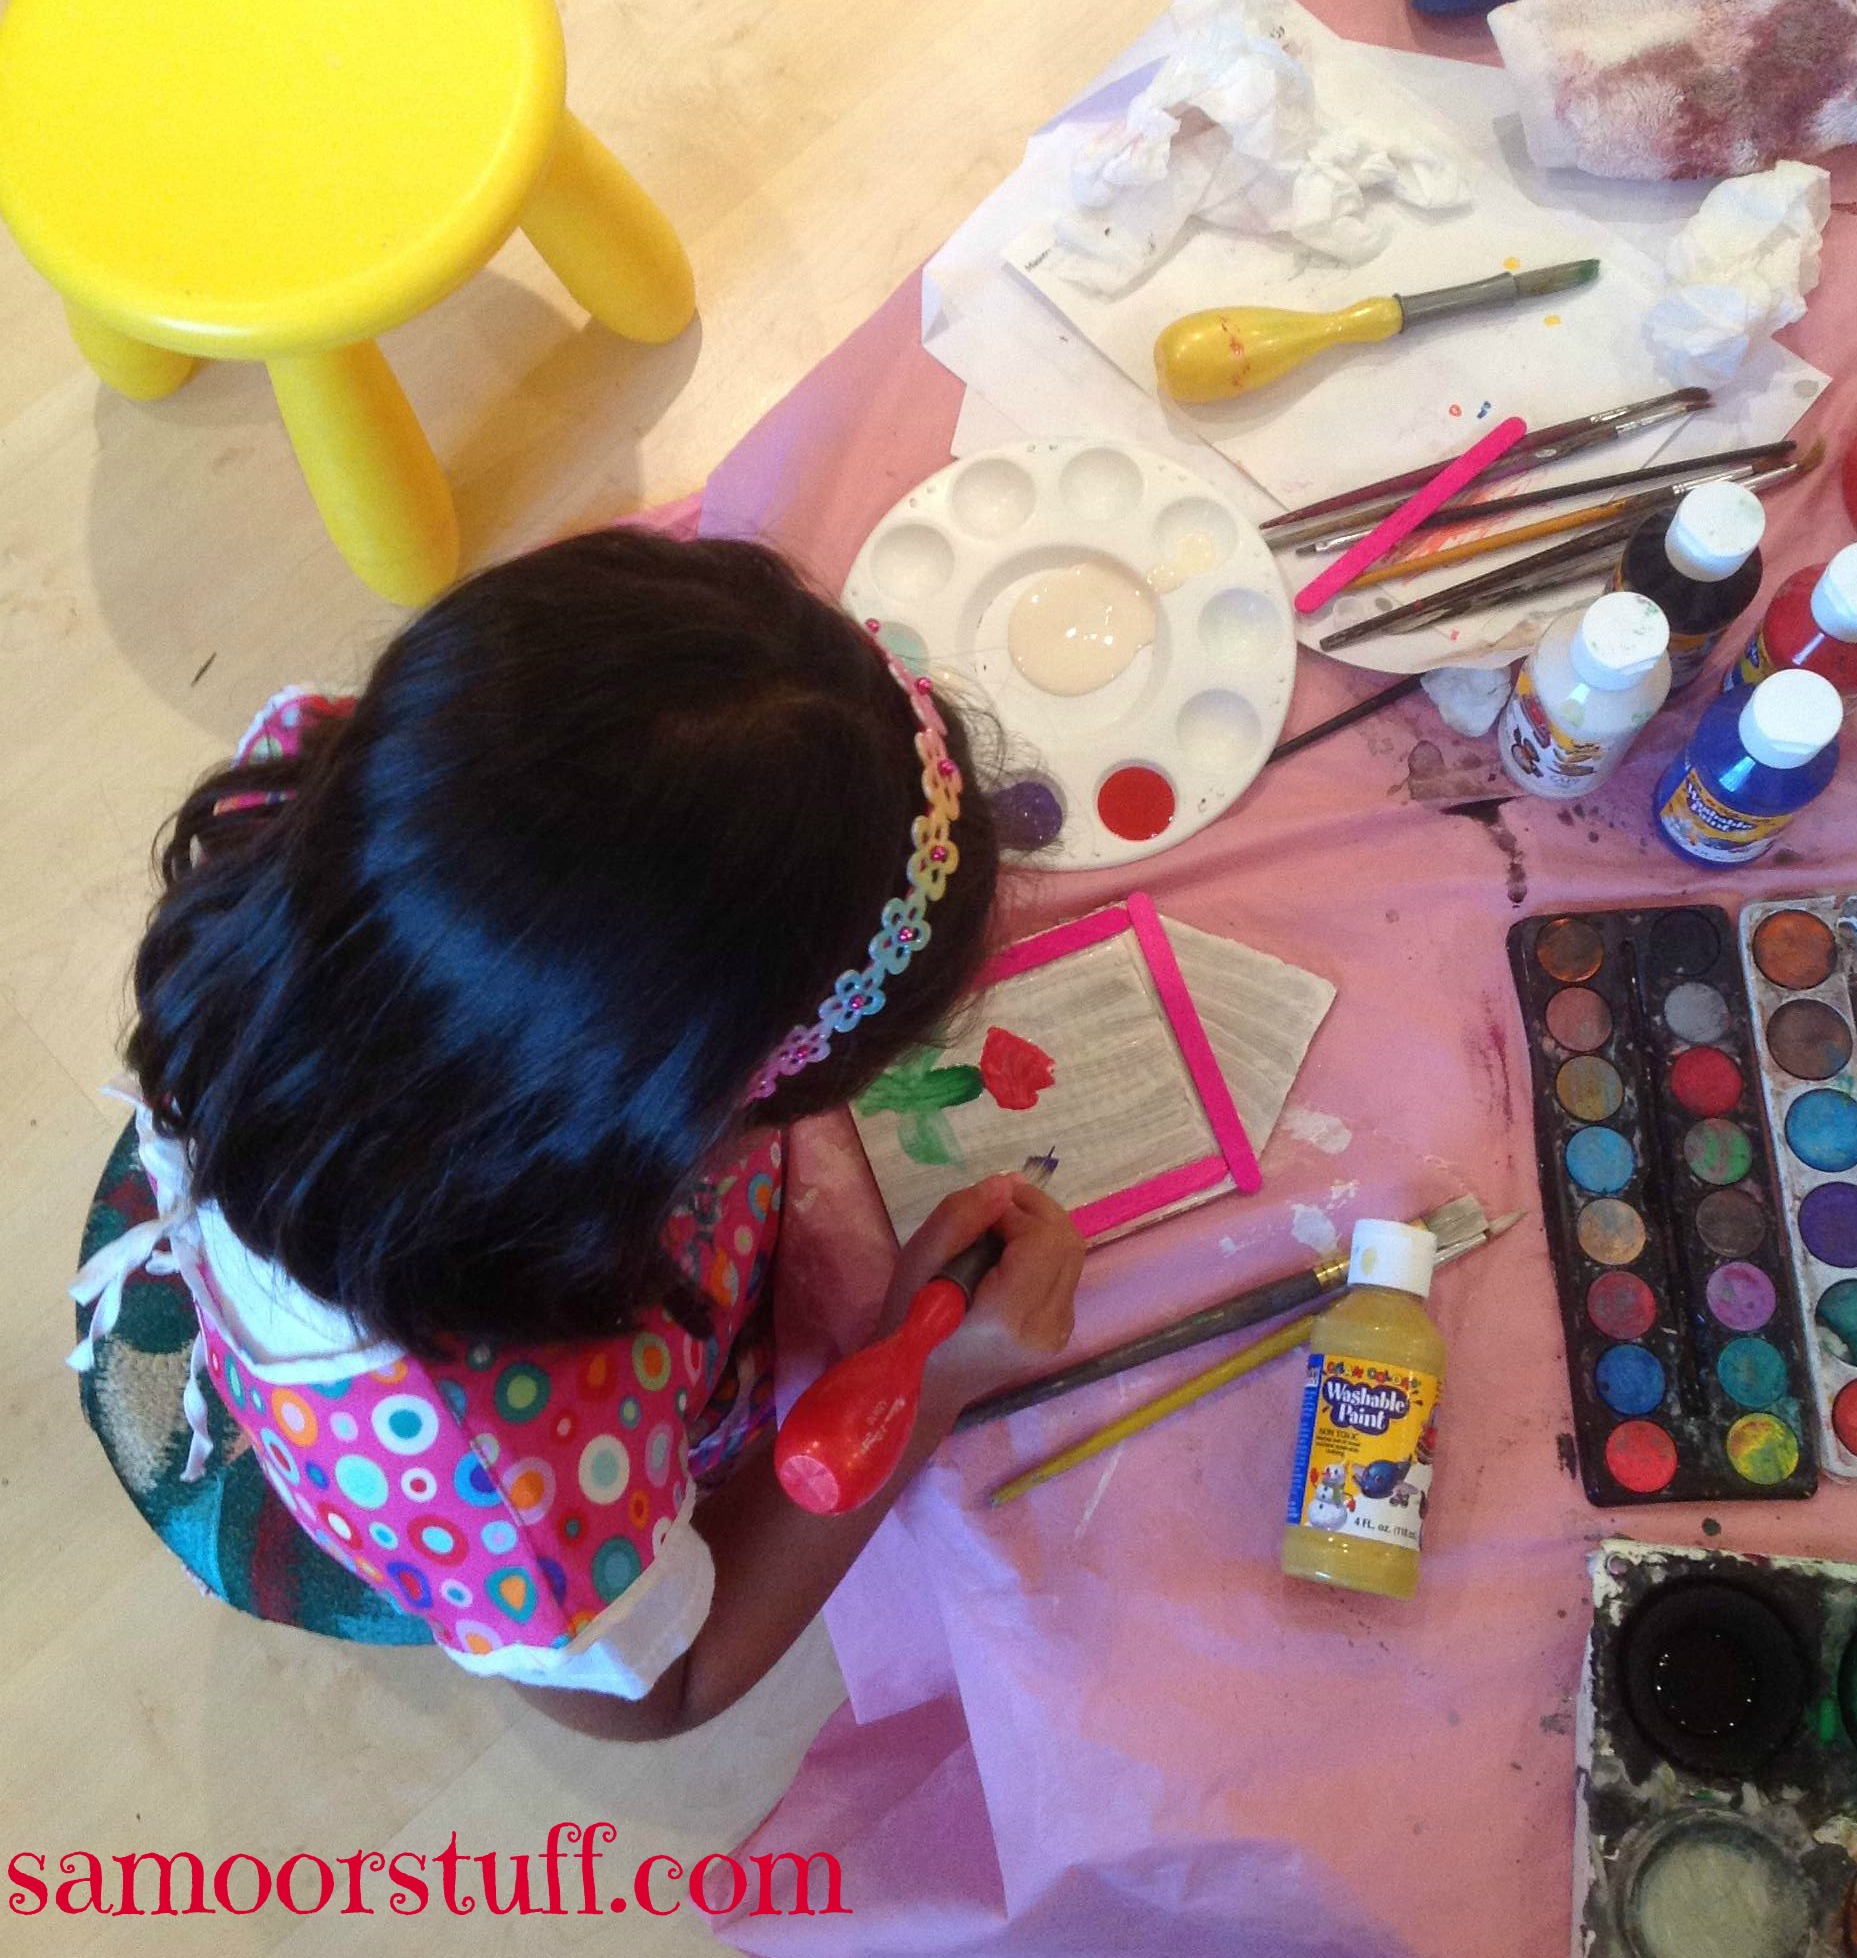
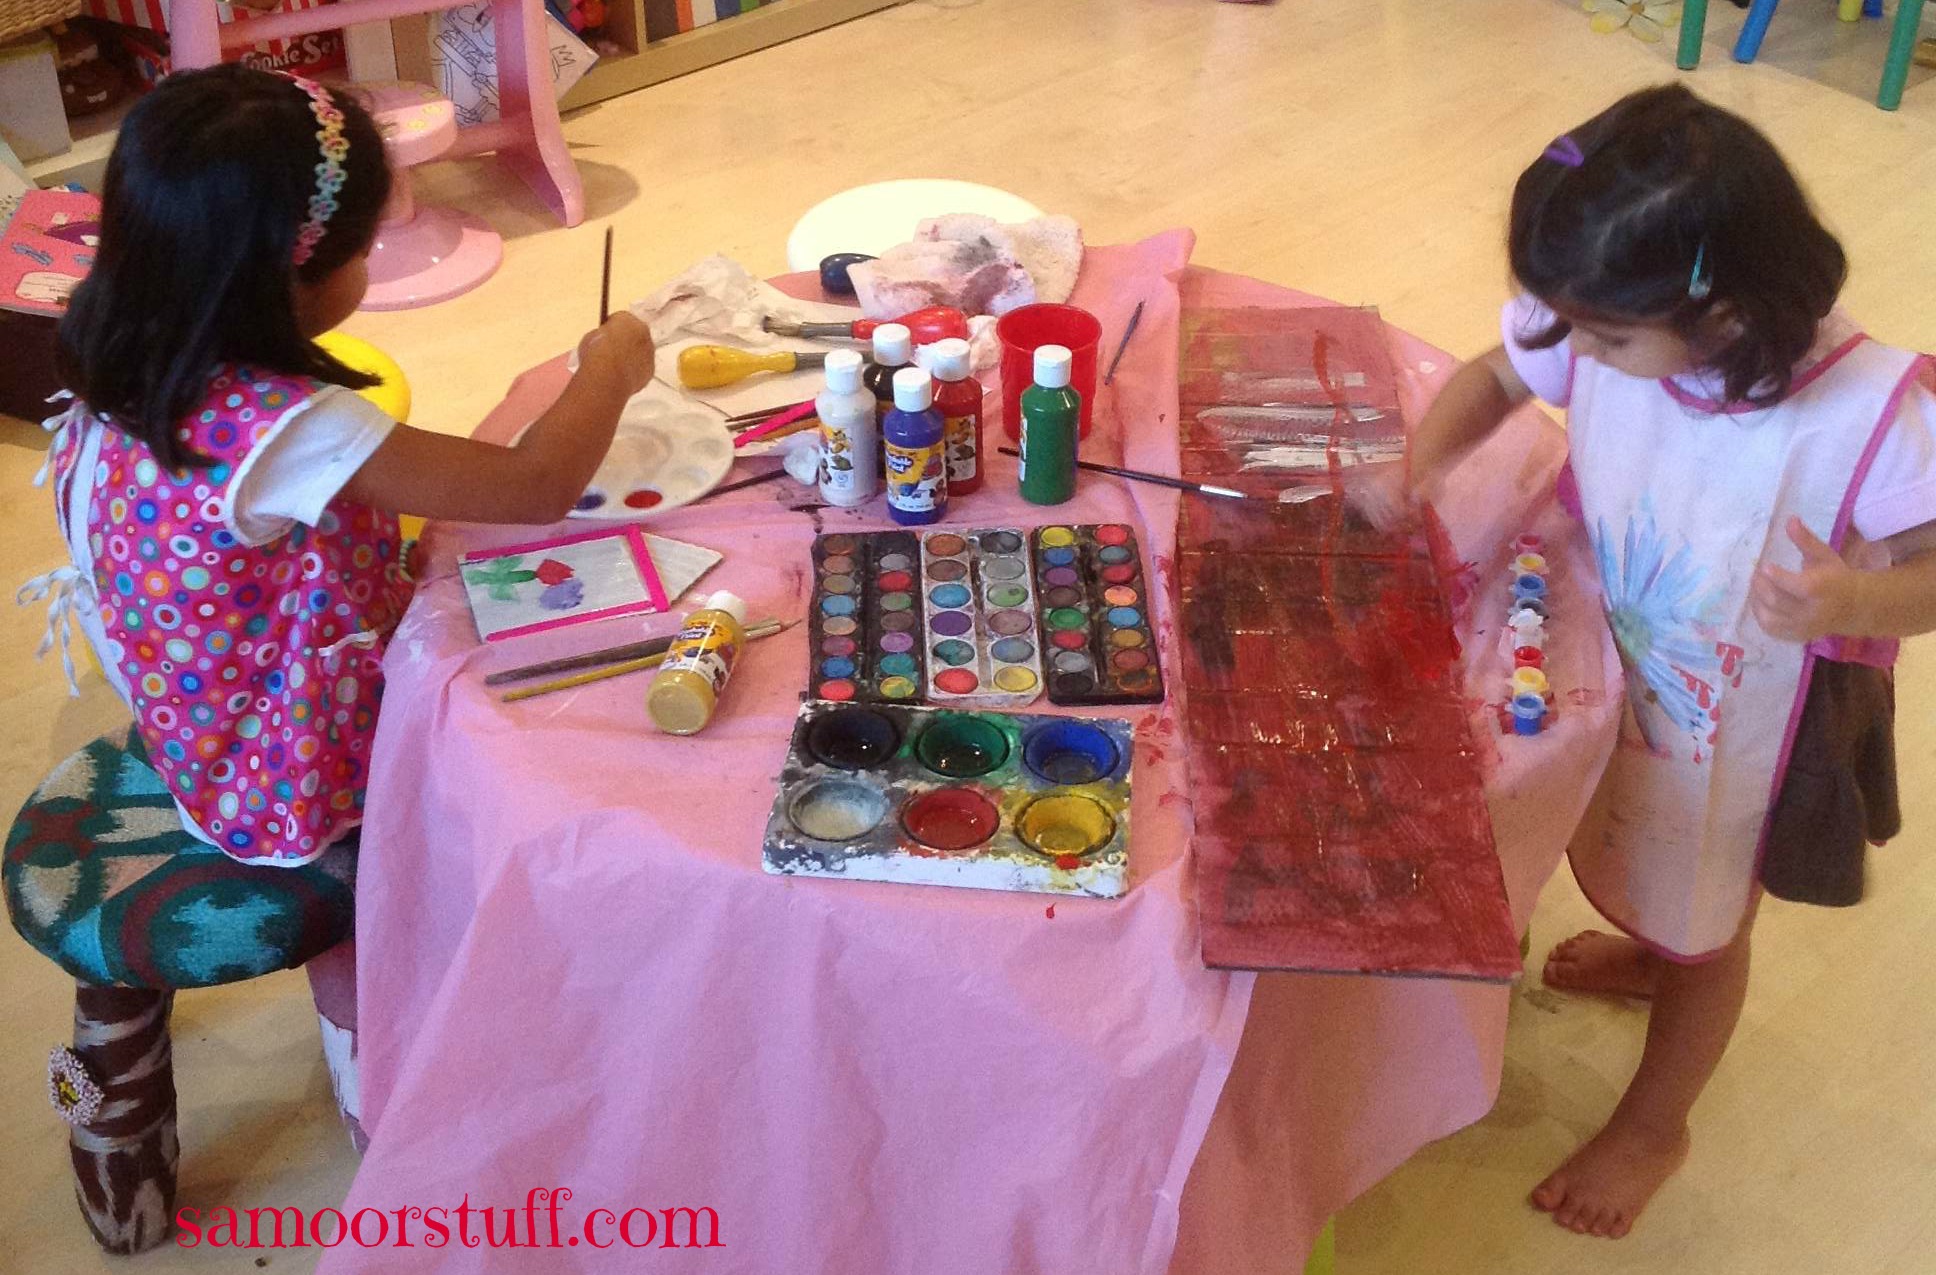
Let your child paint and design the door the way they like. In my world that’s really hard to ust let them do it “their” way.
If you have a younger child that’s continuously getting into the older child’s work keep them involved tooo….
I gave Zeenah a big piece of cardboard to paint. That really kept her busy and away from her sister’s project.
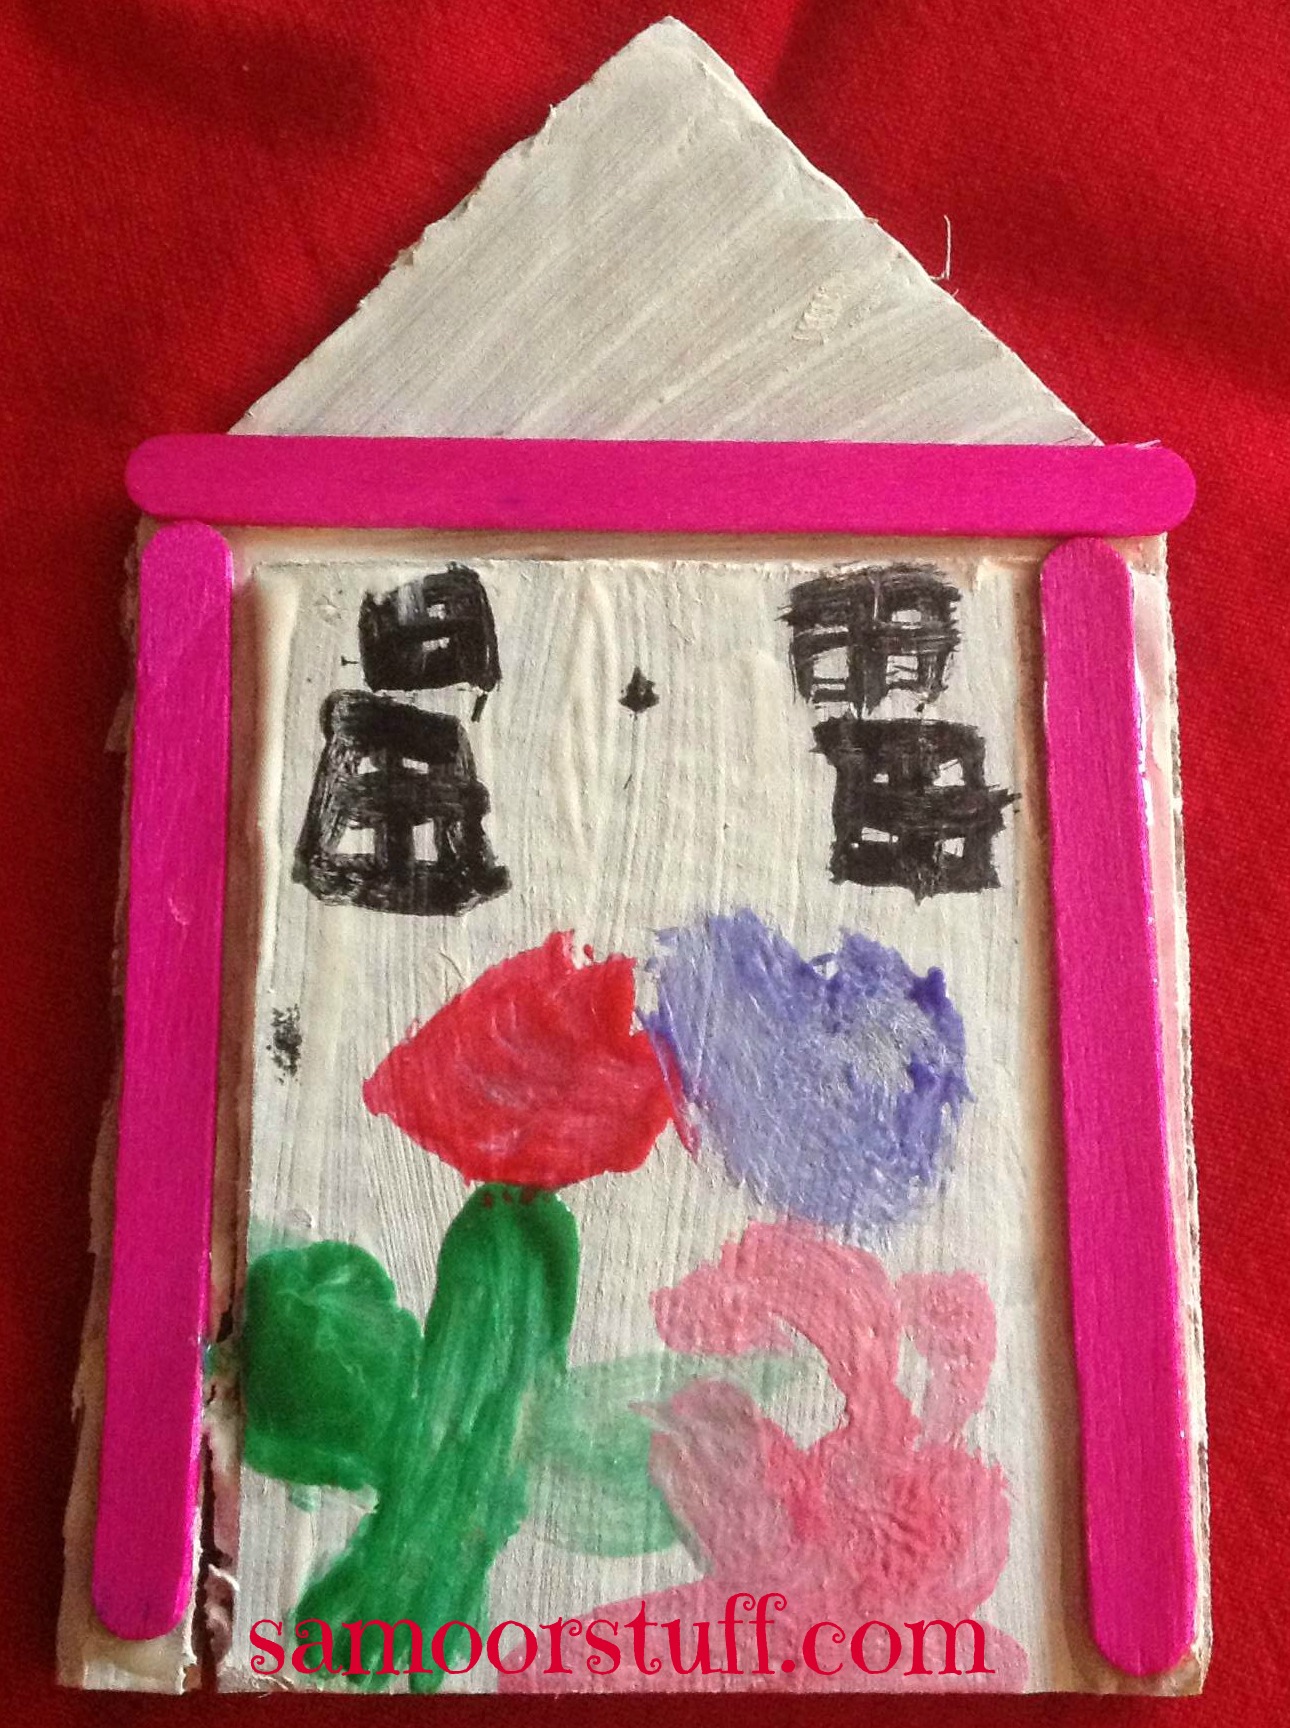
After the paint has completely dried it’s time for the Fairy Décor!
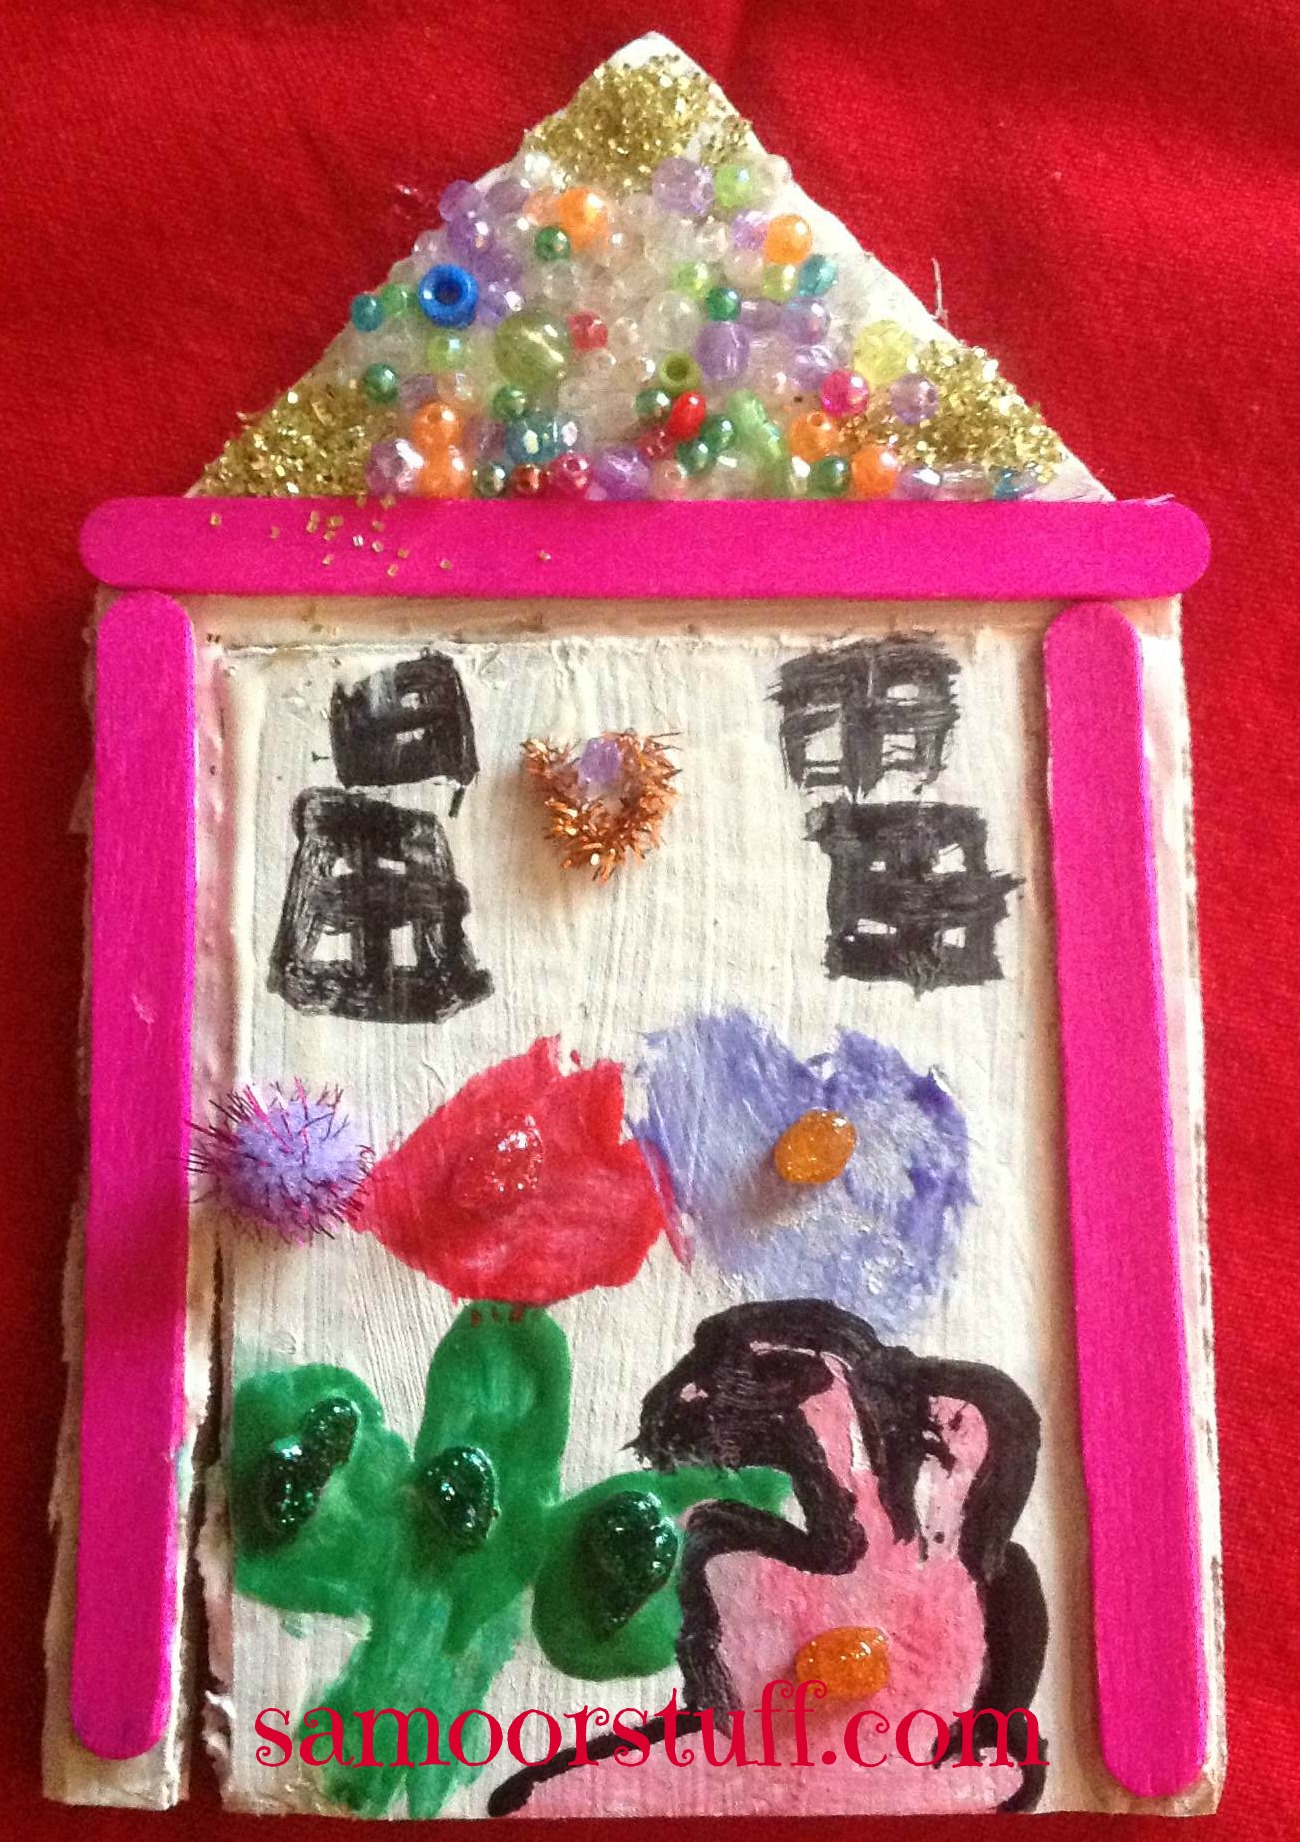
Jennah added the beads, glitter, pompom for the door knob and the pipe cleaner for the door knocker.
Now you have a gorgeous Tooth Fairy Door that can be placed anywhere the night of the lost tooth allowing her to enter and surprise your child with something in the morning.
Here’s Making Life Memorable one lost tooth at a time!
I look forward to your posts. It’s getting as addictive as Instagram! I TOLD U SO! Love u and proud of you.
Wessen, Trying to keep up with daily blogging:) Wouldn’t want to disappoint:)
Thanks for the suggestions you have shared here. Moreover, I believe there are a few factors that really keep your insurance premium lower. One is, to take into consideration buying vehicles that are in the good directory of car insurance businesses. Cars which have been expensive will be more at risk of being stolen. Aside from that insurance policies are also in accordance with the value of your car or truck, so the higher priced it is, then the higher your premium you make payment for.