Category Archives: Crafts & DIY

Bubbles Kids Entertainment

Bubbles Kids Entertainment

I took the girls to Discovery Mall the other day to play in their play area. A time that they can spend hours on end and it’s never enough.

As I was walking around trying to entertain myself I passed by a little Kiosk called “Bubbles”

The area is a little heaven for little girls. They can act like hairdressers and style doll’s hair, there’s an area that they can color and paint pottery and even take pictures with a life size Elsa cutout.

They also have the option of hosting a kids birthday party. Unfortunately it’s only for weekday birthdays but it would be cute to take the closest friends and have a small birthday on the “real” day.

2


Now that Birthday season has started I hope this helps and gives you an option in Making Life Memorable for your little princess.

For more information about Bubbles Kids Entertainment call 97900381

Birthday Games

Birthday Games

When planning my girls’ birthdays I always like to have at least 2 or 3 games for the kids. I’ve come to realize that all they want to do is just run around and have fun but I still do it anyway!!

One thing I always like to make sure of is choosing a game where everyone is a winner and no hard feelings. There’s nothing worse than making a kid cry on your child’s birthday. So musical chairs is OUT! Too rough and just our mean of a game for me!

The way I avoid any losers is by actually having the kids that are out choose a gift from a huge box of 100fils toys, stickers, bubbles, stationary, colors, play dough….etc Soon some of the kids wanted to loose just to be able to choose a gift from the box.

Off course the games I choose are always theme related.

PassThemonkey


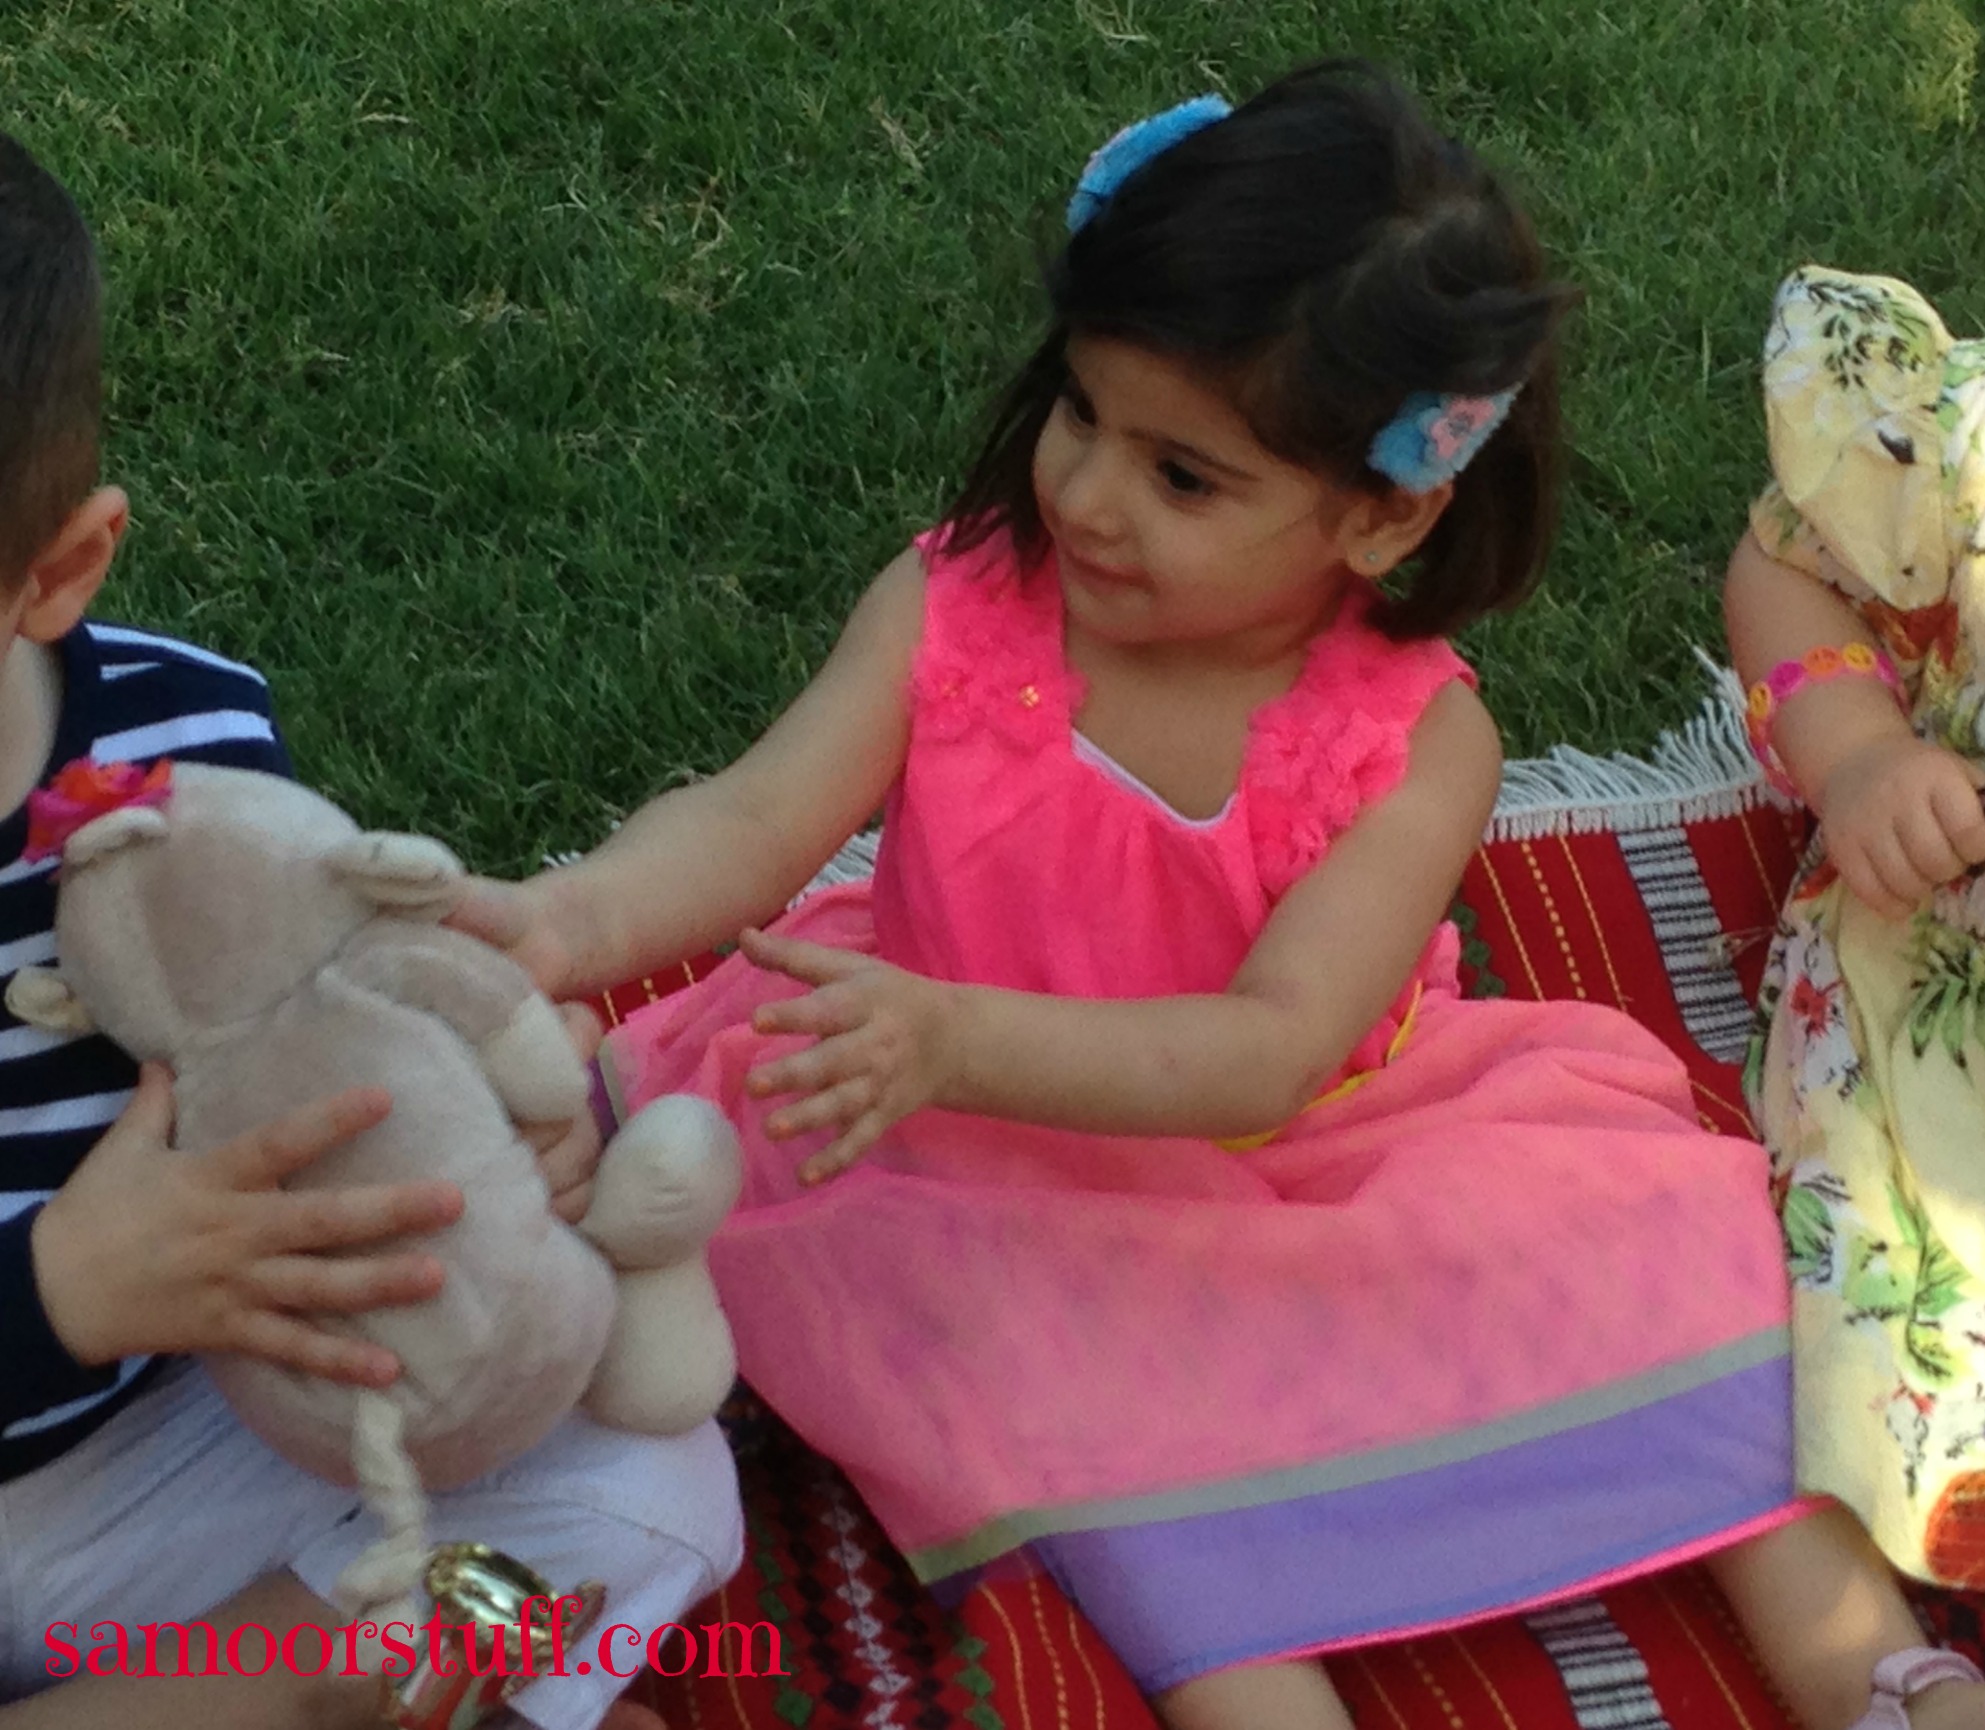
For example, Zeenah’s 3rd birthday was a monkey theme. So instead of the traditional pass the parcel I had pass the monkey.

I used a stuffed monkey that they passed around. Whenever the music stopped the person that had the monkey got to leave the circle and choose a gift from the “Box”.

Last person got to keep the stuffed monkey as their prize.
 

bananaToss
 

I take every opportunity I get to get artistic and crafty.

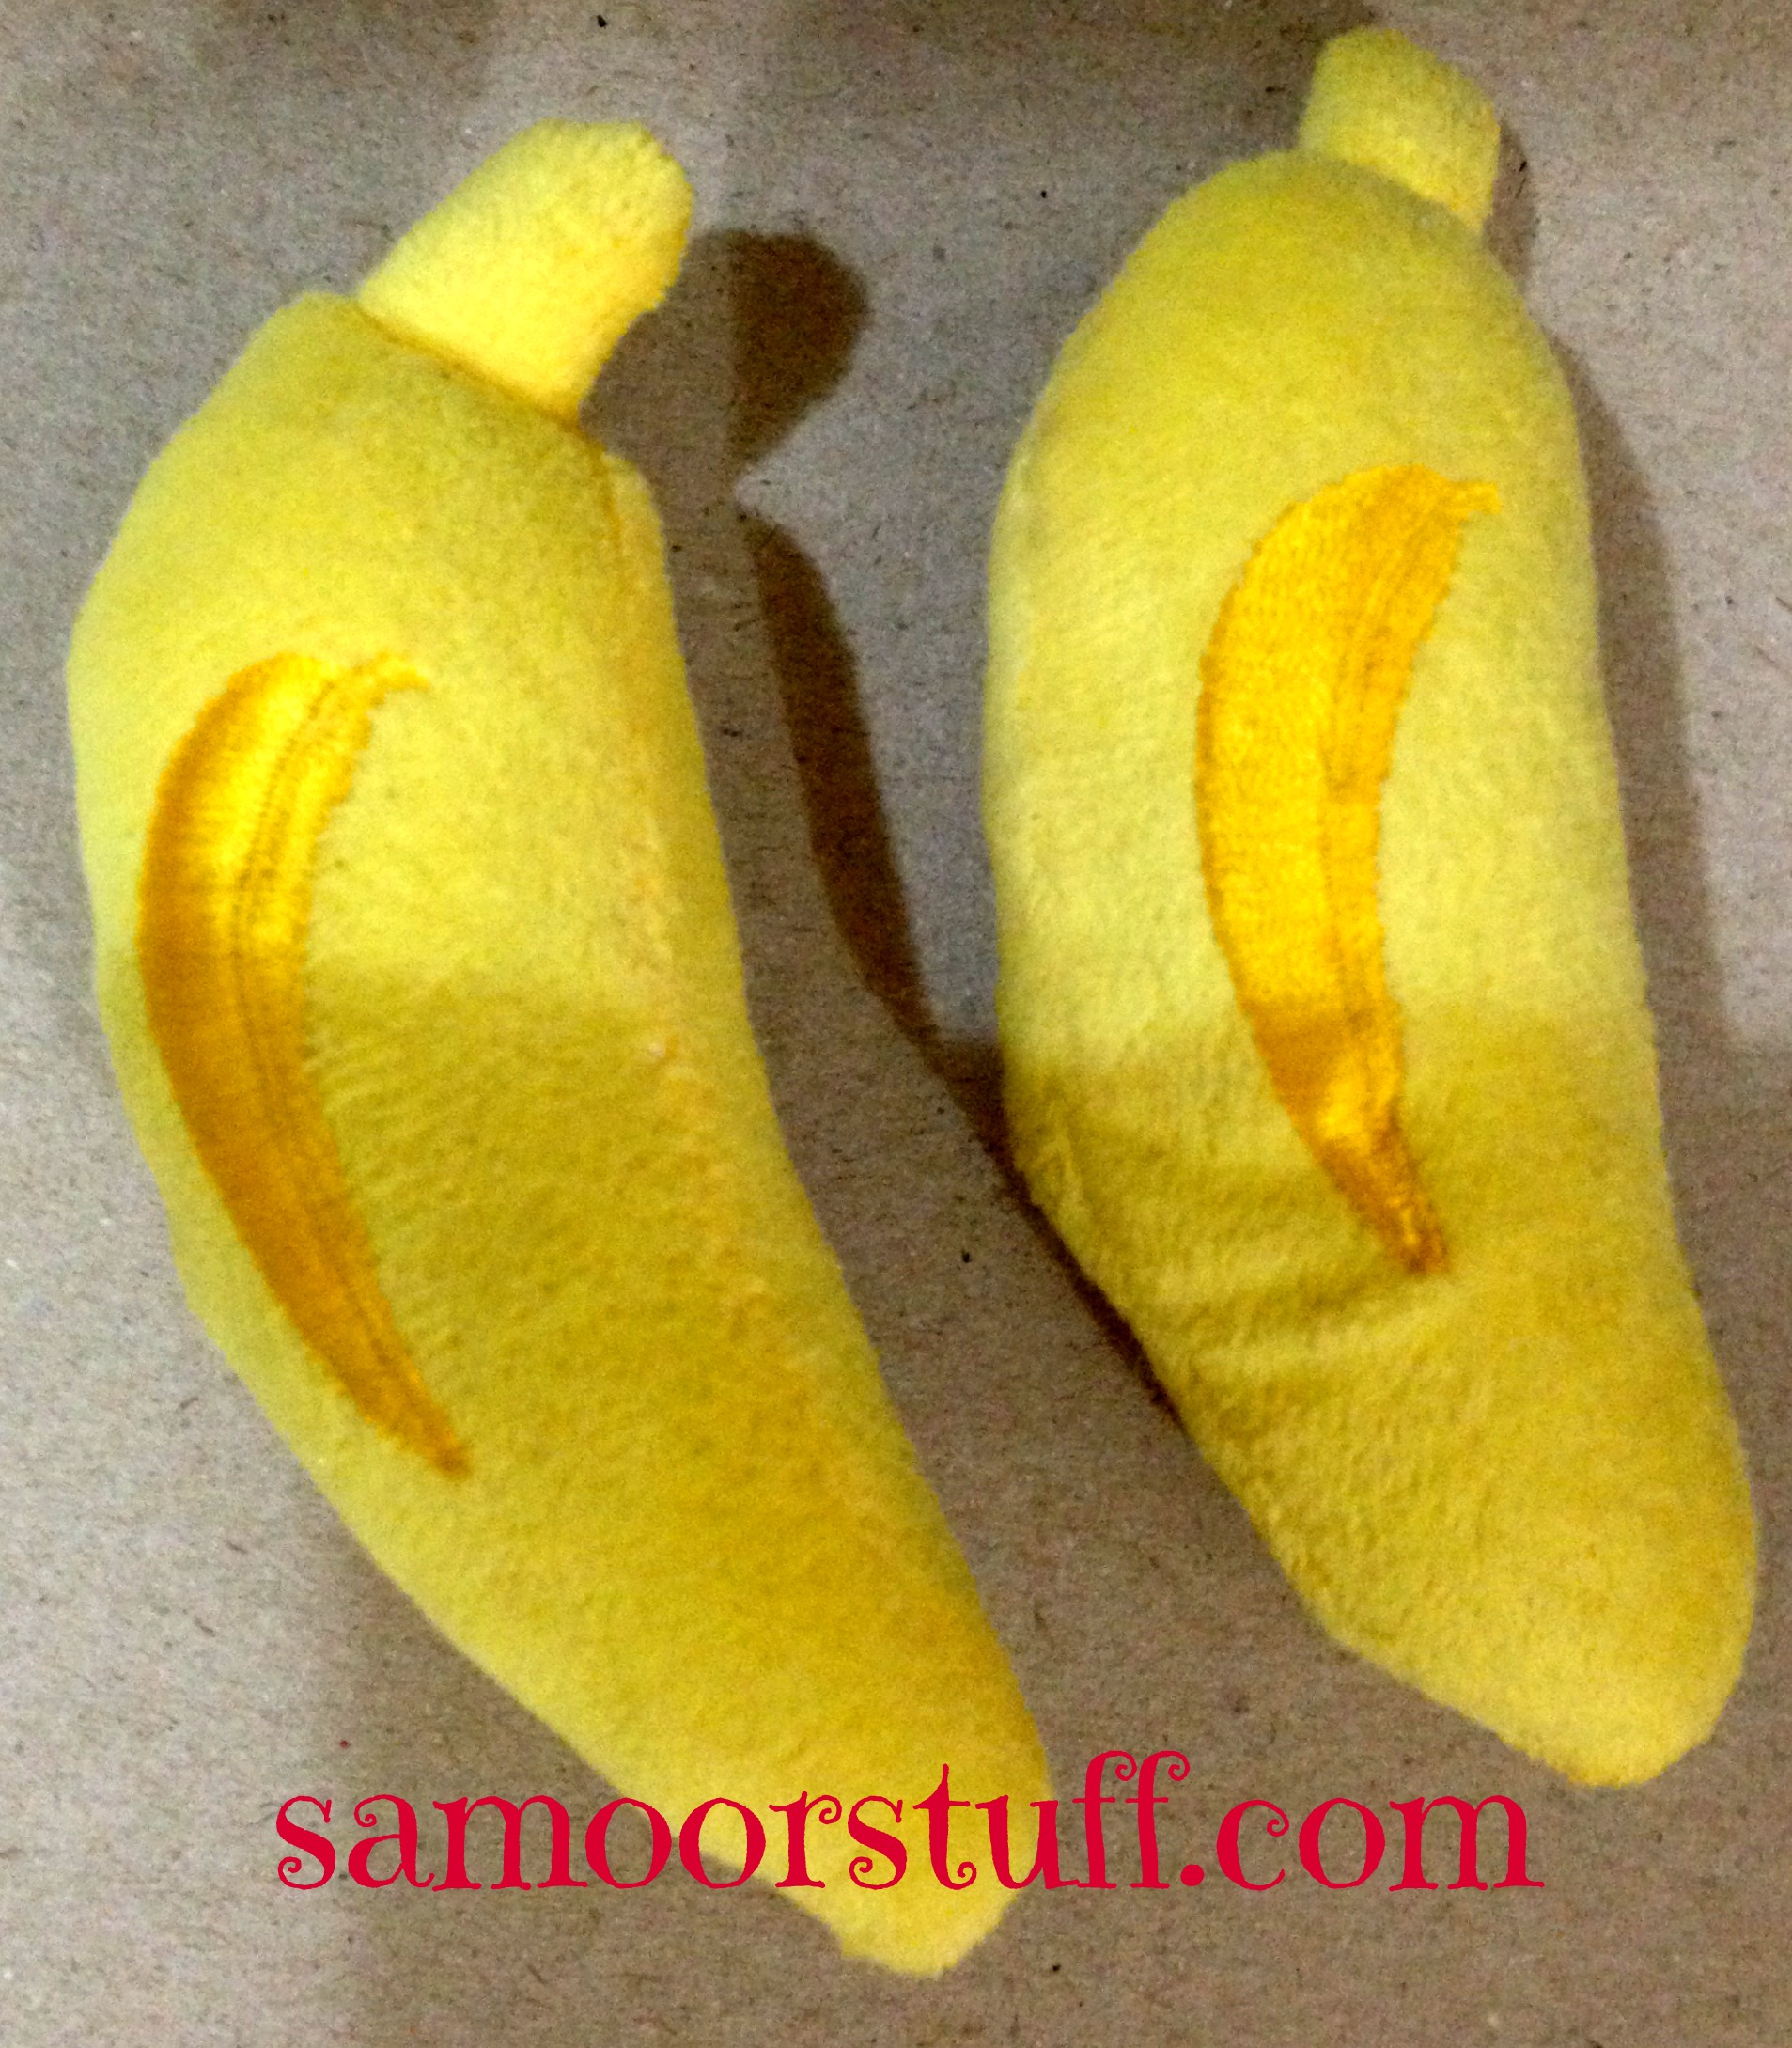
The minute I found these cute little plush bananas I had a light bulb moment…..

A Banana toss would be a perfect “Monkey Themed” game.


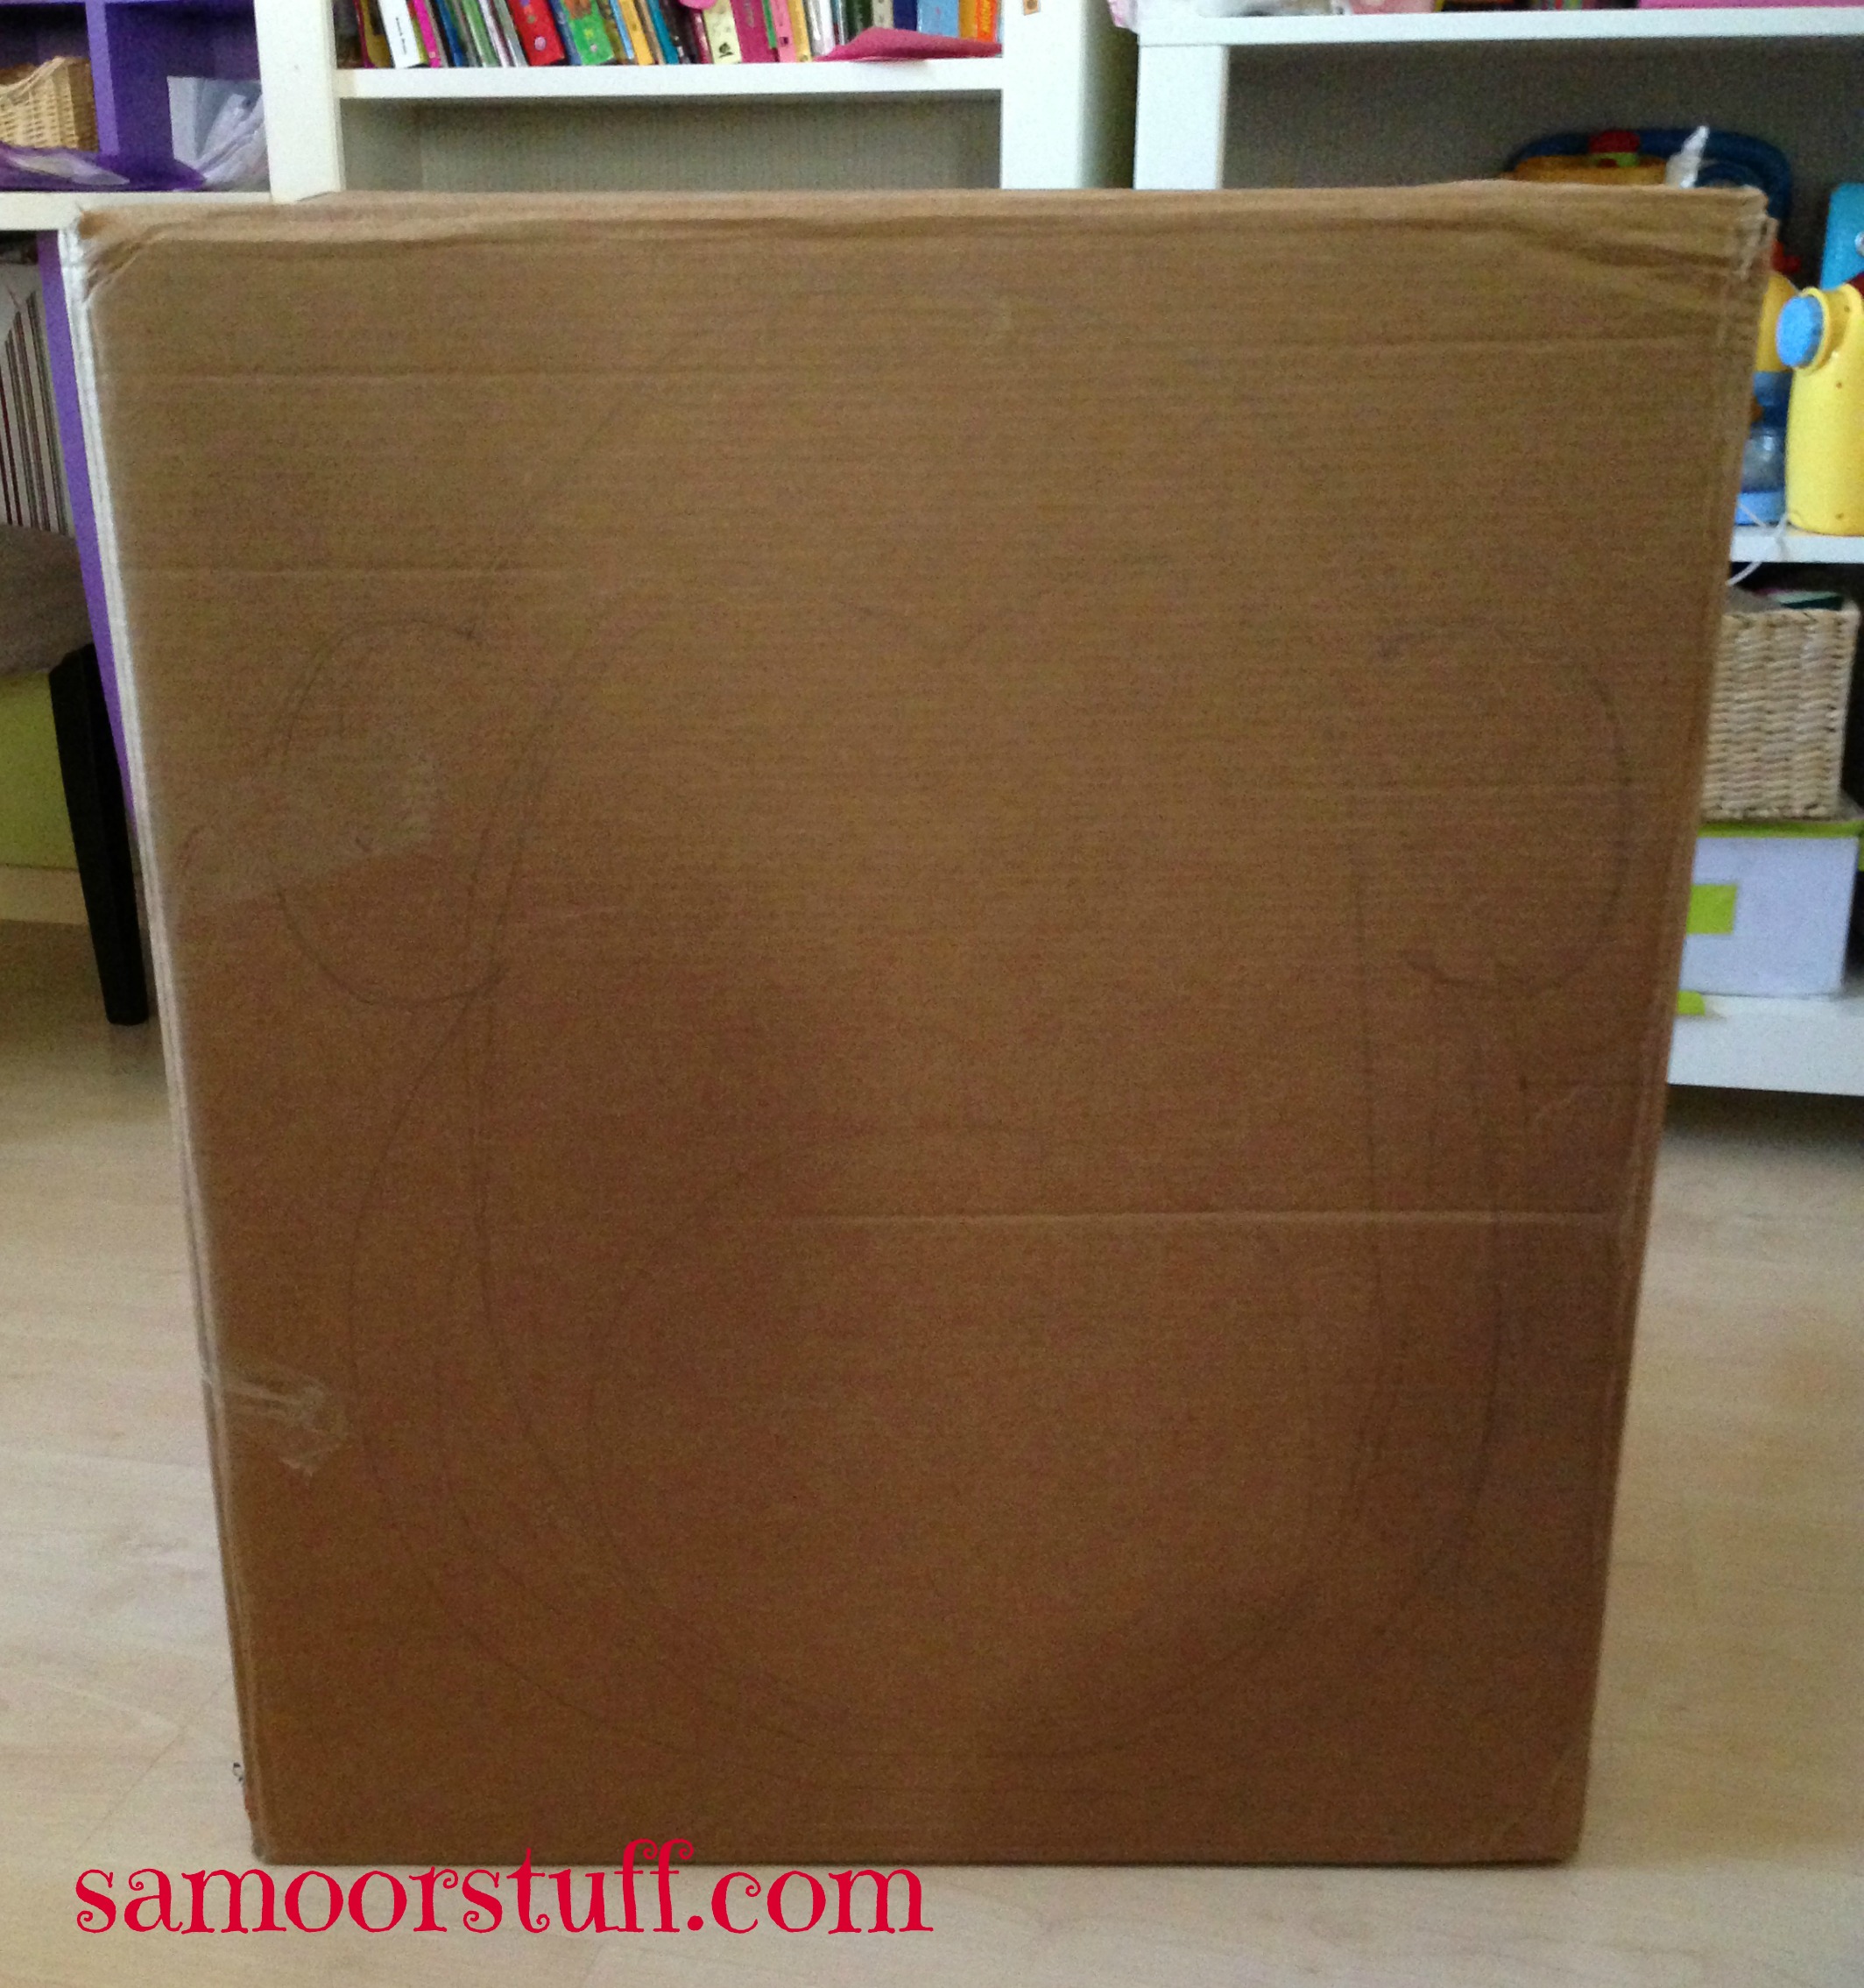
First on the agenda was to get a big cardboard box.

Perfect, conveniently I have a gift shop that I always save some shipping boxes just for occasions such as these!
 
 
box


I took the box and outlines the monkey I wanted.

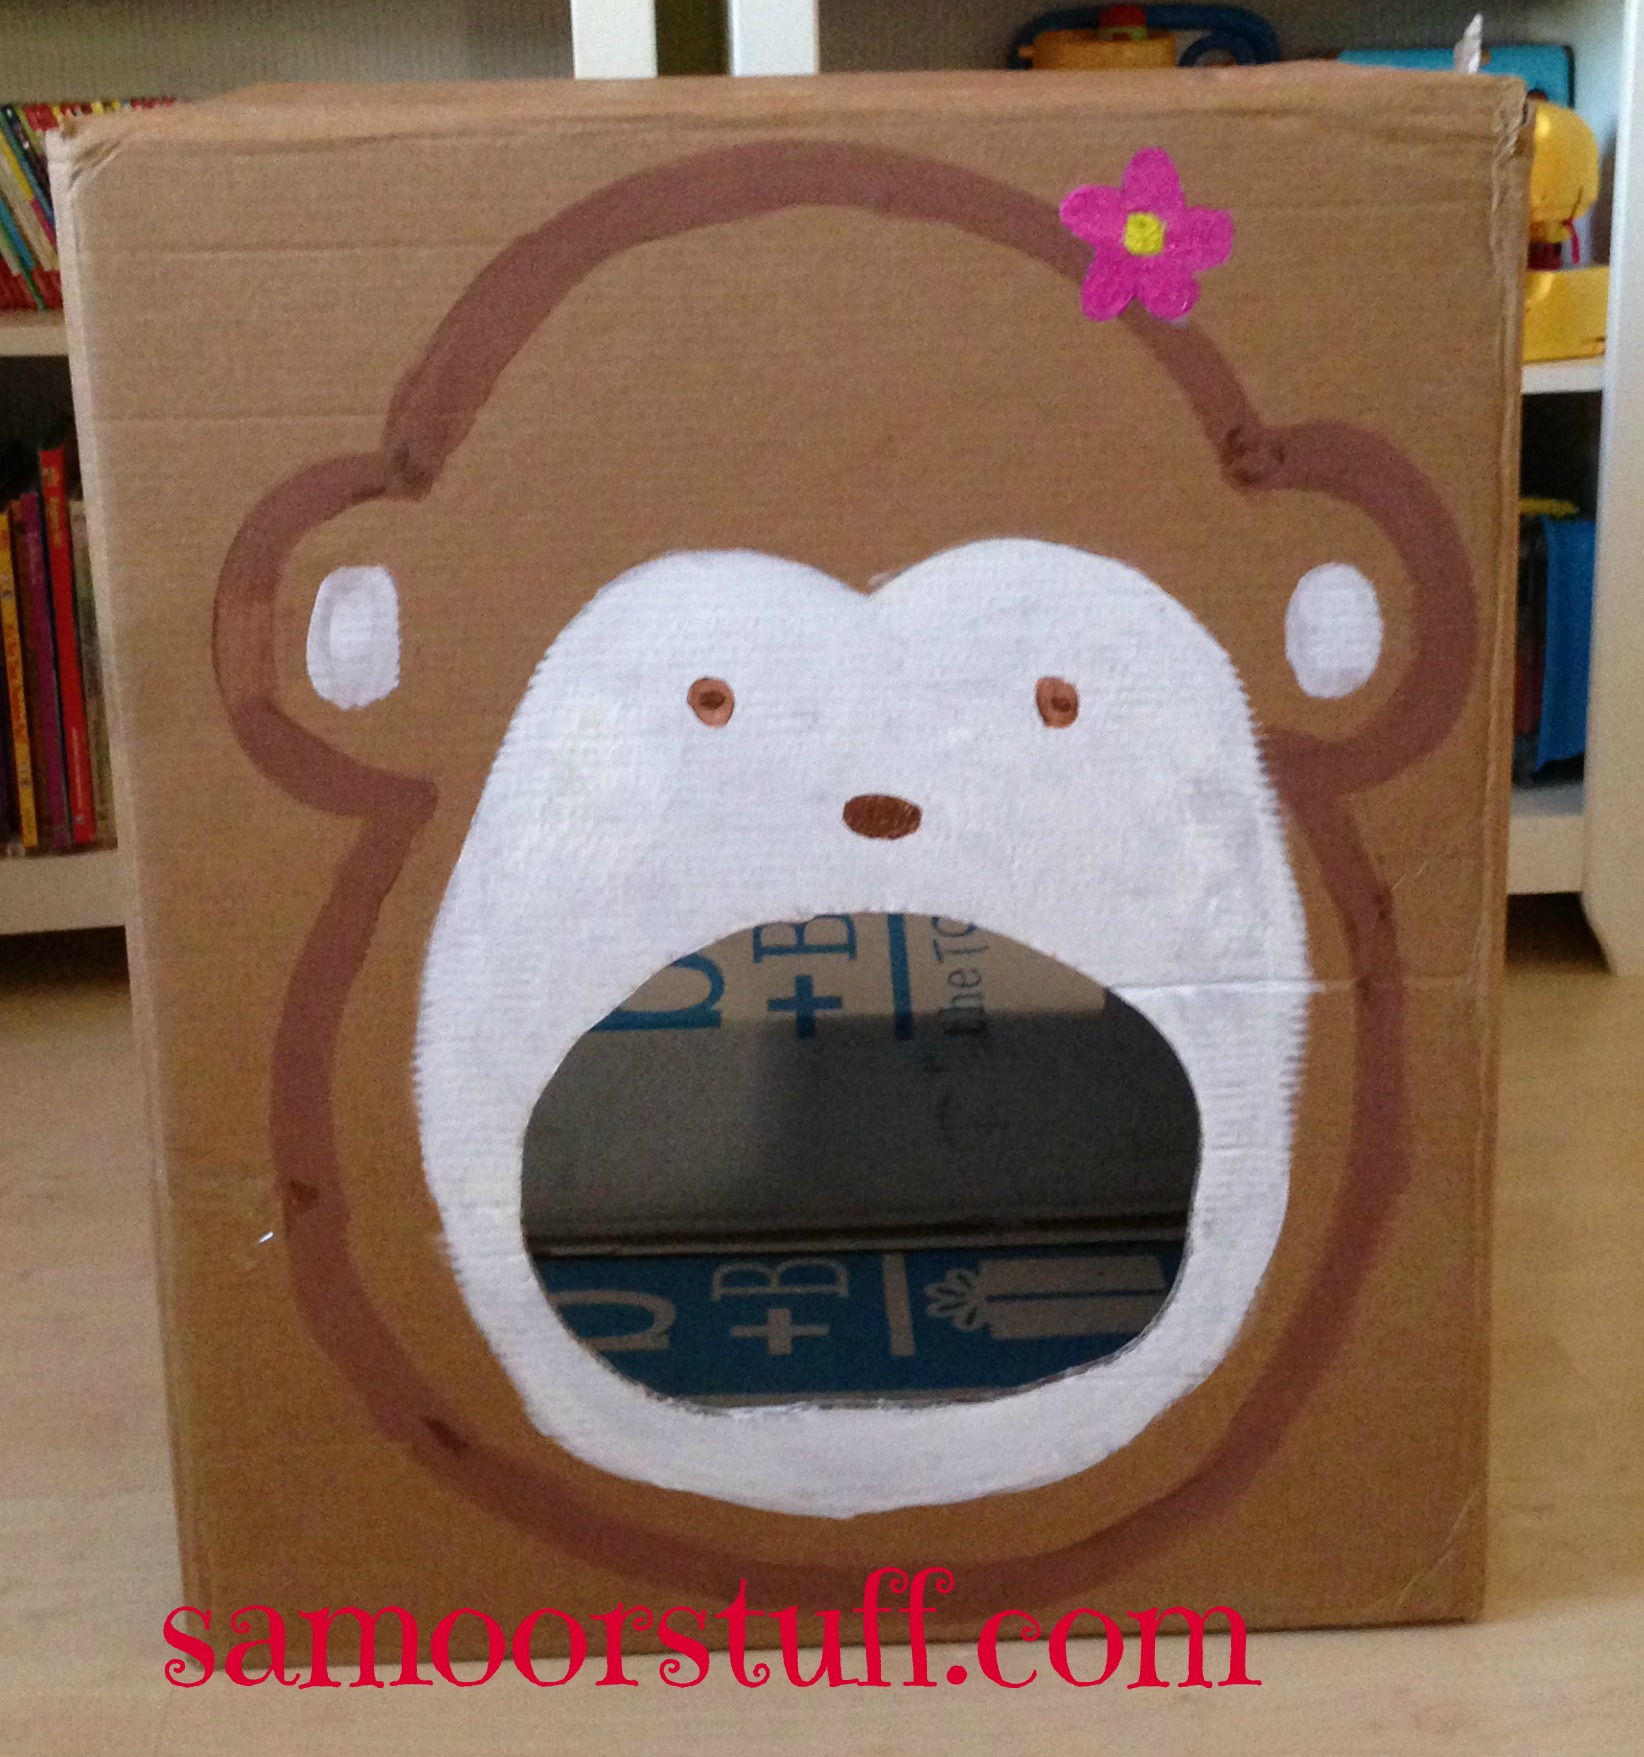
I then cut out the “mouth” intended for the banana’s to be tossed into.

Off course after that was my favorite part which is painting!!!


MonkeyToss
 
 
It was even better than the way I imagined… The girls were super excited after I had finished it that they played with it constantly before the big debut on the birthday.

For a 3 year old birthday I figured 2 games was just enough and I was right!!!

We had the singing of the birthday shortly after and a chance in Making Life Memorable for everyone involved.

Lady Bug Piñata

Lady Bug Piñata

As much as I’m not an advocate of distributing candy to children I cannot resist a good old fashioned Piñata.

A fun ritual I think for me to make and for the kids to destroy.

For Zeenah’s 4th birthday she had picked the perfect theme to design a Piñata for. I would actually dream about what the “Ladybug” Piñata would look like and couldn’t wait to start on it during the planning process.

Let me walk you through what I did for Zeenah’s Lady bug Piñata.

One of the most important things when making a homemade Piñata after the Paper Mache recipe is the base.
Sounds complicated?? Not really!!

The base consists of none other than a plain ‘ole regular balloon. PM-Balloon

It’s not the balloon that makes the piñata it’s how you design it after wards that makes it fabulous.

The first thing I did was attach two balloons.

The large 3′ balloon was t make the body of the Lady bug and is the part to be popped after completion to add the candy into.

The other balloon was a regular 18″ latex balloon that I used as the head of the ladybug.
 

I used red balloons just for fun but the color really doesn’t matter because it’s all going to be covered anyway!!

The next step is the REEEEEELLy messy part.

The dipping of the news paper strips into the Paper Mache past and gluing on top of the balloons.

The important part is to make sure you leave an opening at the top in order to be able to fill the piñata with candy.

PM-Newspaper
 
 
After you finish putting the first layer of newspaper strips is to leave it to dry before putting another layer. I always wait at least a day before putting the following layer.

I like to put 4-5 layers of Paper Mache strips to make sure that it’s strong enough.

The entire process usually takes me a 5 days between paper Mache strips and drying time.

Now the artistic part begins!!!

PM-crepe
 

I bought red and black crepe paper to cover the body and head of my “ladybug”.

This was such a tedious and time consuming task because I insisted on making the crepe paper ruffled.

It would have been much easier to just glue it on without the extra designing but then again it’s me we’re talking about and I love making life difficult for myself!!

The body was covered in red crepe paper and I had covered the head in black.

I kept the balloons intact and decided to pop it at the end to make sure that the Paper Mache is completely dried and stable.

You also have to remember to make sure you keep the opening at the top of the piñata uncovered with crepe paper to be able to pop the balloon and fill with candy.
PM-spots


I used my 2″ round punch to make the spots of the lady bug by making circles out of black construction paper.


PM-with spots
 

I then stuck the spots onto the body of my ladybug. The hardest part in this process was to glue the spots randomly. I’m such a uniform person that I found a few spots that were aligned with each other.

But towards the end I tended to stick some of the spots closer to each other jus to get the random look.

PM-eyes


With regular white construction paper I cut out the outline of an eyeball and drew the pupil with a black marker.

I think this was the easiest part in the whole piñata project.


PM-withface


The final part of the piñata design was to stick the eyes onto the ladybug head.

I also made a little smile using white construction paper to make the lady bug look a little more friendly.


PM-antlers


Using several black pipe cleaners I had made antennas for our little bugger.


Drum roll please for my piñata masterpiece!!!
 
PM-complete
 

The final task is always left for my husband, I create but he’s in charge of implementing my visualization.

After filling the piñata with candy and turned out to be extremely heavy and I left him with the challenge.

This is what it looked like in our garden!!!

PM-garden

I made a mess in the process of Making Life Memorable and I enjoyed every minute of it!

Tooth Fairy Door

Tooth Fairy Door

The wonderful world of make believe is such an amazing place to be, I remember as a child when you thought EVERYTHING was real… Call it the Disney syndrome or perhaps it’s the Peter Pan? Whatever the name it’s all the same a world where everything is magical that’s where I want to live.

If any of you out there is like me with “issues” about being a grown up I’m sure you’d agree. Life was so simple when the worst thing was your mom not letting you go to a friend’s house and you’d feel like it’s the end of the world.

If we only knew what was REALLY in store:) Well moving right along before it turns into a therapy session…….

The world of make believe. Santa, Tooth Fairy and the Easter Bunny are those things that make you tingle and feel young.

I had to make the experience of Jennah’s wiggly tooth and the much awaited Tooth fairy visit extremely special.

I decided to make a little tooth fairy door for that occasion. I debated for a while if it should be a surprise or make Jennah involved but I figured it would make it all that more special if Jennah made it.

So here’s your inspiration and How to…..

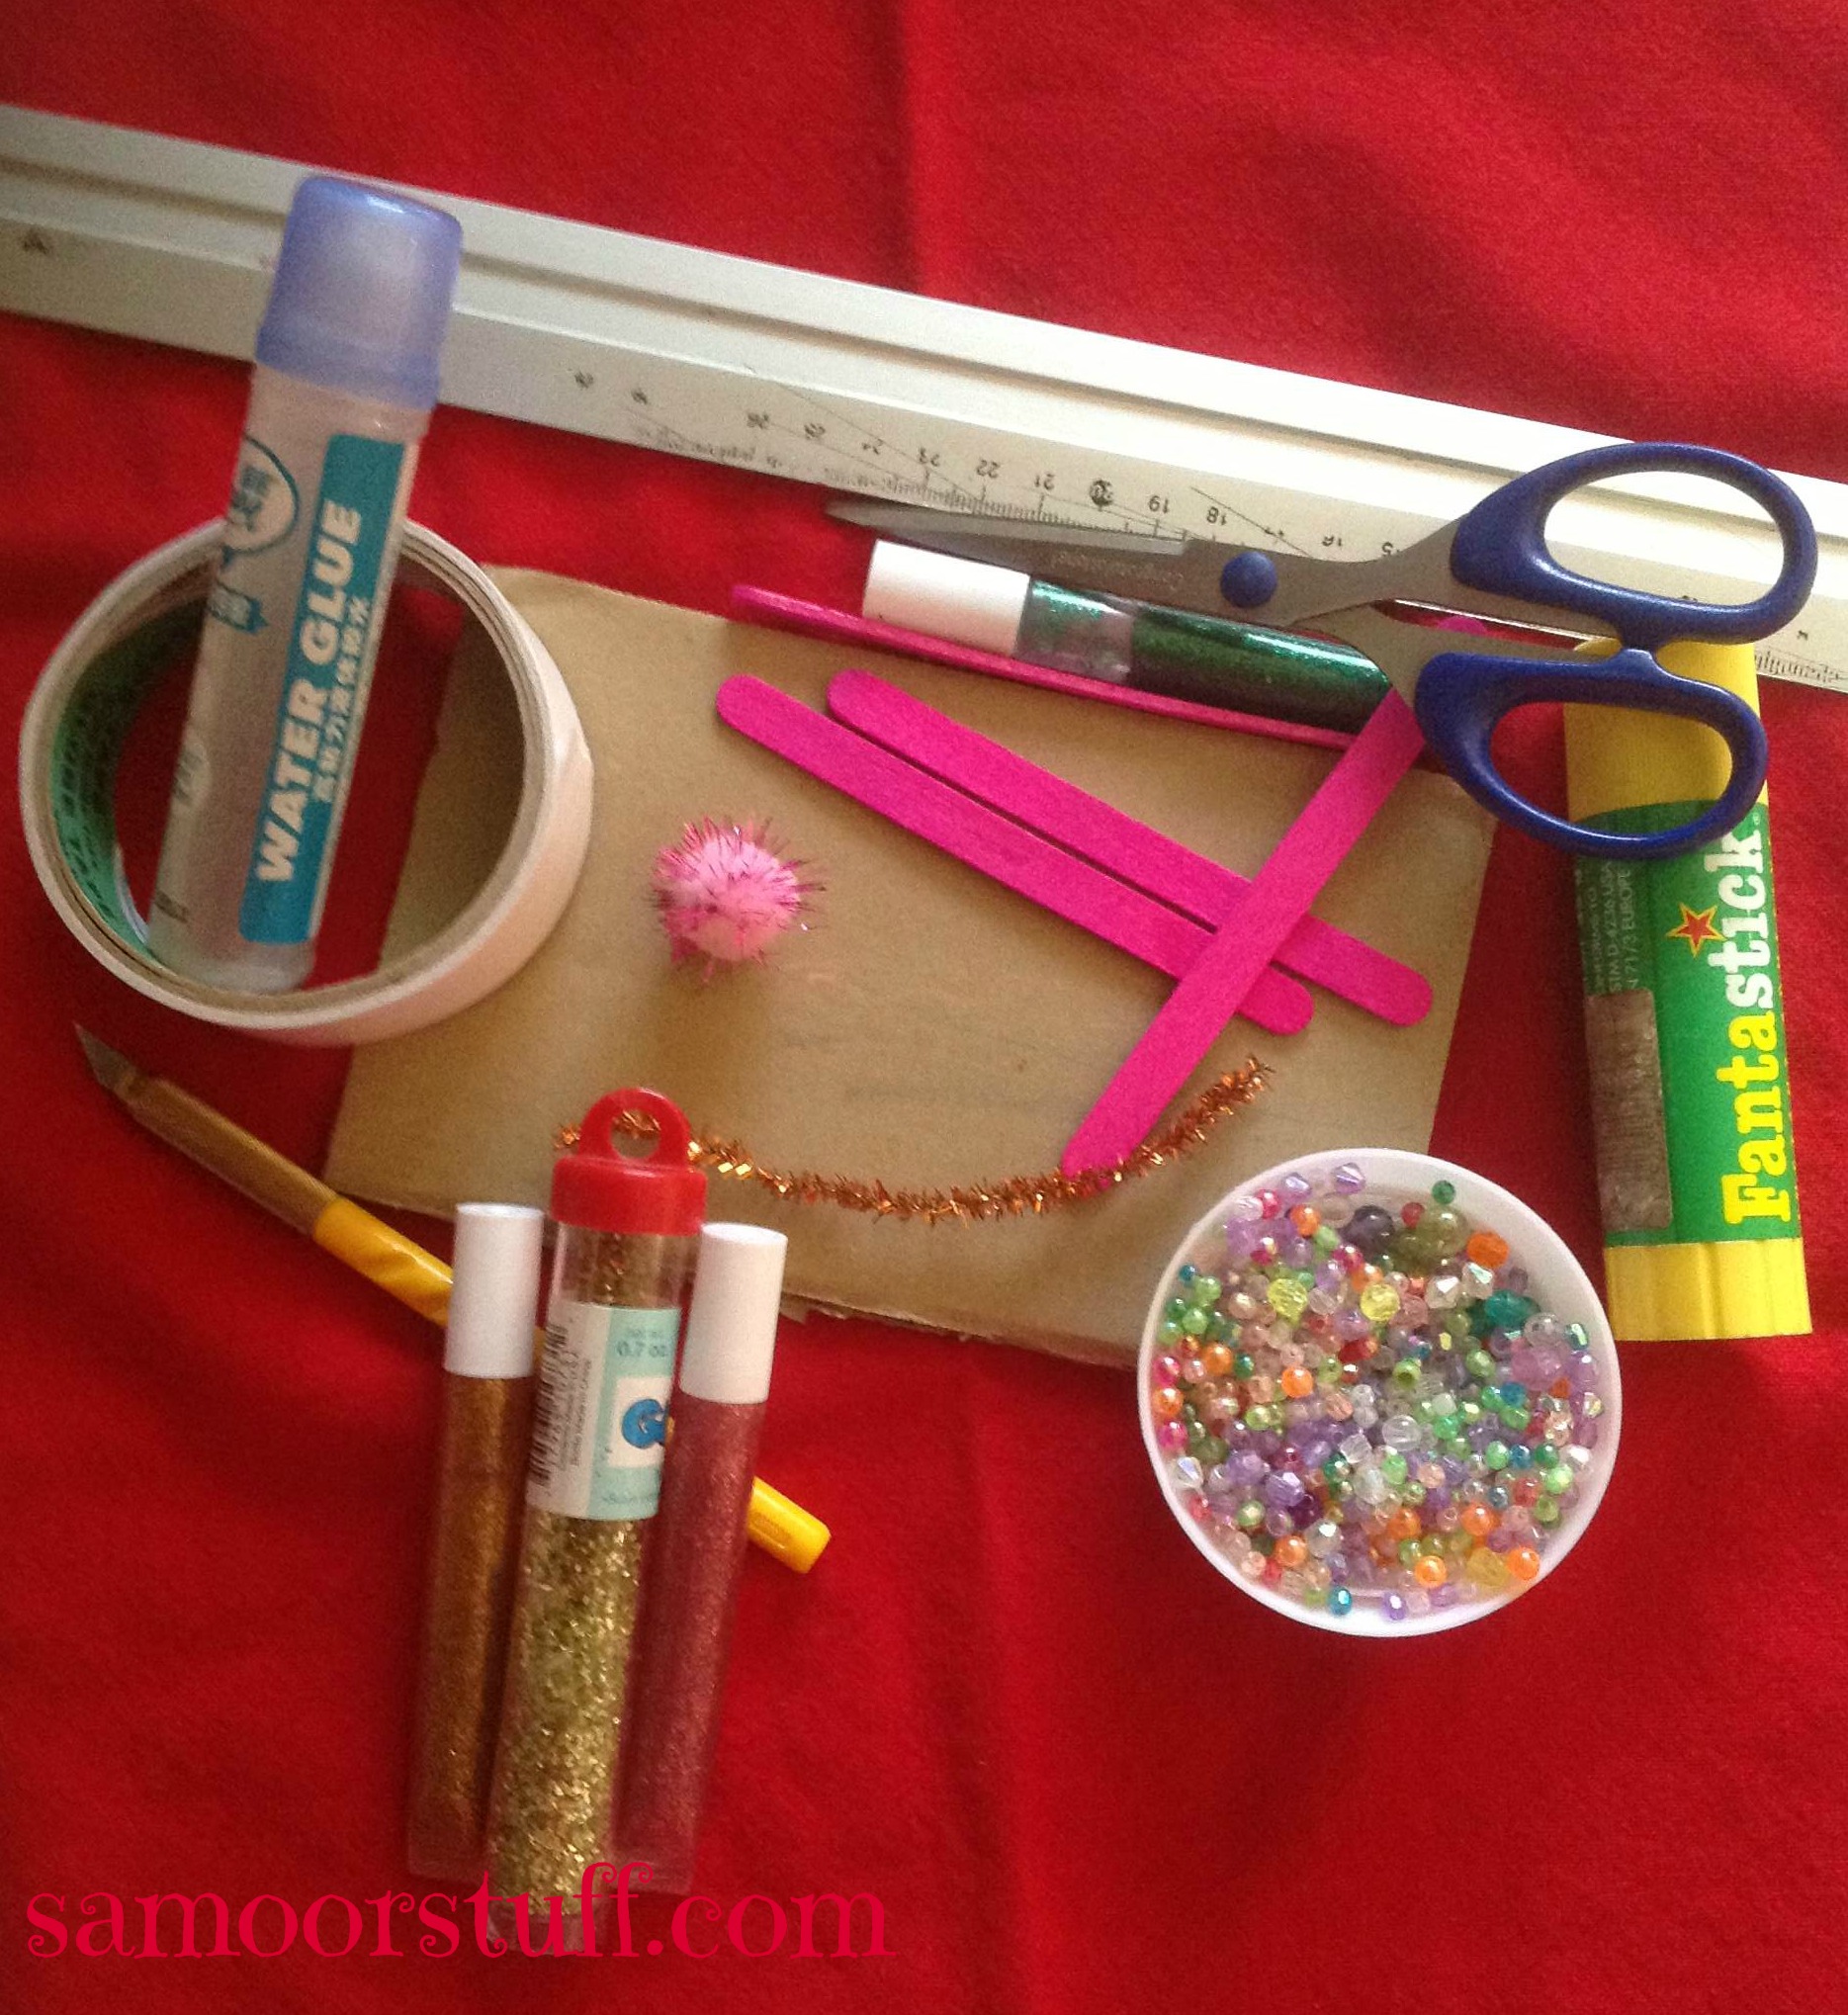
TOOLS
You’ll need:
Ruler
Cardboard (about 18cm x 11cm, 7inchx4.5inch)
3 Popsicle sticks
Glue
Pencil
Glitter
Beads
Paint
Pipe cleaner
PomPom
Any cutting tool (scissors, razor blade..)


Directions:
Measuring and cutting the door.

B1

B2

 
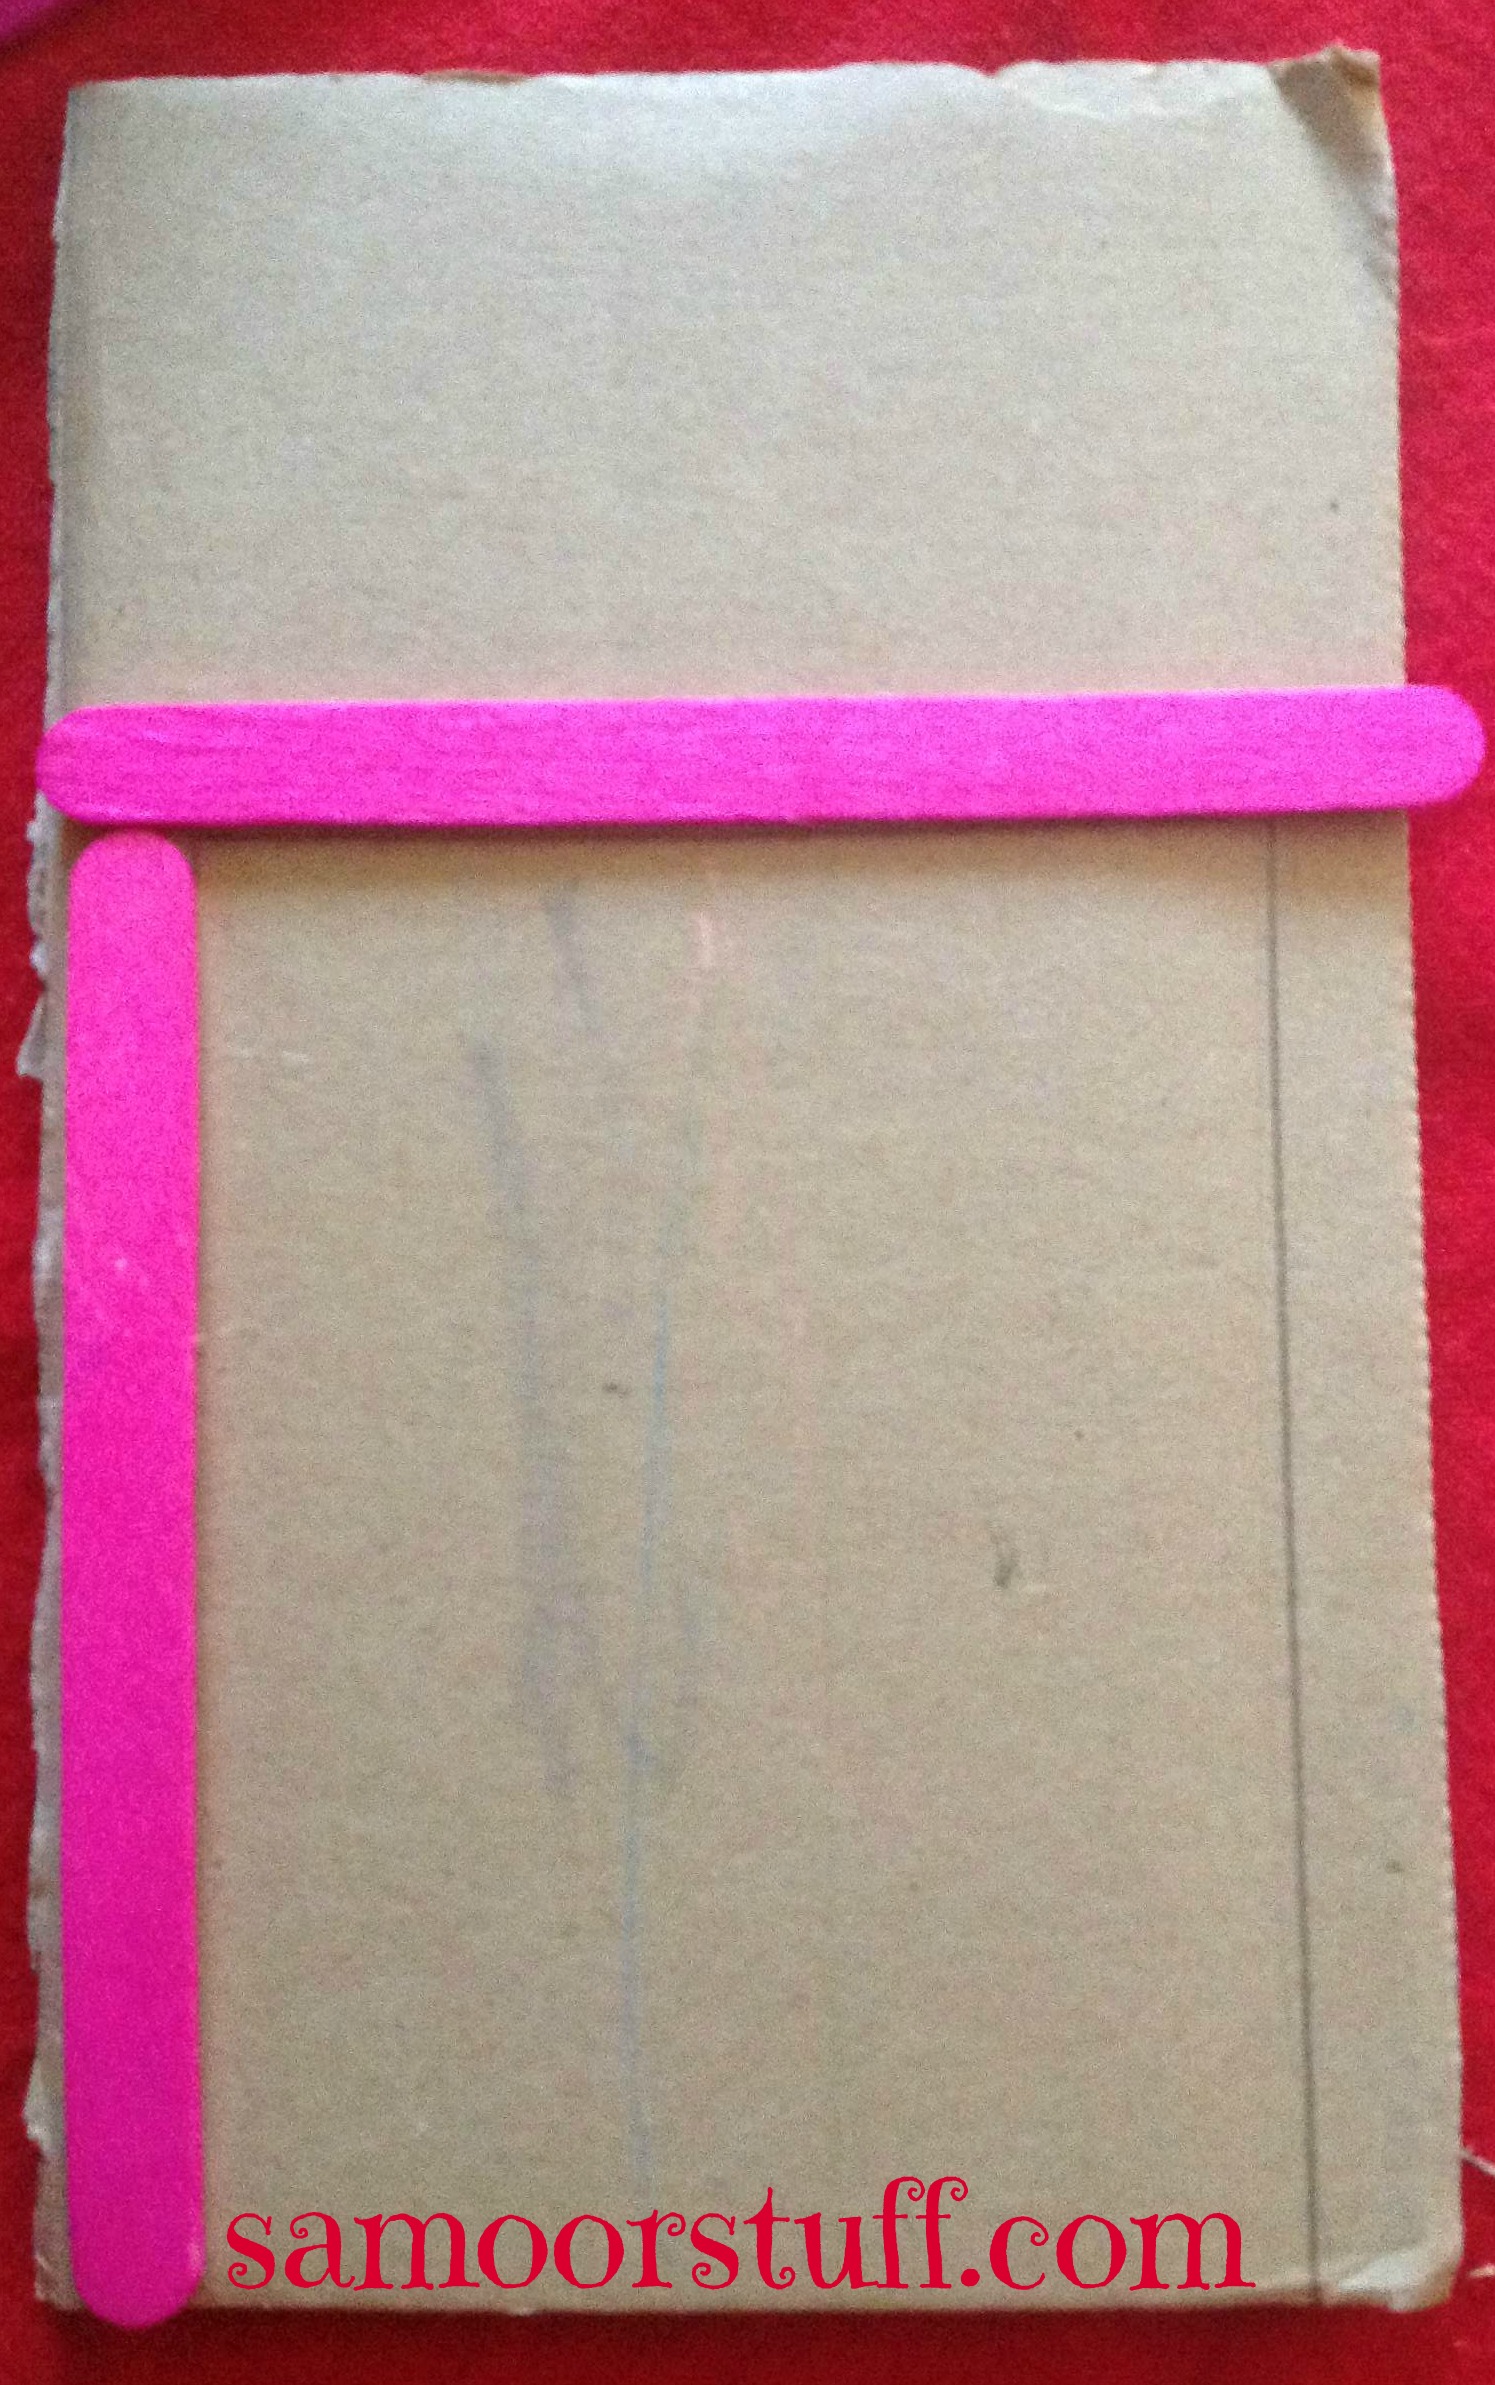
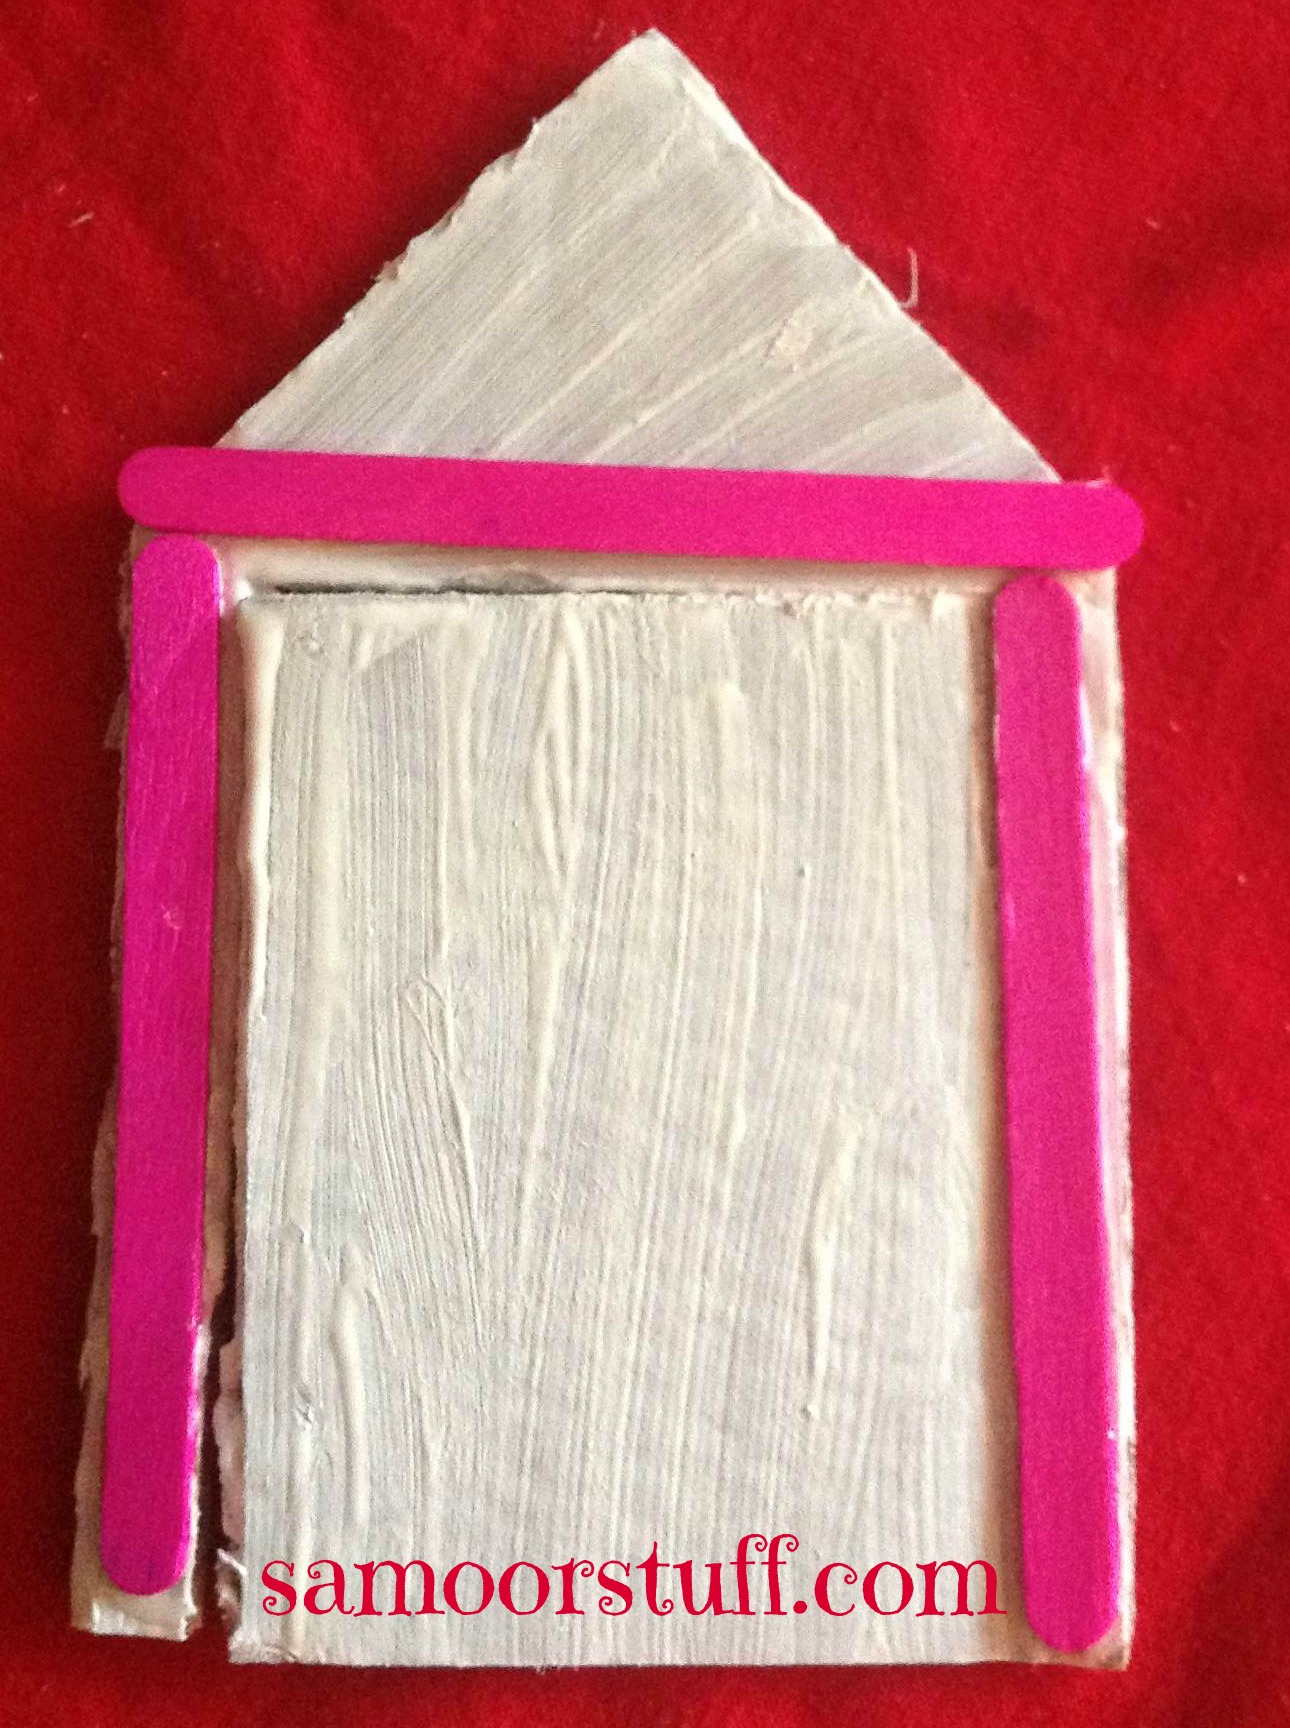
Place 2 of the popsicle sticks on the sides of the cardboard from the bottom to make and the third on the top to attach the other two making a rectangle.
 

Mark the inside of the sticks with a pencil.
 
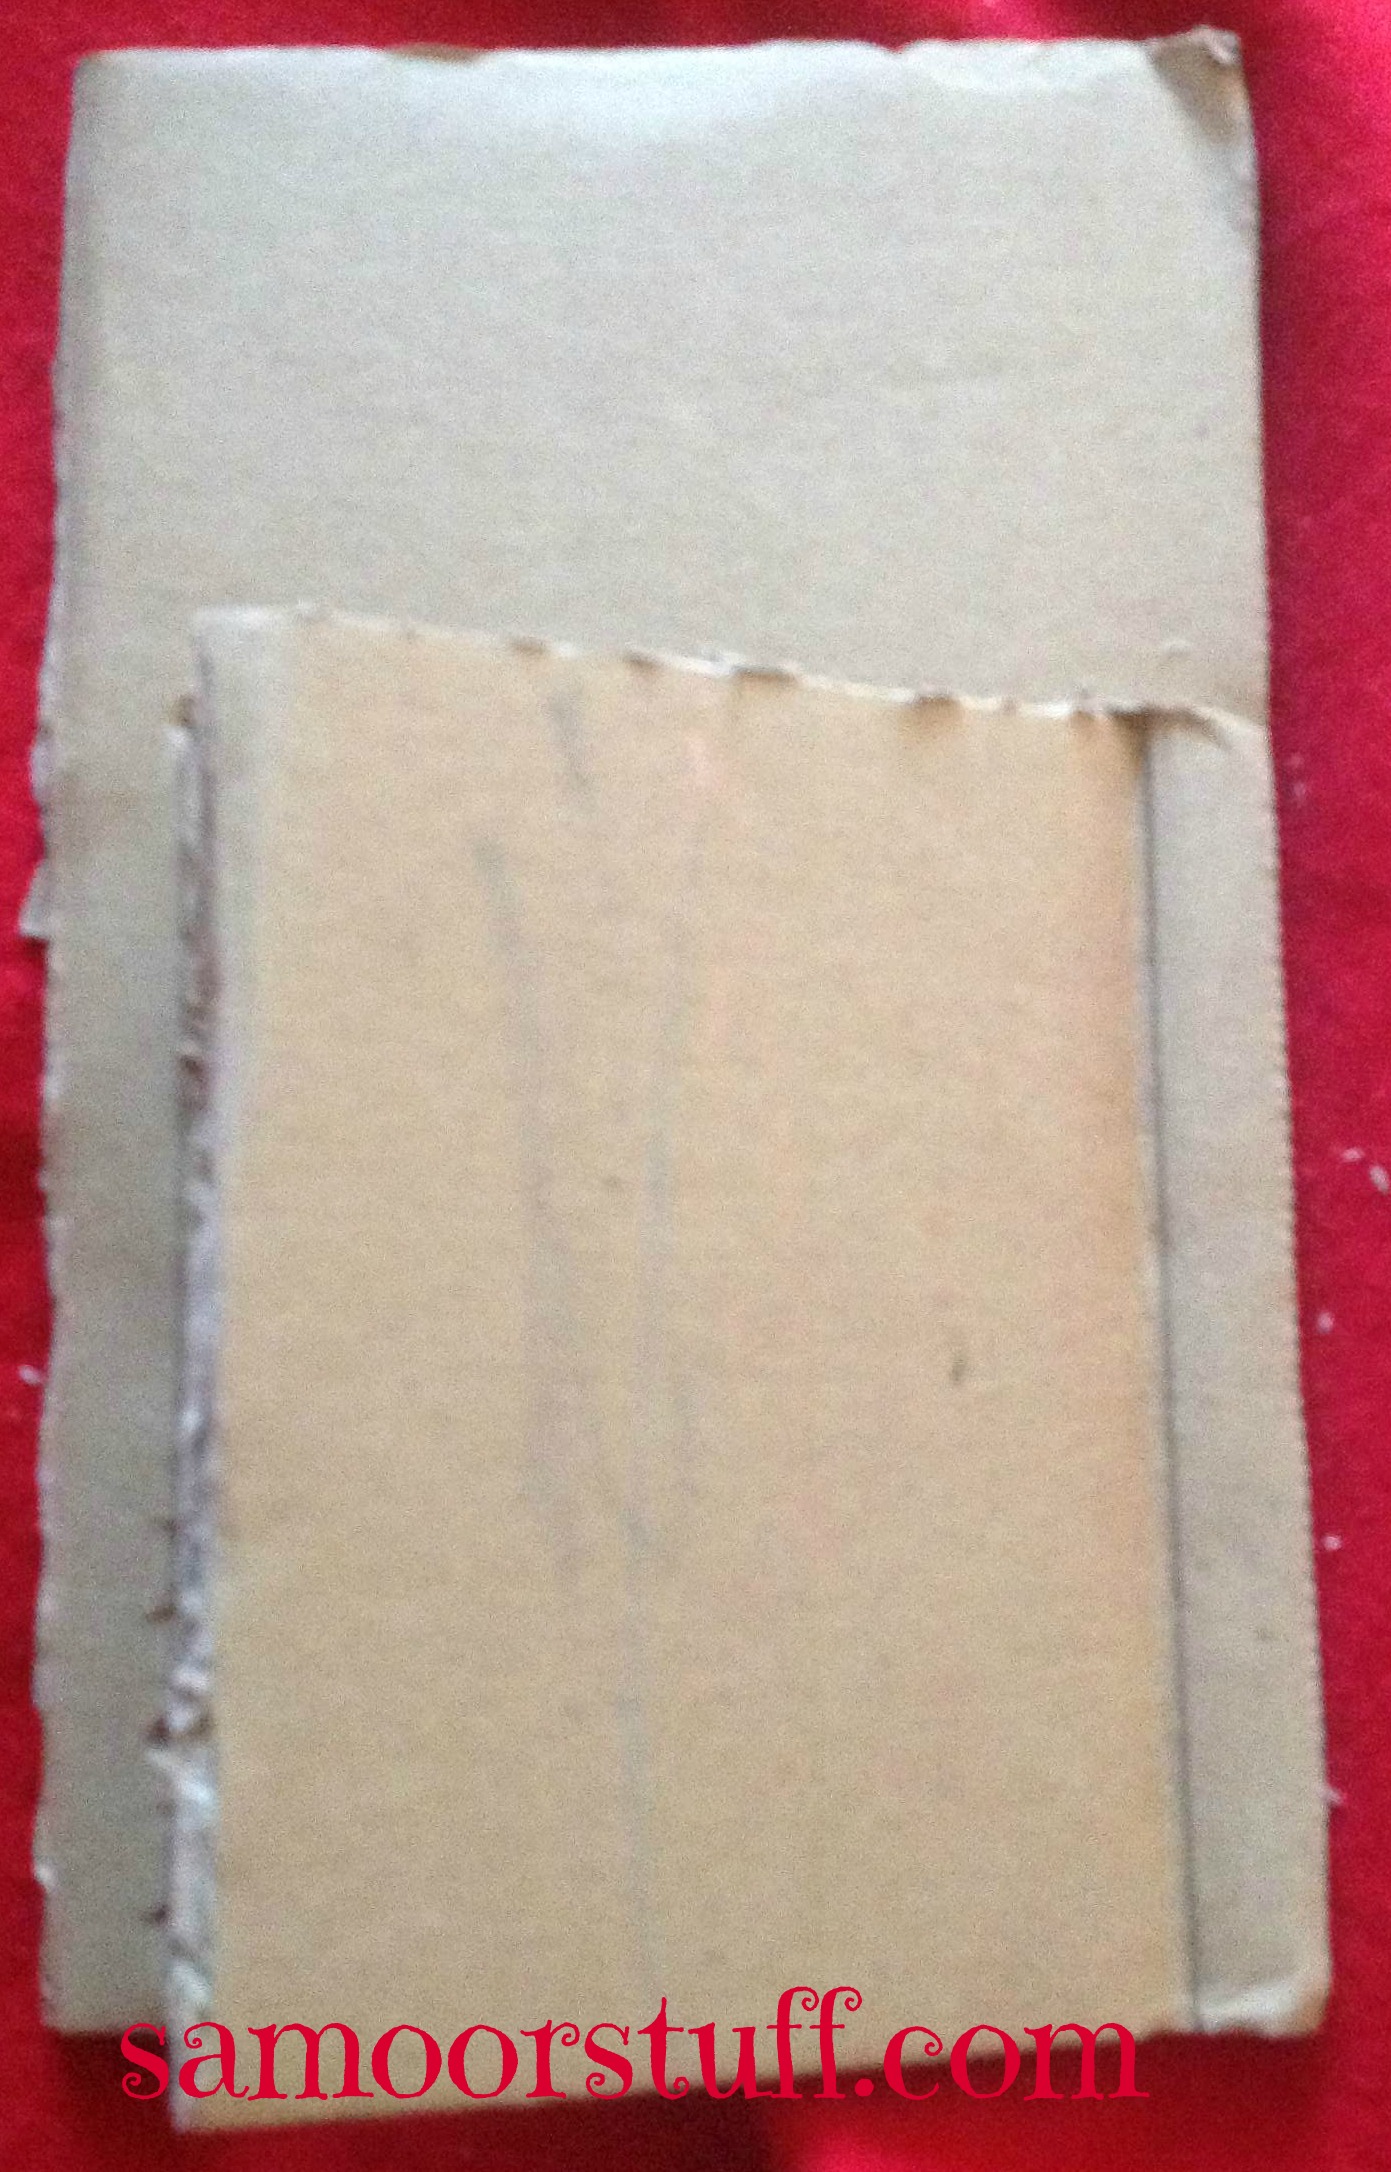
With your cutting tool, I suggest a razor blade, cut the left marking and top all the way through. Slightly shear the right marking to enable you to bend it easily.


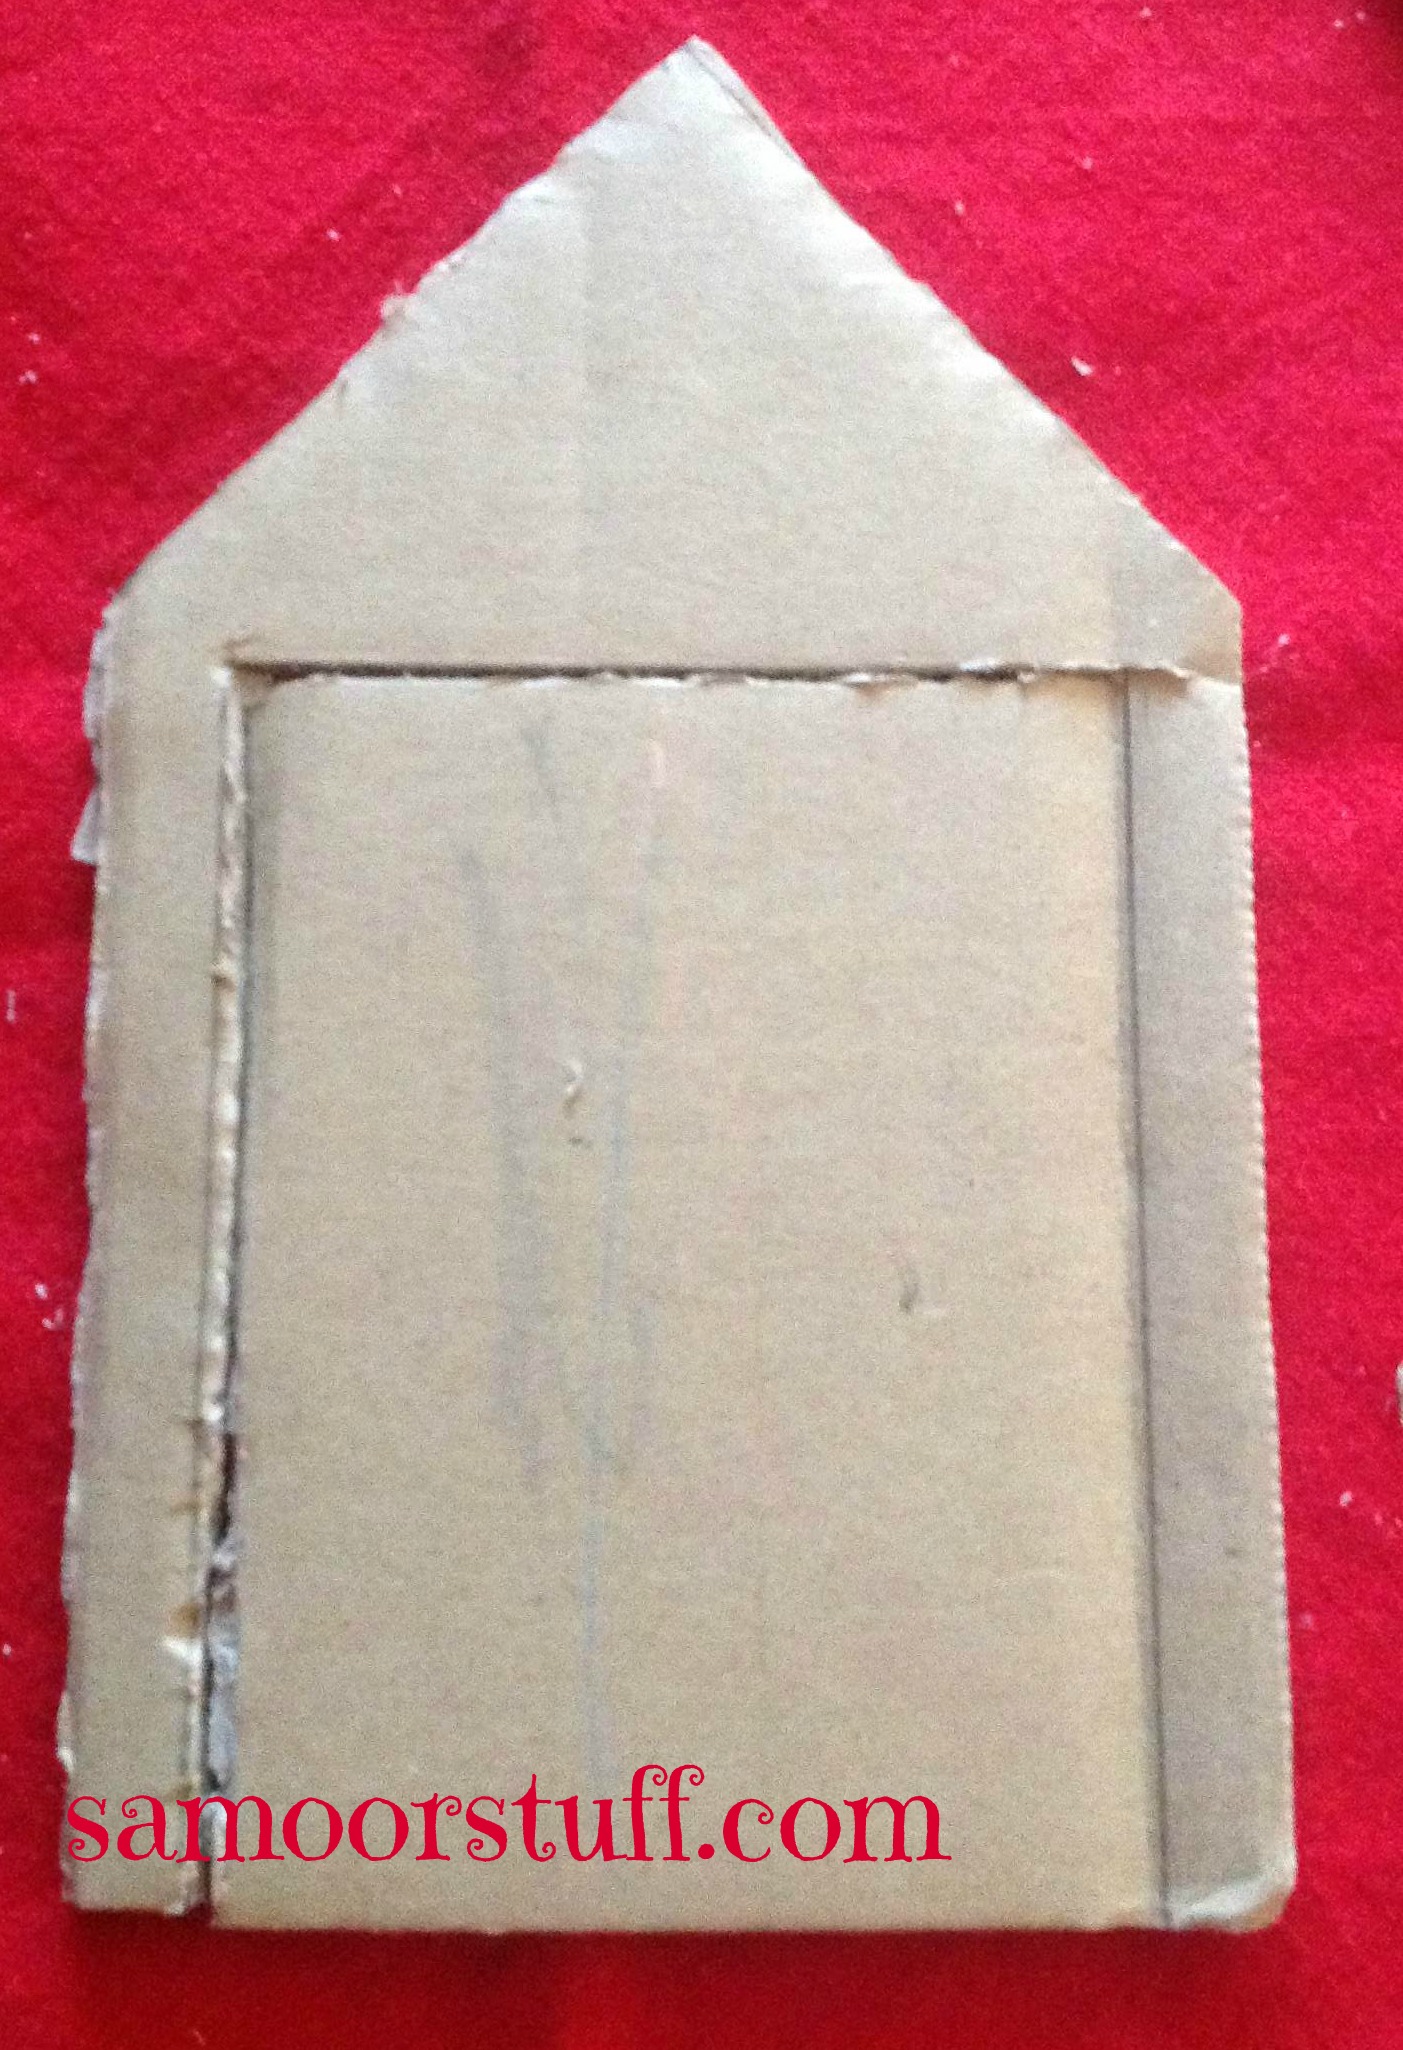
Cut the top of the door as to resemble a rooftop.
B3


B4
B5

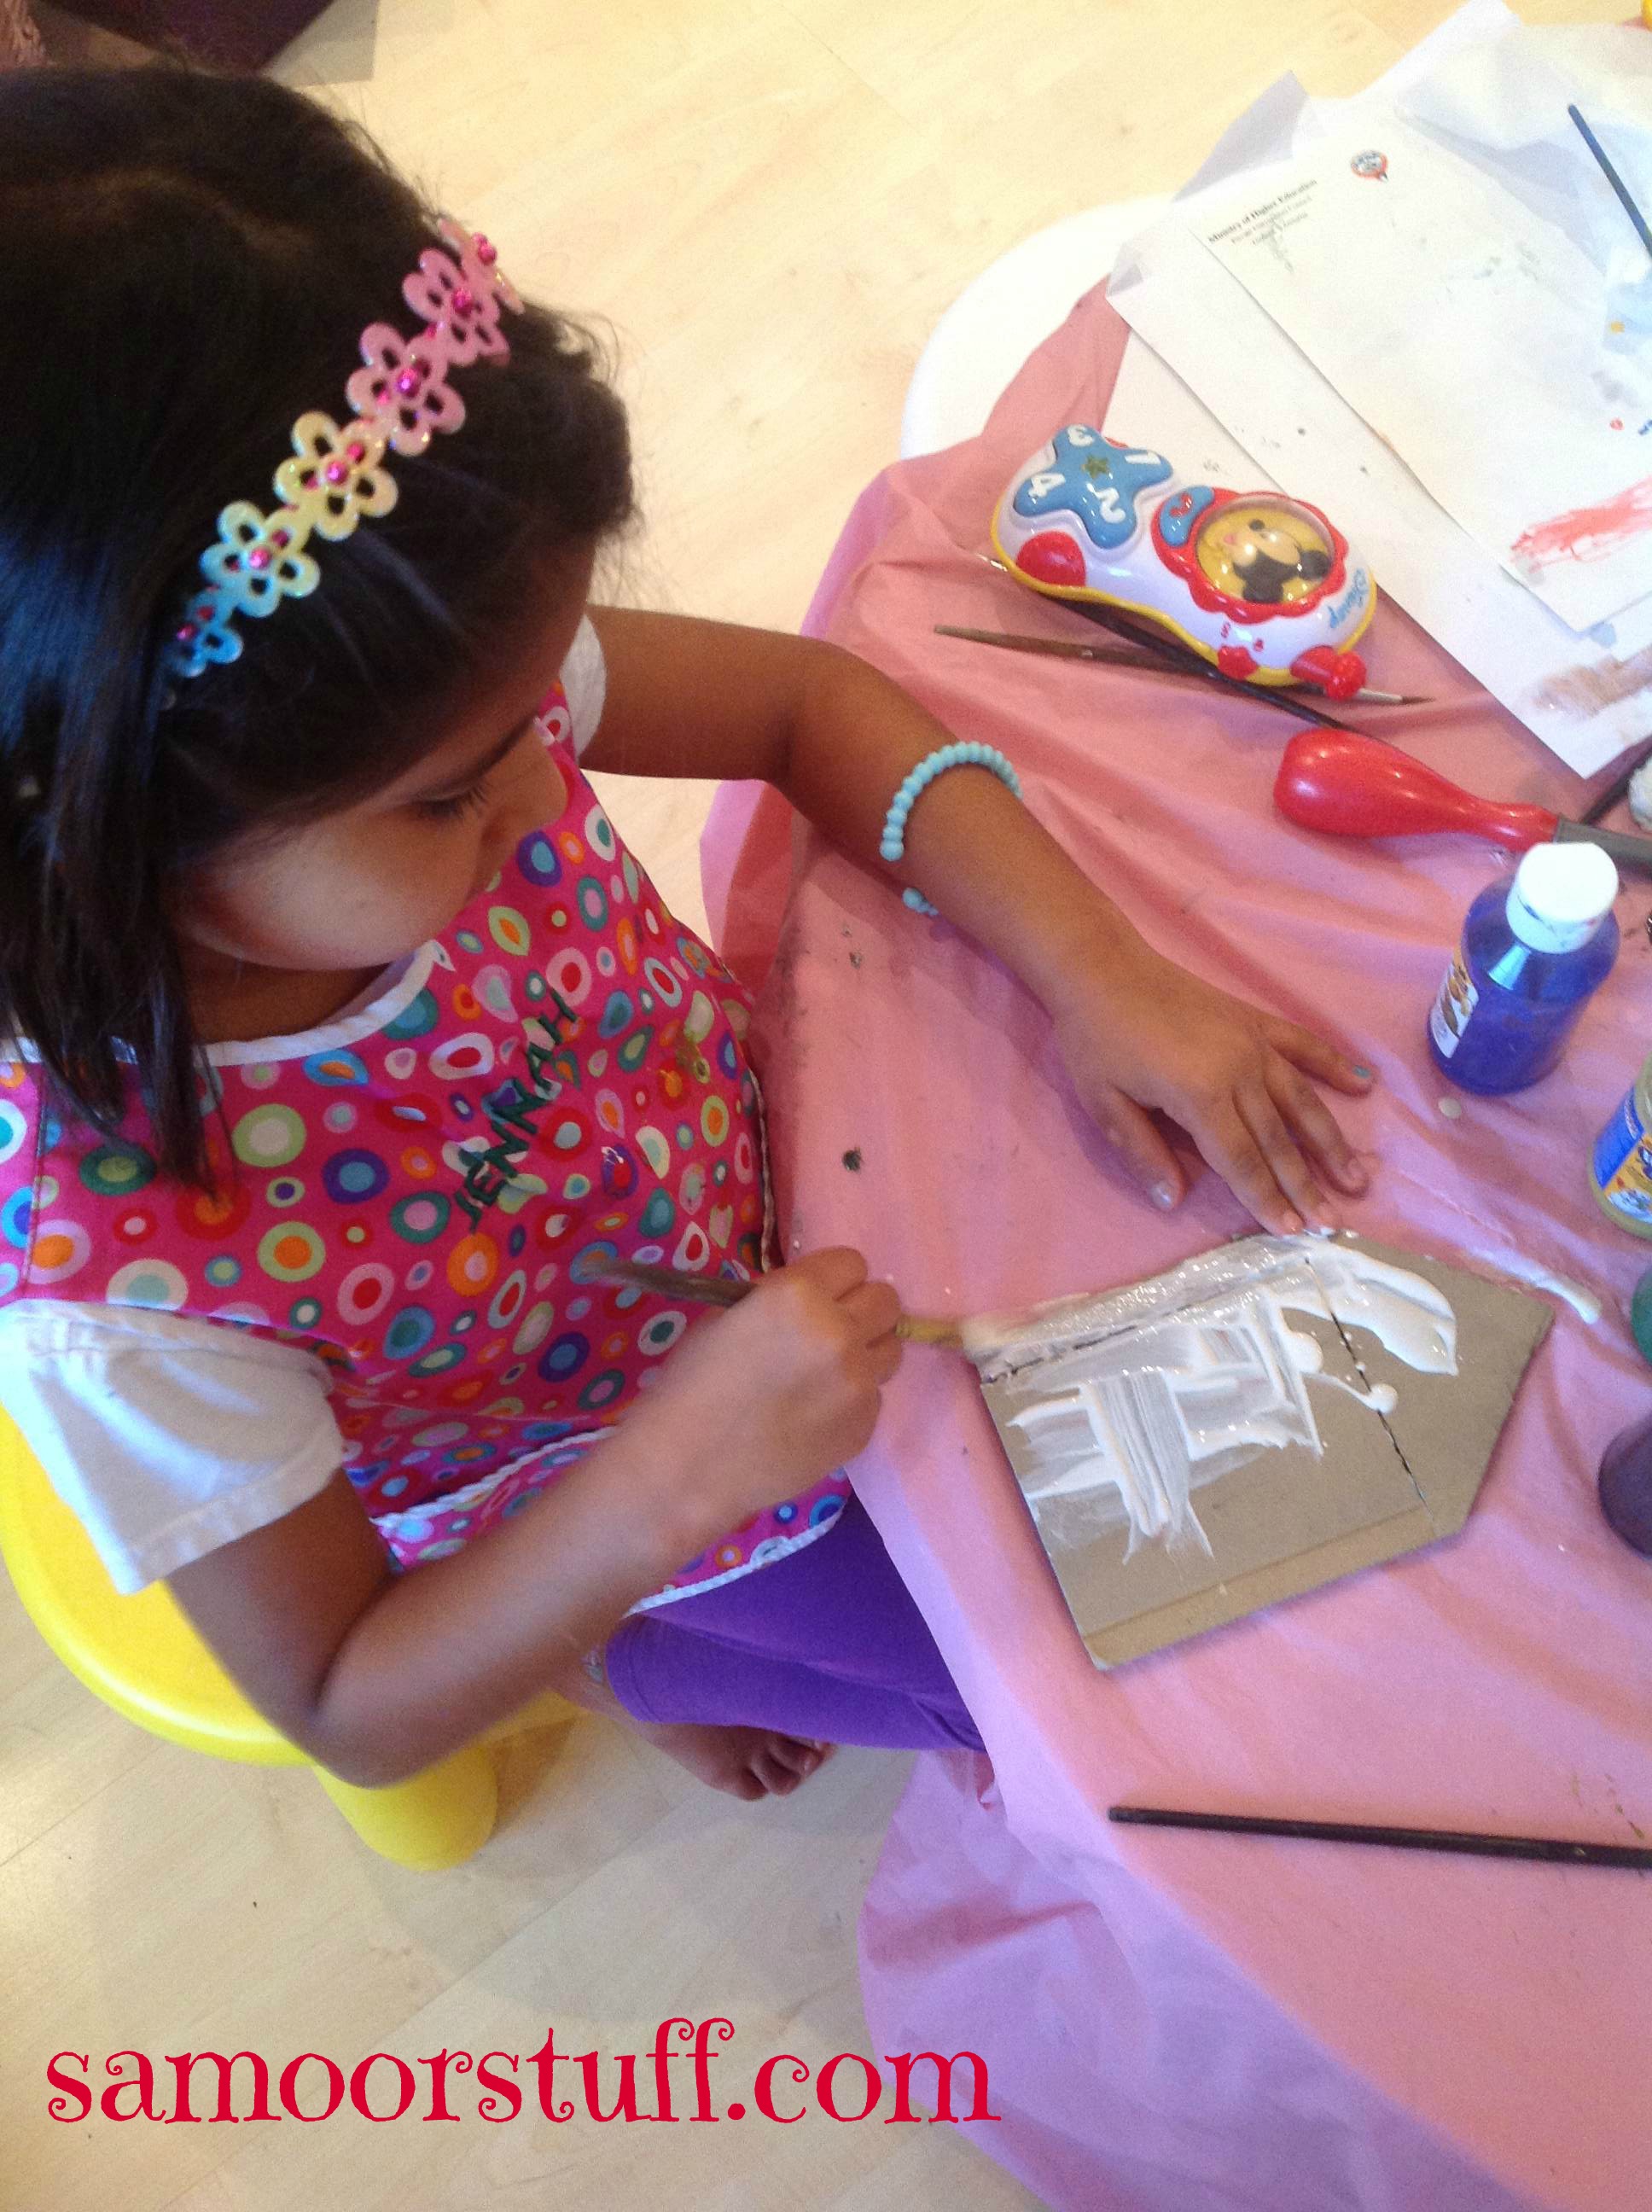
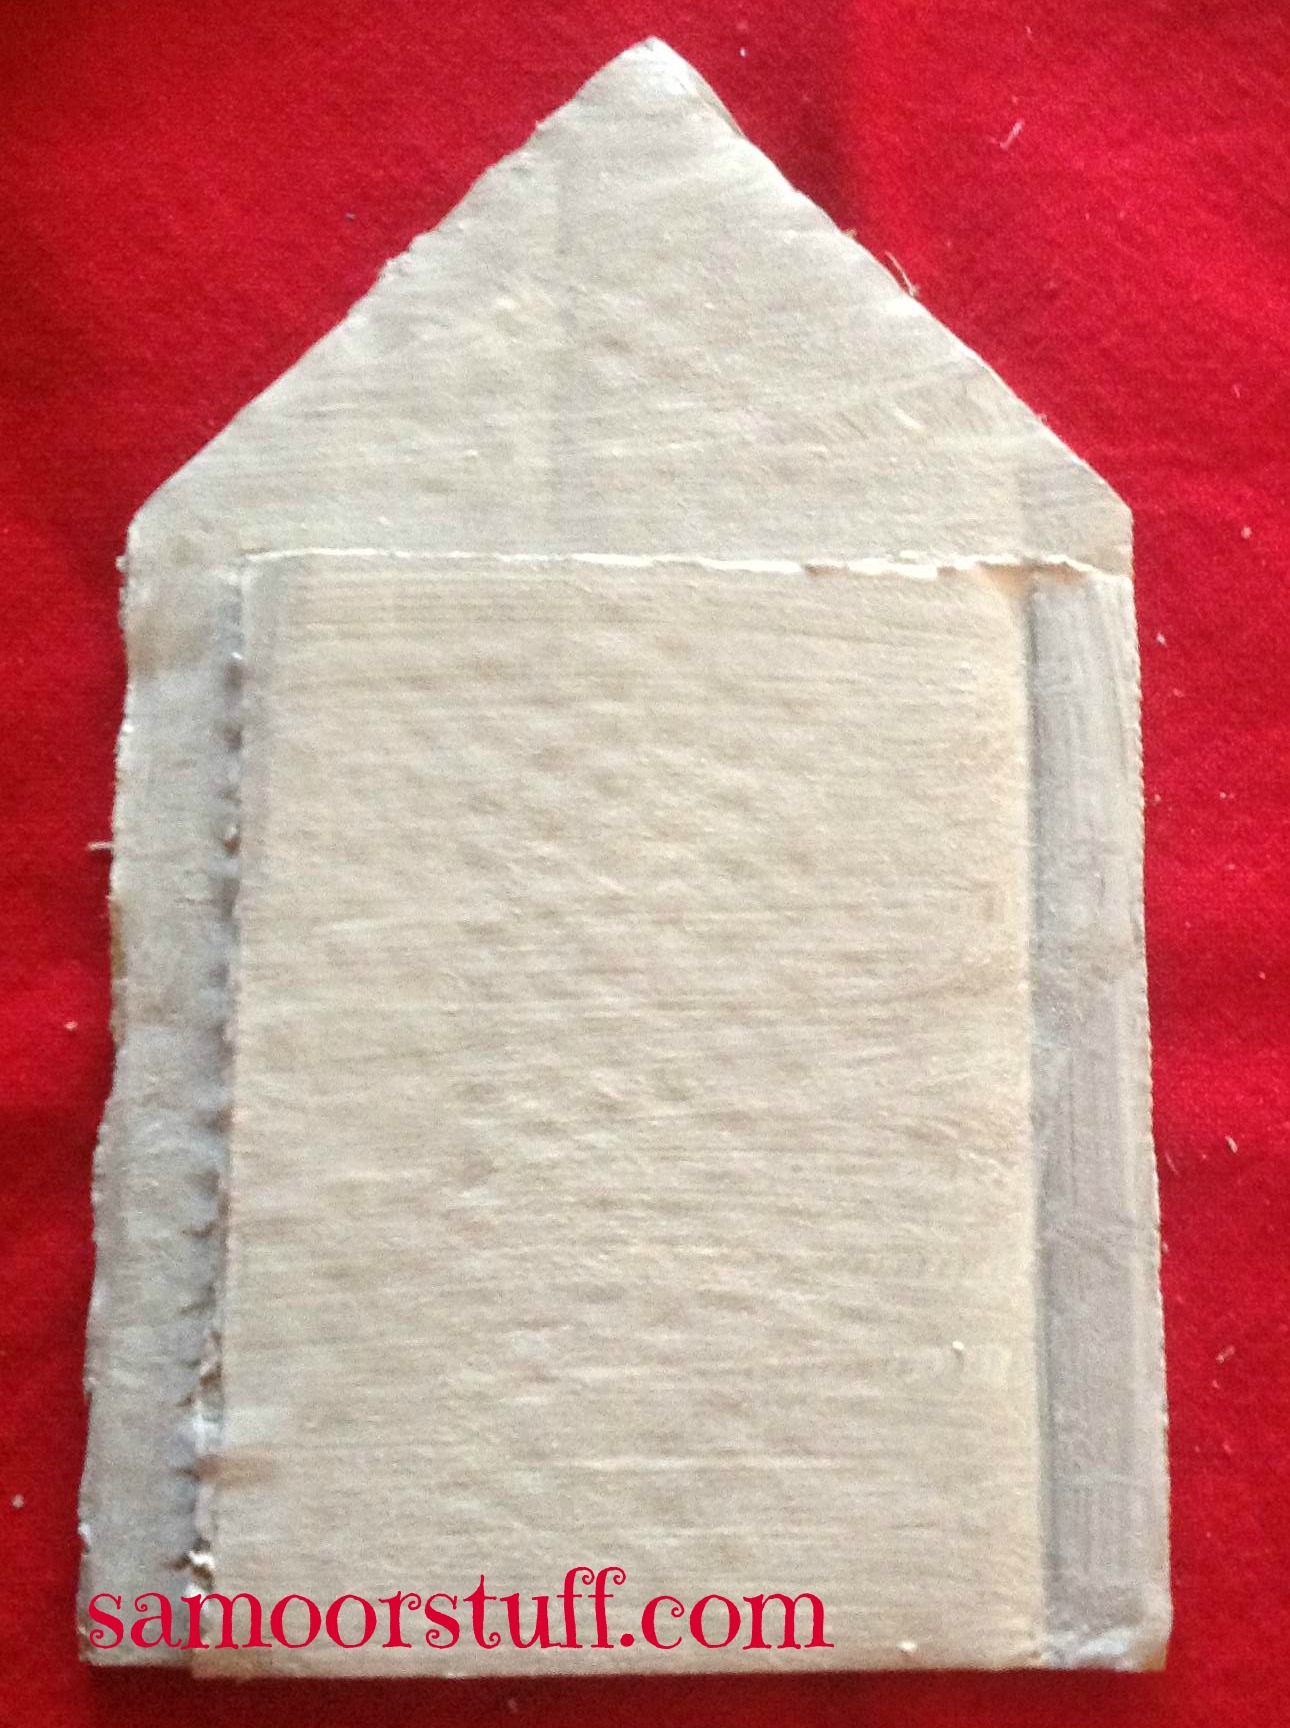
Paint the cardboard white or any color your child prefers.

Other ideas would be to either use white cardboard or cover it with tissue or construction paper…

We went with painting because it’s just more fun for the kids!


Off course the challenge is to keep them occupied with something else while the paint dries.

My suggestion is stick to the Tooth Fairy theme and either makeup or read a tooth fairy story or find cute facts online about Tooth Fairies.

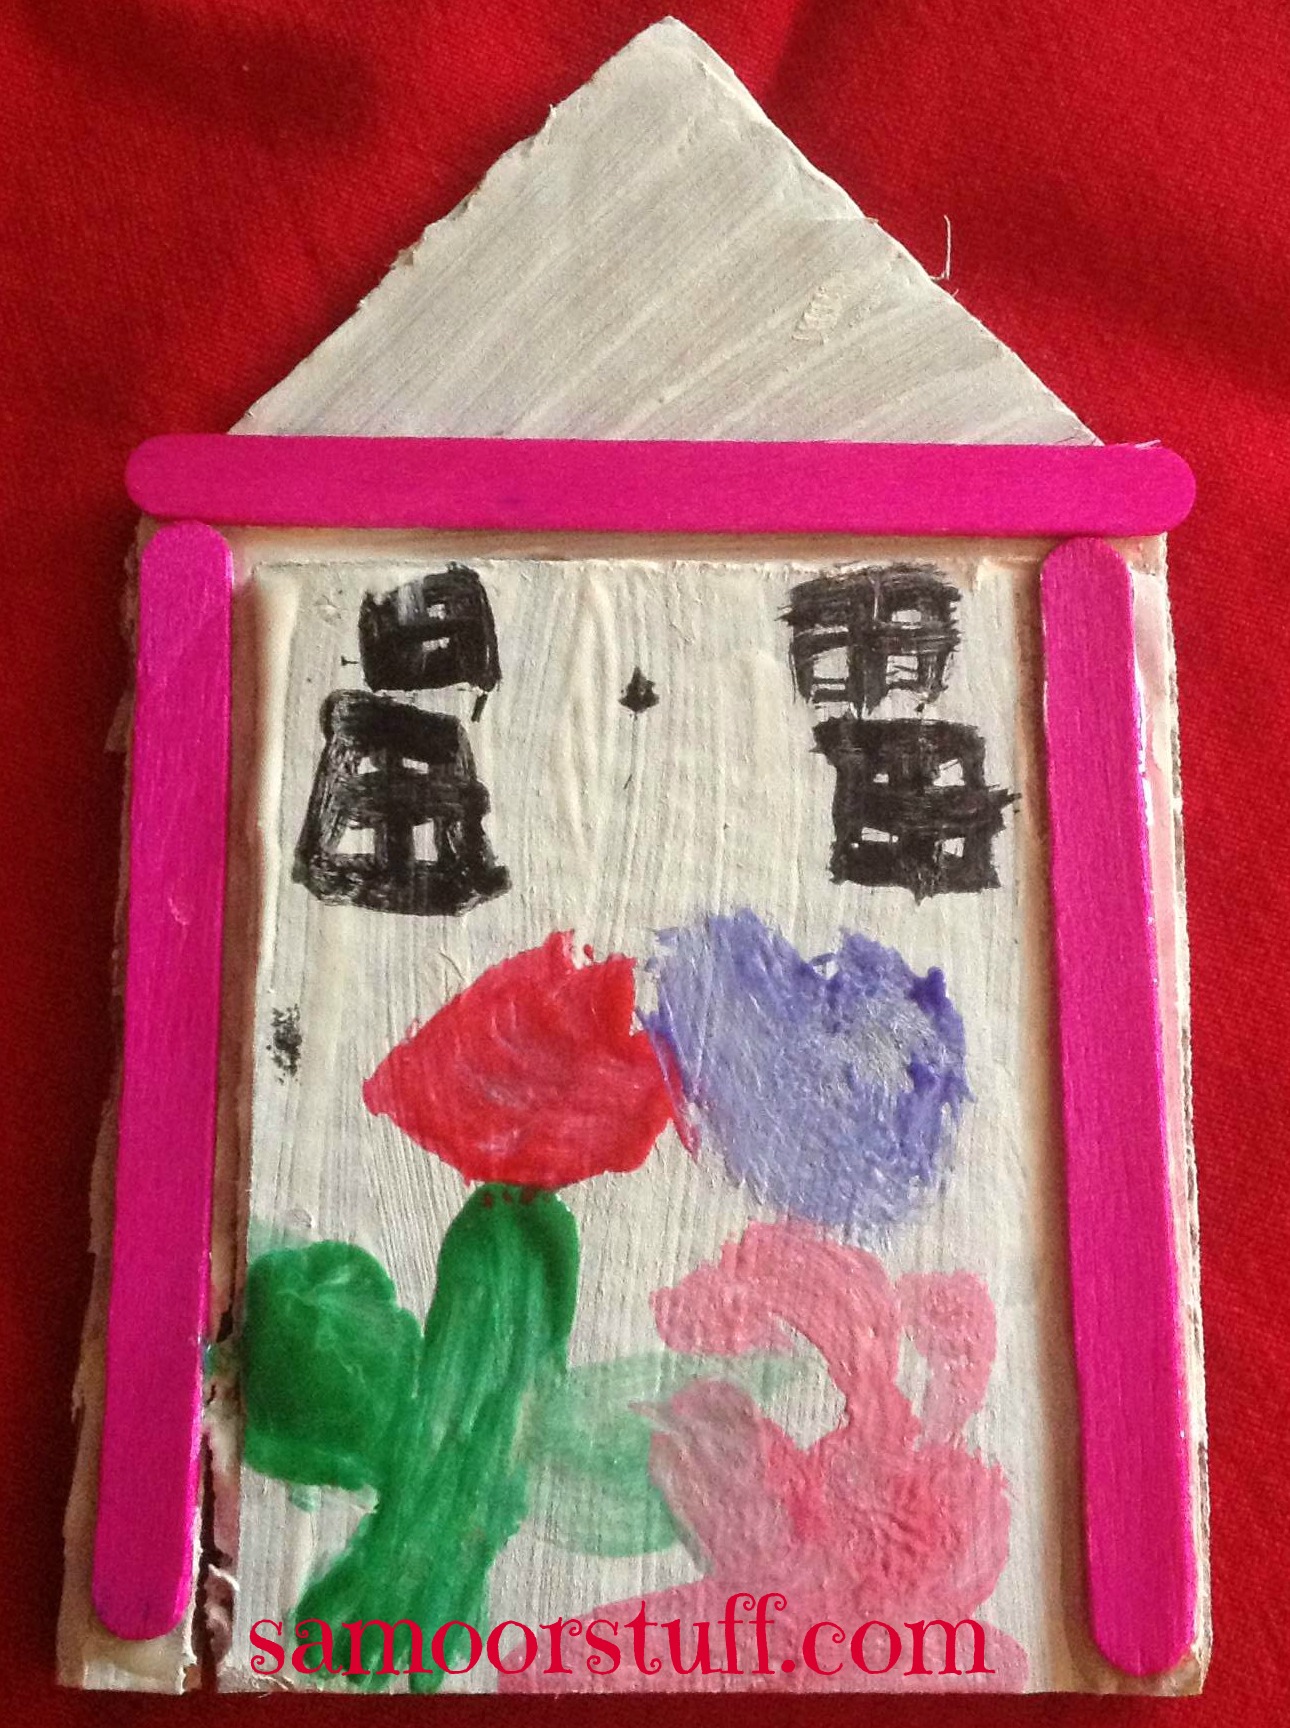
Glue the popsicle sticks on the sides and top of the cut/ folded edged of the cardboard.

B6


B7

Now the real fun begins….

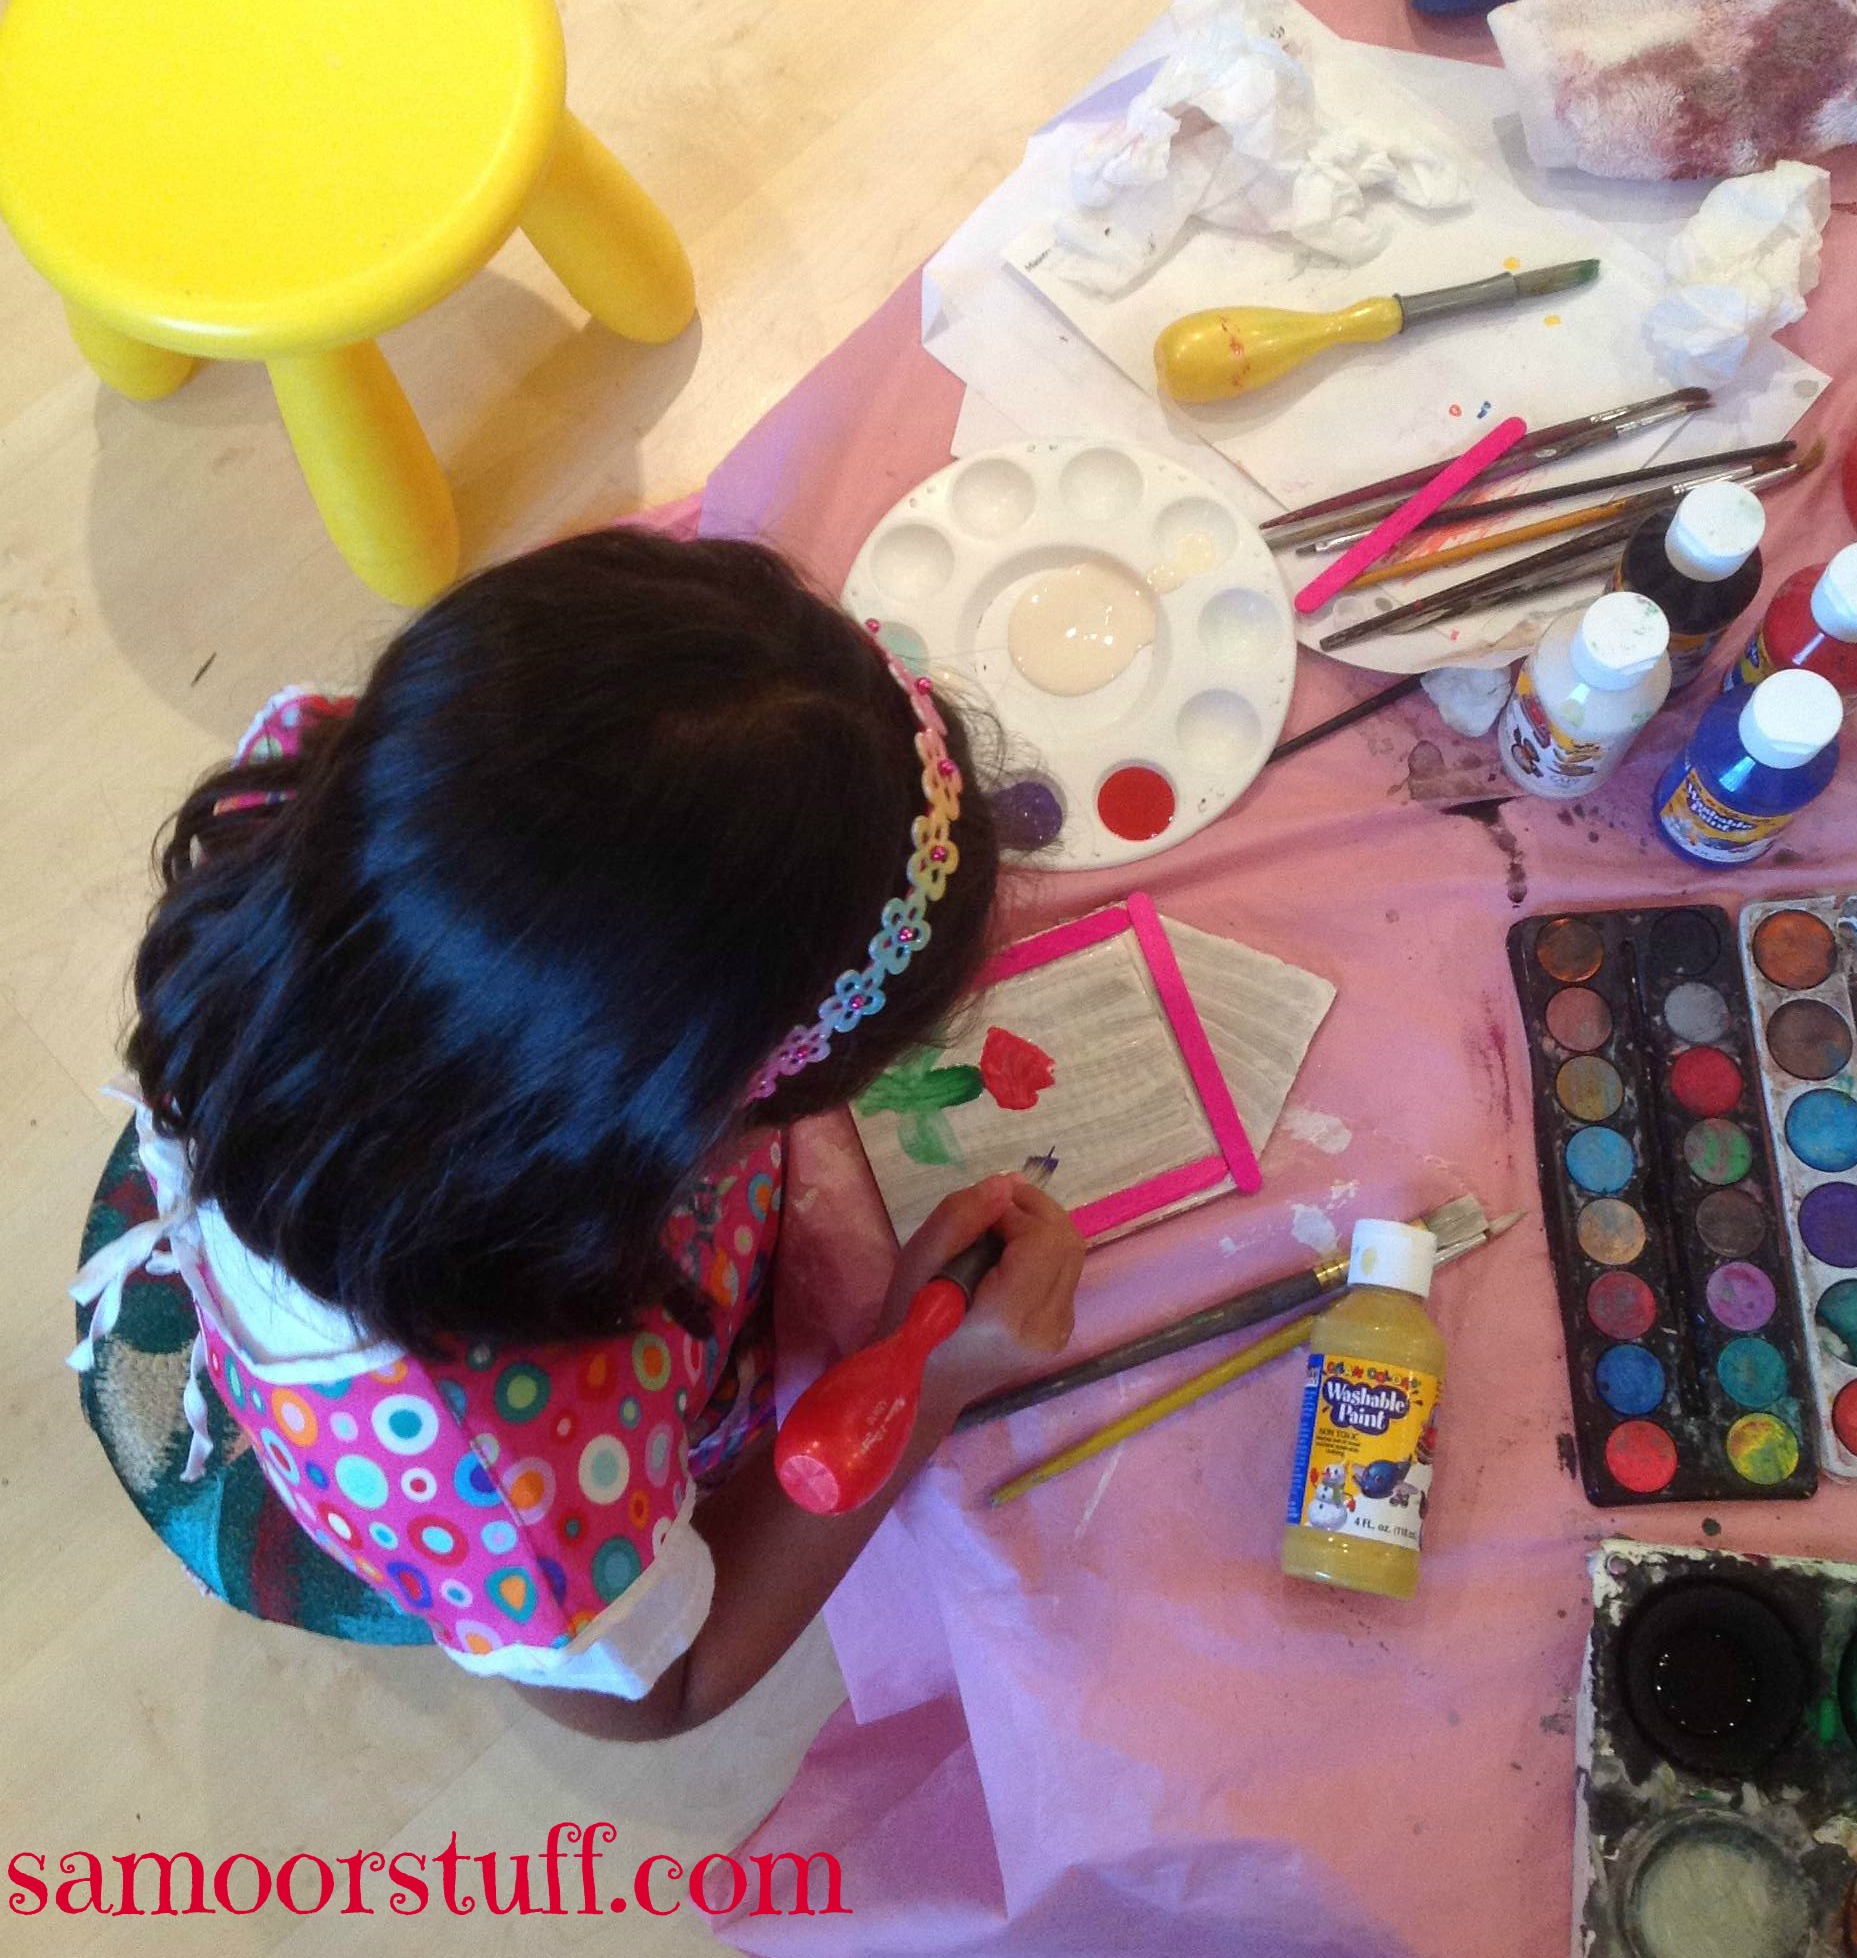
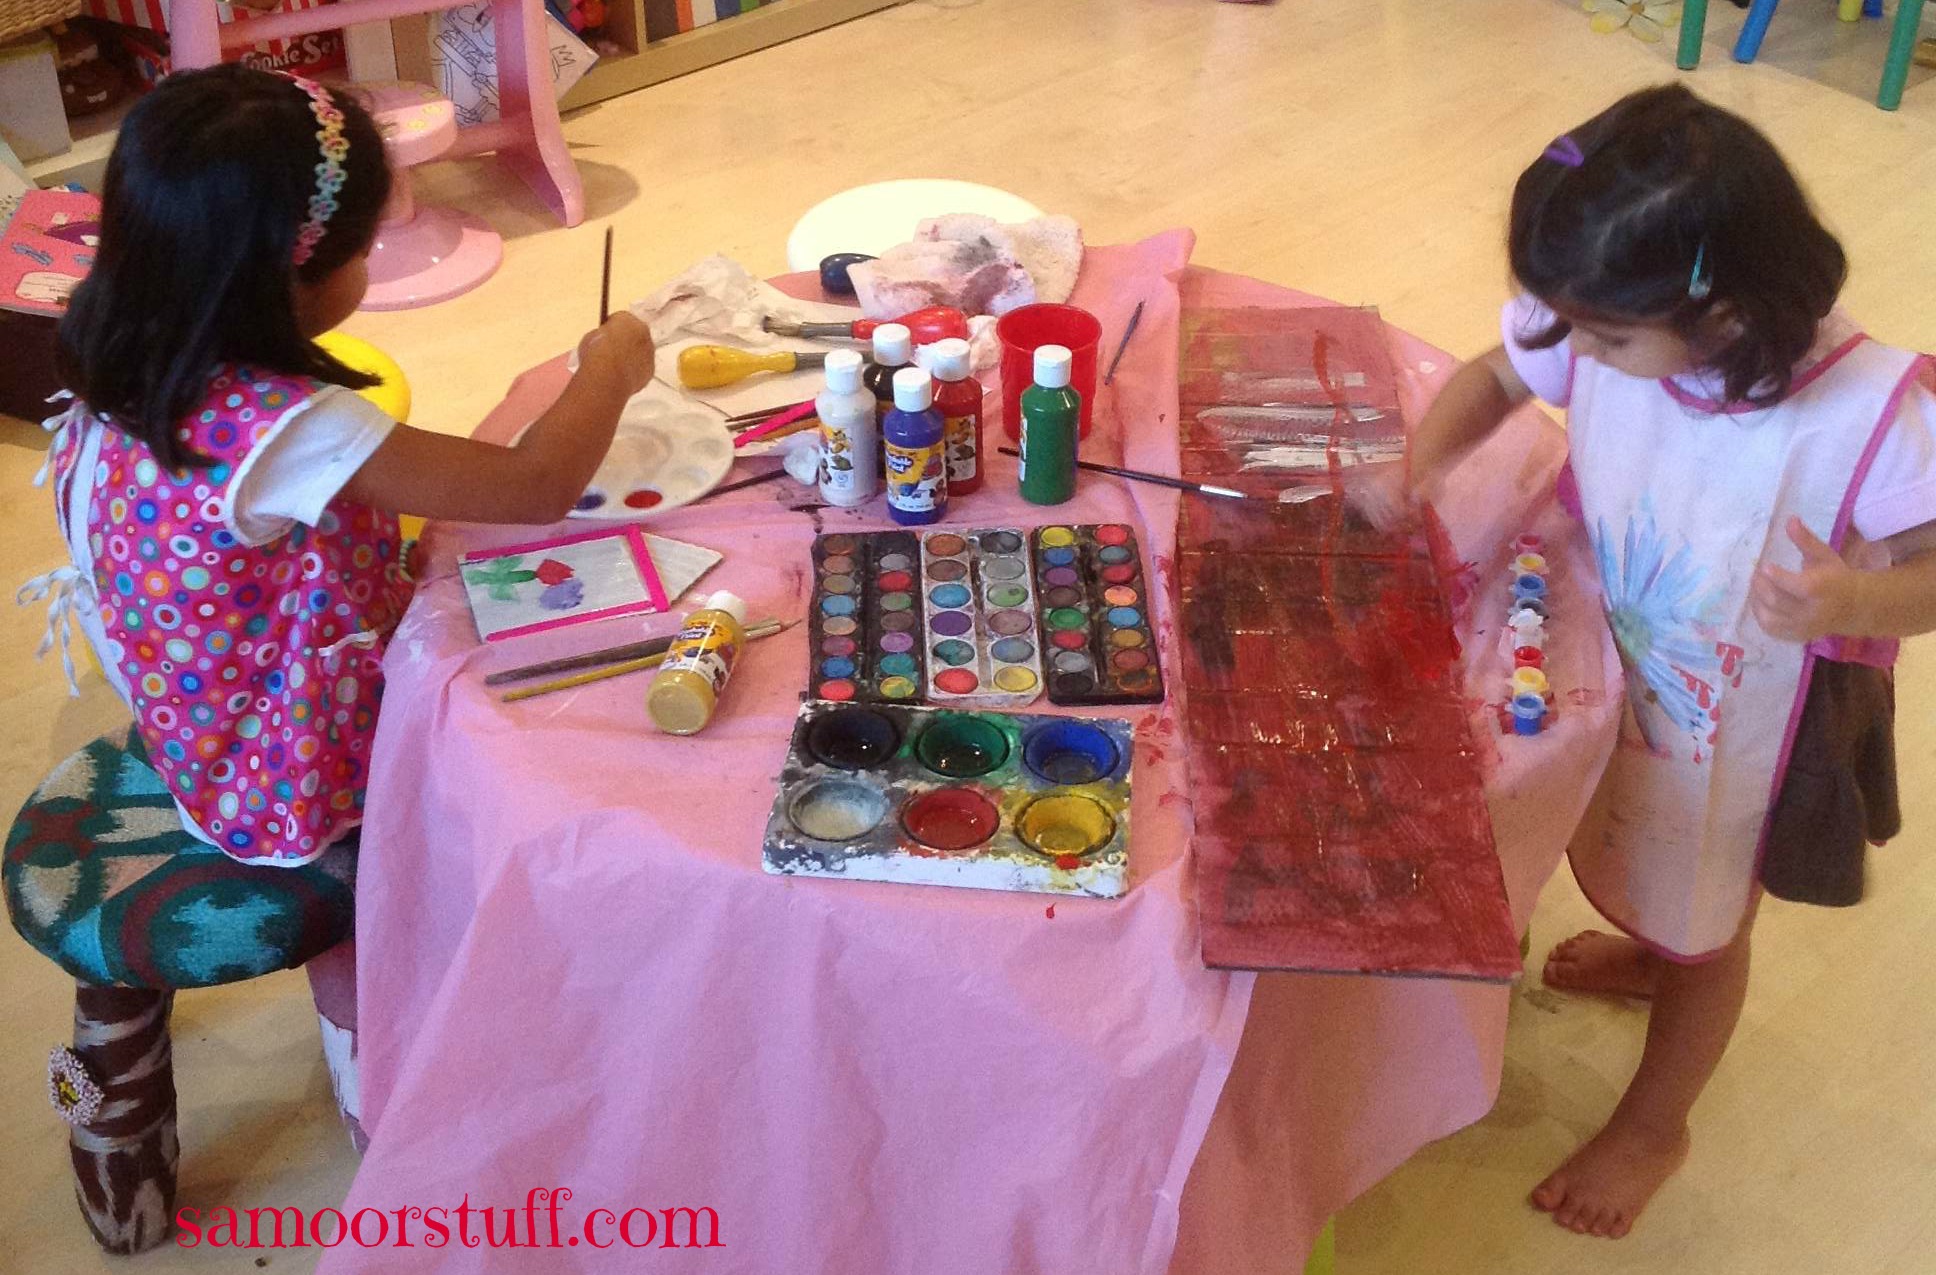
Let your child paint and design the door the way they like. In my world that’s really hard to ust let them do it “their” way.

If you have a younger child that’s continuously getting into the older child’s work keep them involved tooo….

I gave Zeenah a big piece of cardboard to paint. That really kept her busy and away from her sister’s project.

B8

  
B9
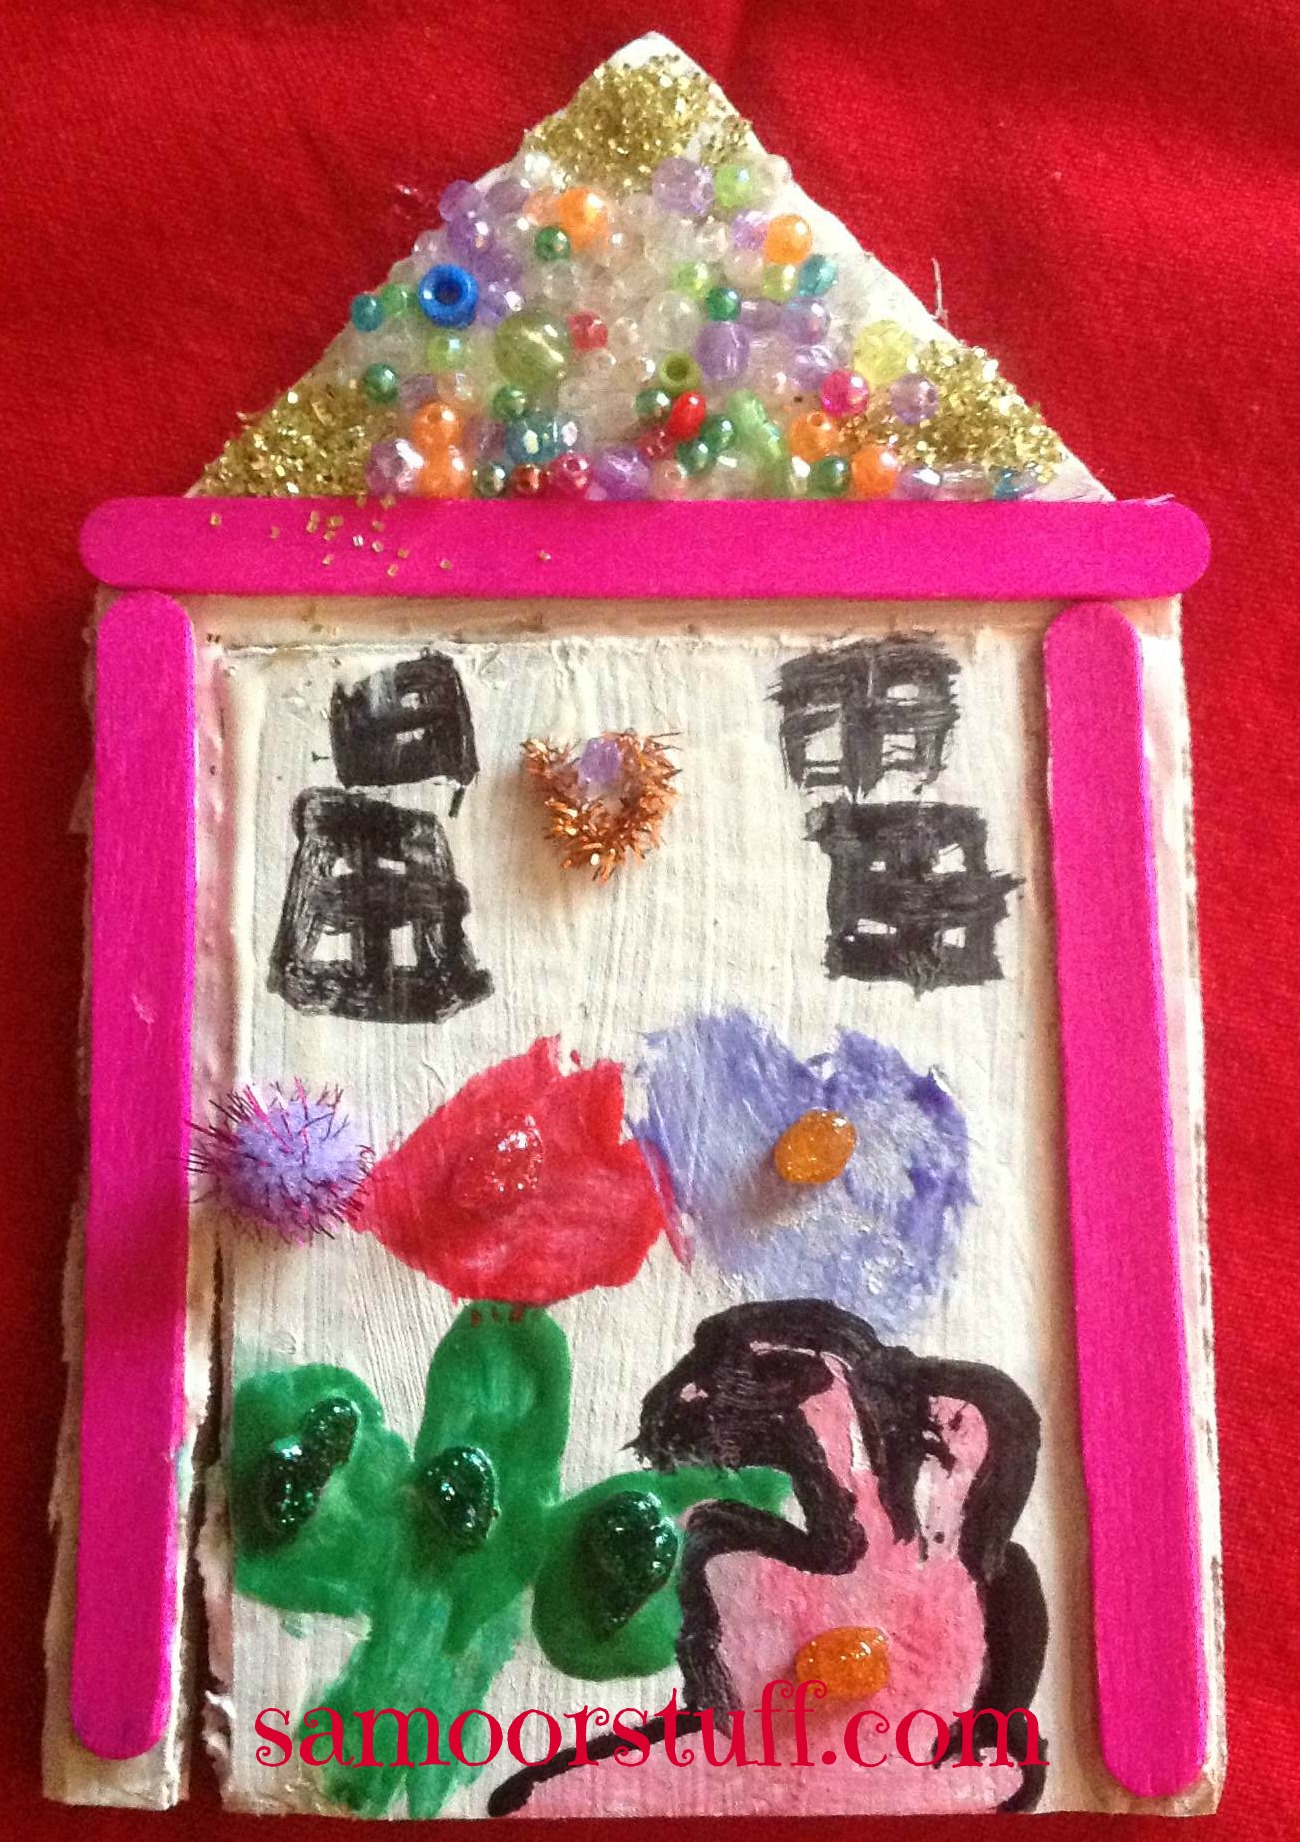
After the paint has completely dried it’s time for the Fairy Décor!
  
D10

Jennah added the beads, glitter, pompom for the door knob and the pipe cleaner for the door knocker.
 
Now you have a gorgeous Tooth Fairy Door that can be placed anywhere the night of the lost tooth allowing her to enter and surprise your child with something in the morning.

Here’s Making Life Memorable one lost tooth at a time!

Paper Mache

Paper Mache

There is something fascinating about getting your hands dirty and being messy while doing some craft or arts project. I’m not talking about just for kids but also as an adult.

Maybe it’s the feeling like you’re a kid again and reliving your childhood but I never realized how thrilling it was until I actually got my hands dirty.

Part of planning my girls’ birthdays is making the piñata. An easy yet long process because of drying time, especially if you want to make it into a specific shape.

The key to making a good piñata isn’t just the design but also having a really good Paper Mache recipe.

I would love to use professional Modge podge but unfortunately it’s not sold in bulk and isn’t cost effective for big destroyable projects.

Many recipes use Elmer’s or white glue as an adhesive which also falls into the same category as my former statement.

I’m all for saving a Fils (or more) in everything I do and I would rather save the money for something that’s more lasting than a piñata that’s going to be beaten to death and thrown into the recycle bin.

Hence I present to you a fabulous Paper Mache recipe that’s easy to make and fantastic to handle.
Paper Mache


Mix the following ingredients:
2 Cups Flour
4 Cups Water
2 Tablespoons Salt (optional, prevents rotting)


All you need now are newspaper strips, dip each strip into the Paper Mache paste and get dirty!!!
paper


Have fun Making Life Memorable extra messy!!

See hoe you can use this recipe in my LadyBug Piñata Post!

Fun @ Art Space

Fun @ Art Space

I hope that yesterdays post made you even more curious and intrigued to learn more about Art Space in Galleria 2000-Salmiya.

Between my busy schedule and the girls its been really difficult to make it out to Art Space and enjoy the full experience until last week everything changed!

The perfect date, time and artwork!! My husband, two girls and I head to Galleria 2000 and live it up.

cats


The kids workshop we went to was 5pm-7pm with Mr. Salem, A man full of life and enthusiasm and the ability to captivate the children to follow his step-by-step tutorial of what seemed like a difficult painting at the time.


Gpainting
 
The girls sat eagerly with their cute Art Space aprons on watching Mr. Salem’s every movement as he began to set everything up for them from paints, canvases and brushes. It was hard for me to resist not going into the studio to join in the fun!!

Then the fun began as he started to explain to the children every step, his interaction with the children made it even more fun as they also stated their opinions and choices. With occasional one on one help, especially for Zeenah (she is after all only 4!) every child felt his special touch and assistance.

Girls
 
 
Every child had added their own version of what they wanted and cam out with an amazing canvas that’s going to go up on our wall. You can actually see the girls personality in each paining.

I am extremely impressed with their capabilities and with their capacity of following instructions. All this while my husband sat comfortably in the café enjoying the girls enthusiasm from behind the window and sipping our coffee.

Needless to say we ALL went home happy.


But this was not enough for me!!! I wanted in on the fun too, for days all I can think of is “They have adult classes!!”, “this is my kinda place”, “I need to go again”

While talking to my best friend and how much I love the place it suddenly dawns on me!! “WE HAVE TO GO!!” So we set it our next “Date night” is going to be at Art Space….
 
 
anchor

We found the perfect time to join the class and our Painting conveniently had my favorite quote of all time

Off course as soon as I walk in I’m greeted by the gorgeous Sarah and Salem, immediately feel like I’ve known them for years. My best friend walks in and she feels the same way!!

We make our way into the art studio Apron and all and meet our Instructor Lamia. A truly adorable lady that made painting seem like it was a piece of cake!! Oh which we were served by one of the other instructors, just because.


me


As I’m sitting there painting my background all I keep thinking too myself is “I can live here and how are they going to keep me away!”

Sure enough as we follow Lamia’s steps, instructions and techniques while choosing our own little changes and tweaks the painting starts to look more and more presentable than ever expected.

This all wouldn’t have been remotely possible without Lamia (our instructor) and the Art Space team’s continuous support, encouragement and cheering.


To that I have great honor in presenting my “first” work of art without complete embarrassment.
myanchor

Here I am proud by Making Life Memorable one canvas at a time. Surely not the last of them!

Art & Culture

Art & Culture

There are so many things we can do with our children when it comes to activities yet I favor those things that are most meaningful and everlasting.

Jumping up and down in a bouncy castle does have it’s benefits but still there’s no real culture.

In my quest for art and culture I stumbled upon an amazing instagram account called @artspaceQ8 and that’s when the stalking began!!

Door
 
“Artspace Café”
is a unique and amazing concept. The concept is simple yet so unique at the same time! It’s a Café fused into an art studio.

They host daily workshops in a casual and authentic atmosphere. Their vast range of times is perfect for everyone schedule with 4 different sessions a day for all levels: 11am-1pm, 3pm-5pm, 5pm-7pm and finally 7pm-9pm.

In addition they have kids sessions during the weekends Thursday, Friday and Saturday from either 4pm-6pm or 5pm-7pm.

art
 
With a café attached you can also enjoy a cup of coffee, relax on the couch, listen to music or even grab a book to read.

Look around and I’m sure you’re going to find lots of artwork that you’re going to fall in love with. Surprise Surprise all artwork around the café and studio are also for sale!

art


And even better if you’re feeling artistic and inspired you can pick up a canvas and have an artistic session of their own using all the tools, paints and facilities they have available.


An art studio that has a life of it’s own. Amazing set of people that are so friendly that you actually feel like you’ve known them for years and you’re just hanging out in their living room.

I’m equally impressed by the artistic level displayed by everyone at ArtSpace. The willingness to assist and help you is uncanny. They are actually so vocal in cheering you on that you feel like you’re Picasso! The positive energy and love in their humble space makes you want to jump for joy, a rare feeling these days. Maybe it’s the youthfulness of everyone but it sure made feel good and that’s all that matters.

Be sure to follow @artspaceQ8 on instagram and visit them in the basement of Galleria 2000 in Salmiya,

Here’s to you visiting an authentic space and Making Life Memorable!

Read more about our artistic debut at Artspace.

LadyBug Photo Booth

LadyBug Photo Booth

One of my favorite parts of planning the girls’ birthdays is getting creative with a photo Booth. The more I do them the more I begin to elaborate.

Last year Zeenah chose to have a Ladybird birthday. I had made everything black and red with whatever I can make. From table cloths to paper pompoms. It also made my life easier in thinking of ideas for the photo props.
PhotoTable-LB
 
 
I made callout signs that said “No bugging allowed” and “Happy Birthday Zeenah!”

I also got red sunglasses from the 100fils store and added googly eyes and antennas using black pipe cleaners.

Conveniently I also found Red Happy Birthday sunglasses and a Glittery red cowboy hat that I didn’t have to add anything too!


Next came the actual photo Booth. We are very lucky to have a great big olive tree with amazing branches to hang things on. My decorating engineer (AKA my husband) had the task of implementing my visualization.

We had a great red vintage looking frame that we hung on our Olive tree and a collection of home made red pompoms. Off course the first picture to be taken in the booth has to be a CUTE sister picture before we bring out the sillies!!
girls

Zeenah insisted that I buy the same dress for Jennah because according to her she wanted to be “twins”
 

Then off course it was photo time for the kids with the props With friends and family. It was so enjoyable seeing all the kids grabbing props and posing for the camera. It became a form of entertainment for the kids.

JOJO

aya


I hope this has inspired a few ideas for your net birthday even and helps in Making Life Memorable for you!

Class Gifts

Class Gifts

Like many things that I do to myself I’ve always given teachers “first Day” gifts and something little for the class.

Last year I made the Popcorn Treats for the girls’ classmates and a Teacher’s Survival kit for the Teachers. (Click on link to see last year’s gifts)

This year I stuck with the cookie theme for both the teacher’s gifts (which I posted about yesterday) and the kids gifts.

The girls and I decided that we were going to bake chocolate chip cookies that Jennah said her friends were going to think it was “Choowy Goowy” because they were so tasty.

While the cookies were cooling it was time to make labels…. We went with a basic Polka dot label that I had found for free online on www.teacherspayteachers.com a site that I intend to post about soon!

CookieTags

I downloaded the set, I was so excited to see the selection of colors and sizes this pack had. All for Free!! I love FREEEEEEE!!!

I plugged the best size for our labels into powerpoint and just added the text.

Jennah chose to go with a sophisticated font called Pristina while Zeenah went with a more playful font called Crayon. Both of which I downloaded off of the internet for FREEEEE…

Each Tag had “You’re going to be one smart cookie!! Good Luck in KG1” (or Grade 3 in Jennah’s case) and their name.

The girls insisted on printing the labels on yellow paper. It would have been much easier to print them out on Sticker labels but then that’s just what I get for getting them involved!!

What’s another 20 minutes spent on cutting the labels and putting double sided tape on each and every label 42 to be exact!!
cookieGirls2


By this time the cookies had cooled down and we started to bag them individually.

This was really fun to do because usually I spend most of my time doing it and the girls are now old enough to do it themselves…. So much fun giggling with them. It really brings out the child in me (not that I’ve grown up!)


As much as I wanted them to continue helping me I had to stop them because the labels had to be stuck on perfectly and I knew it would be double the work if they participated. That’s when I pulled go play in the playroom because it’s almost dinner card.

cookieJ

So having the girls help me with these just makes the experience even more meaningful.

Here’s for sharing the experience and teaching children ways of Making Life Memorable.

Back to school Countdown

Back to school Countdown

To say that I’m excited that we have less than 2 weeks away for the girls to go back to school is an understatement.

Even though I have managed to keep a very good routine between the 2 hour homework morning sessions, free play, going out, crafts, seeing friends and swimming lessons it’s a lot of effort. Doesn’t leave much time for me and work.

With the girls back to school I think I’m most excited that I get MY routine back a good stretch of time in the morning to go to work and dedicate time to the things I love.

So because of that my excitement I was inspired to do a School countdown craft.

Back
 
 
The first thing I did was make print out cut outs for the girls to color.

I decided to do a 10 day countdown to “Blast off”

I then cut them out using a ZigZag scissors for fun…

Girls Coloring

The girls then colored each day and the big “Back To School”


After organizing them in order we found a nice place on the wall to hang it in (it was a challenge finding an empty wall in the playroom). We used a ribbon and hung the paper with mini clothespins I had in my magical craft cabinet of “I’m going to need this one day”

countdown

And Now we have a countdown that at the end of each day we take down one paper in anticipation of School.

I hope that this gives you inspiration to do something in Making Life Memorable