Tag Archives: glittter

Tooth Fairy Door

Tooth Fairy Door

The wonderful world of make believe is such an amazing place to be, I remember as a child when you thought EVERYTHING was real… Call it the Disney syndrome or perhaps it’s the Peter Pan? Whatever the name it’s all the same a world where everything is magical that’s where I want to live.

If any of you out there is like me with “issues” about being a grown up I’m sure you’d agree. Life was so simple when the worst thing was your mom not letting you go to a friend’s house and you’d feel like it’s the end of the world.

If we only knew what was REALLY in store:) Well moving right along before it turns into a therapy session…….

The world of make believe. Santa, Tooth Fairy and the Easter Bunny are those things that make you tingle and feel young.

I had to make the experience of Jennah’s wiggly tooth and the much awaited Tooth fairy visit extremely special.

I decided to make a little tooth fairy door for that occasion. I debated for a while if it should be a surprise or make Jennah involved but I figured it would make it all that more special if Jennah made it.

So here’s your inspiration and How to…..
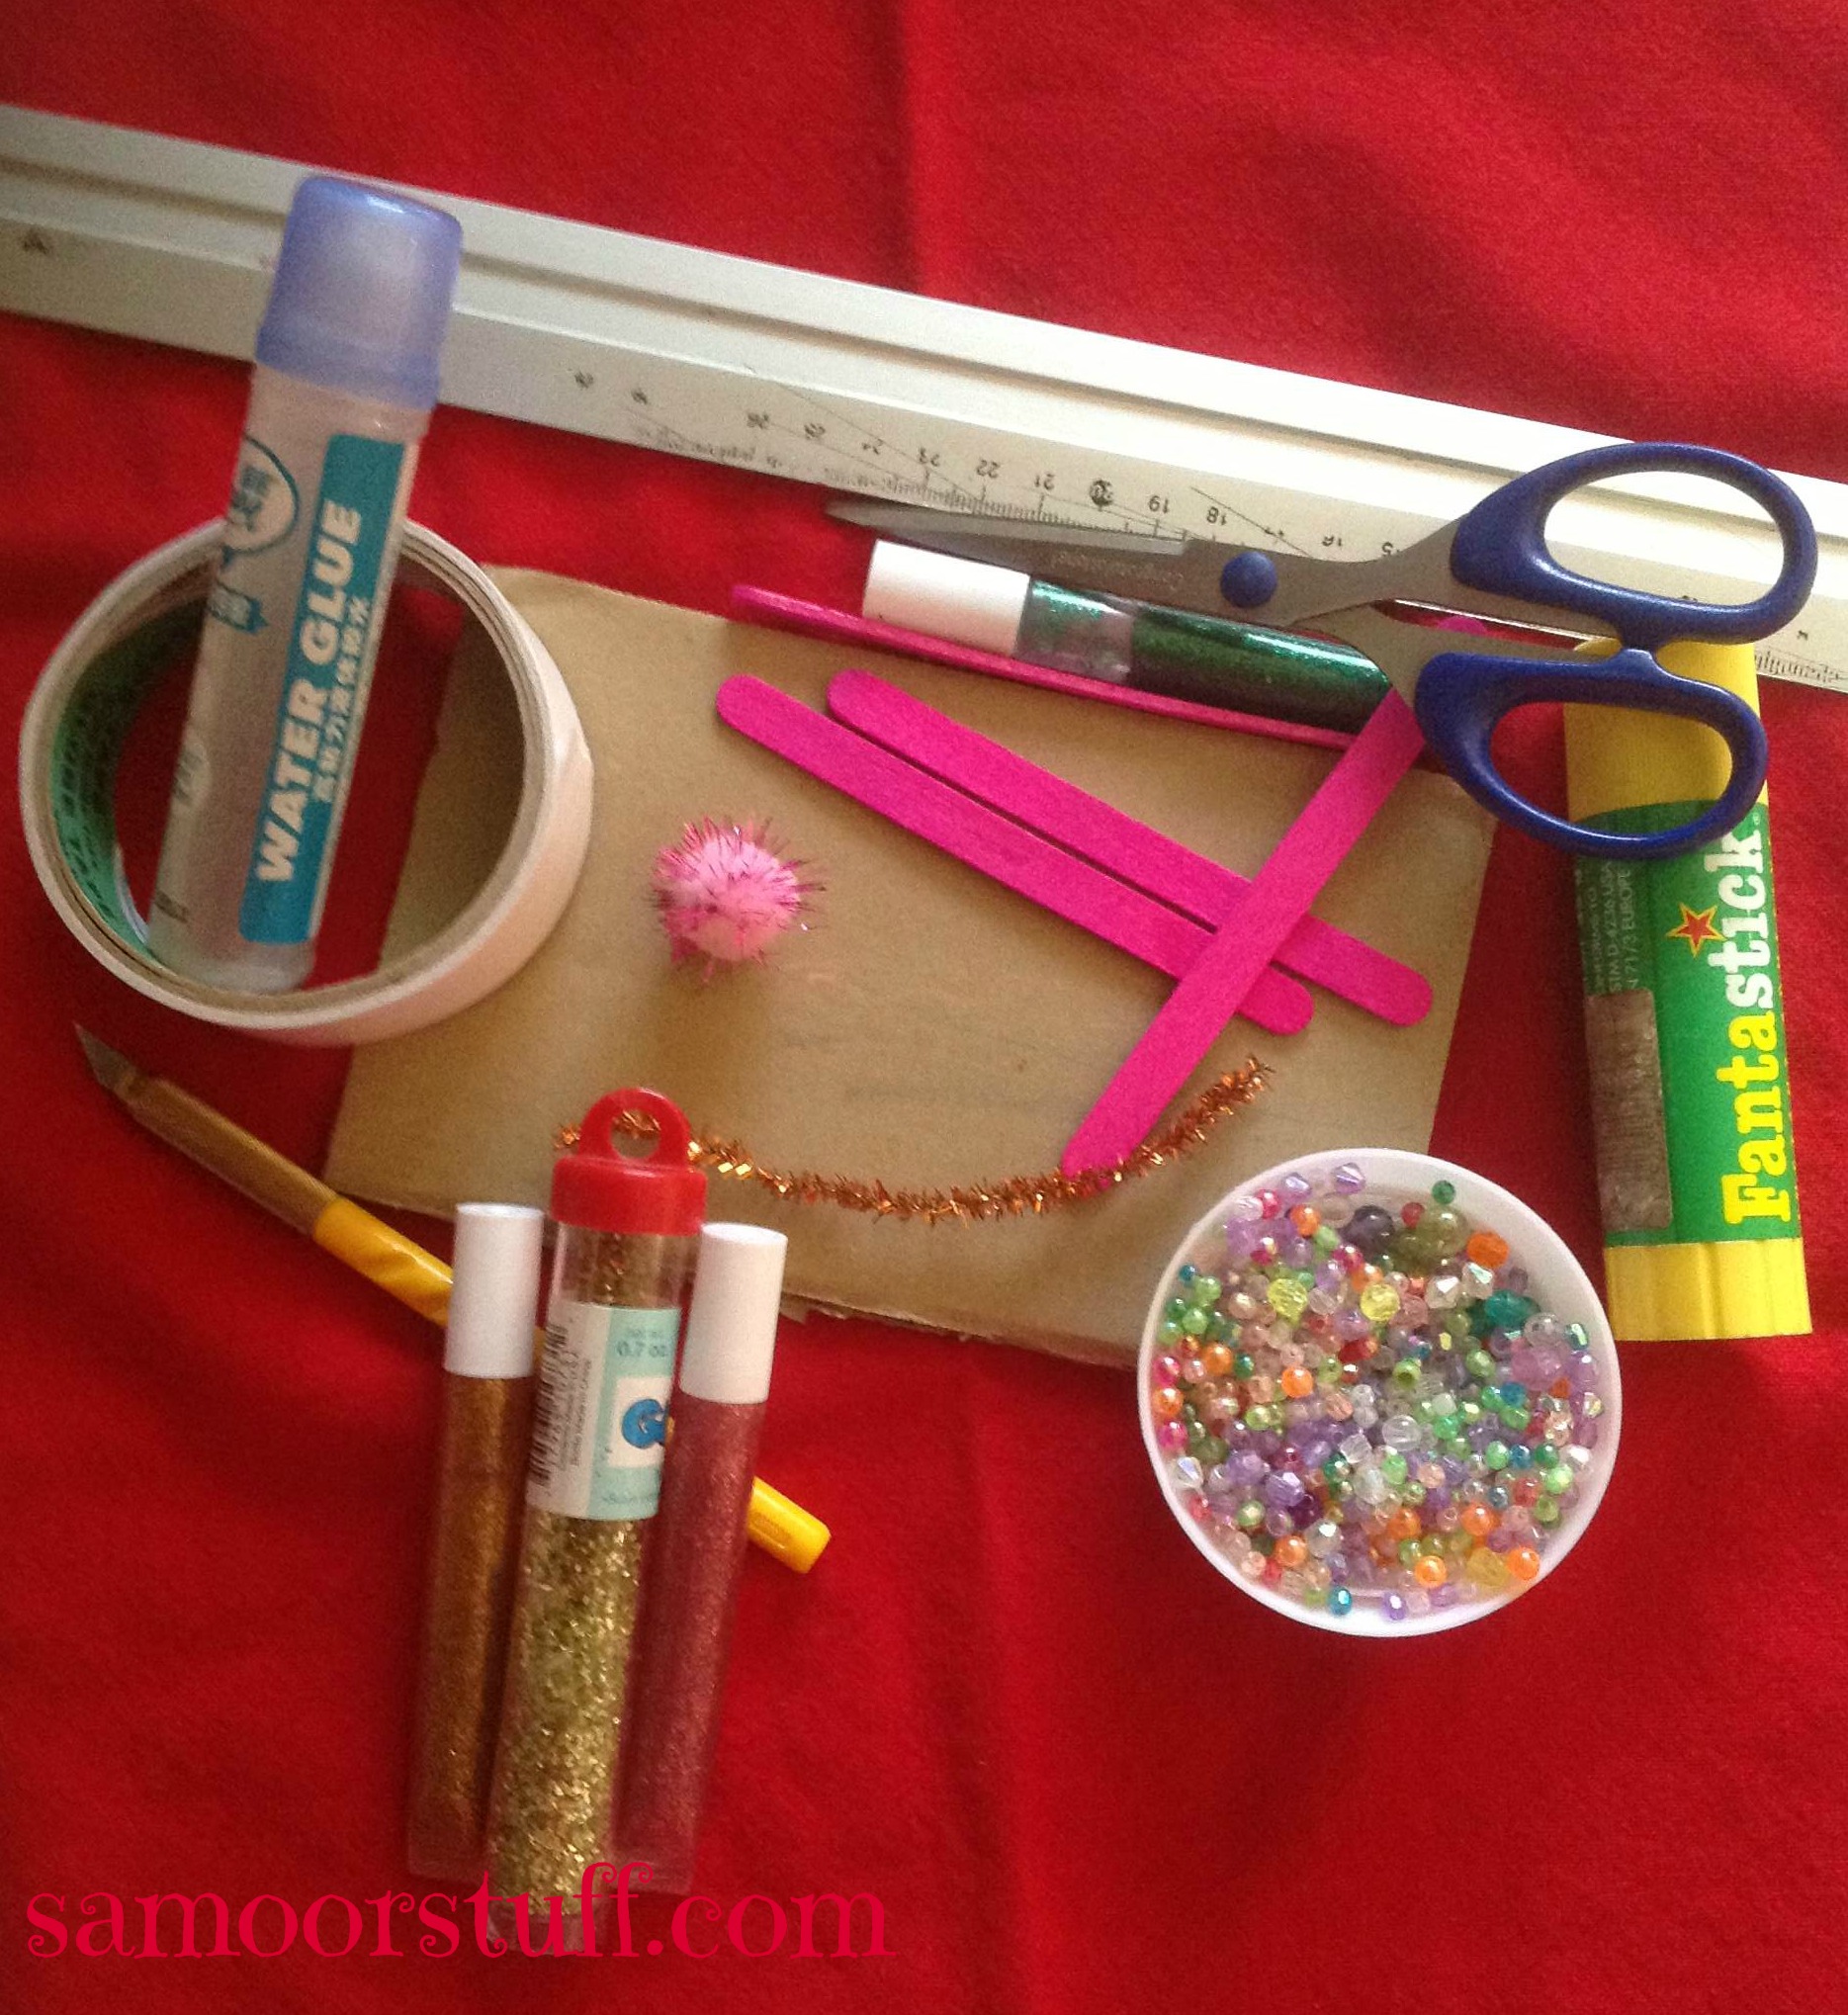
TOOLS
You’ll need:
Ruler
Cardboard (about 18cm x 11cm, 7inchx4.5inch)
3 Popsicle sticks
Glue
Pencil
Glitter
Beads
Paint
Pipe cleaner
PomPom
Any cutting tool (scissors, razor blade..)


Directions:
Measuring and cutting the door.

B1

B2

 
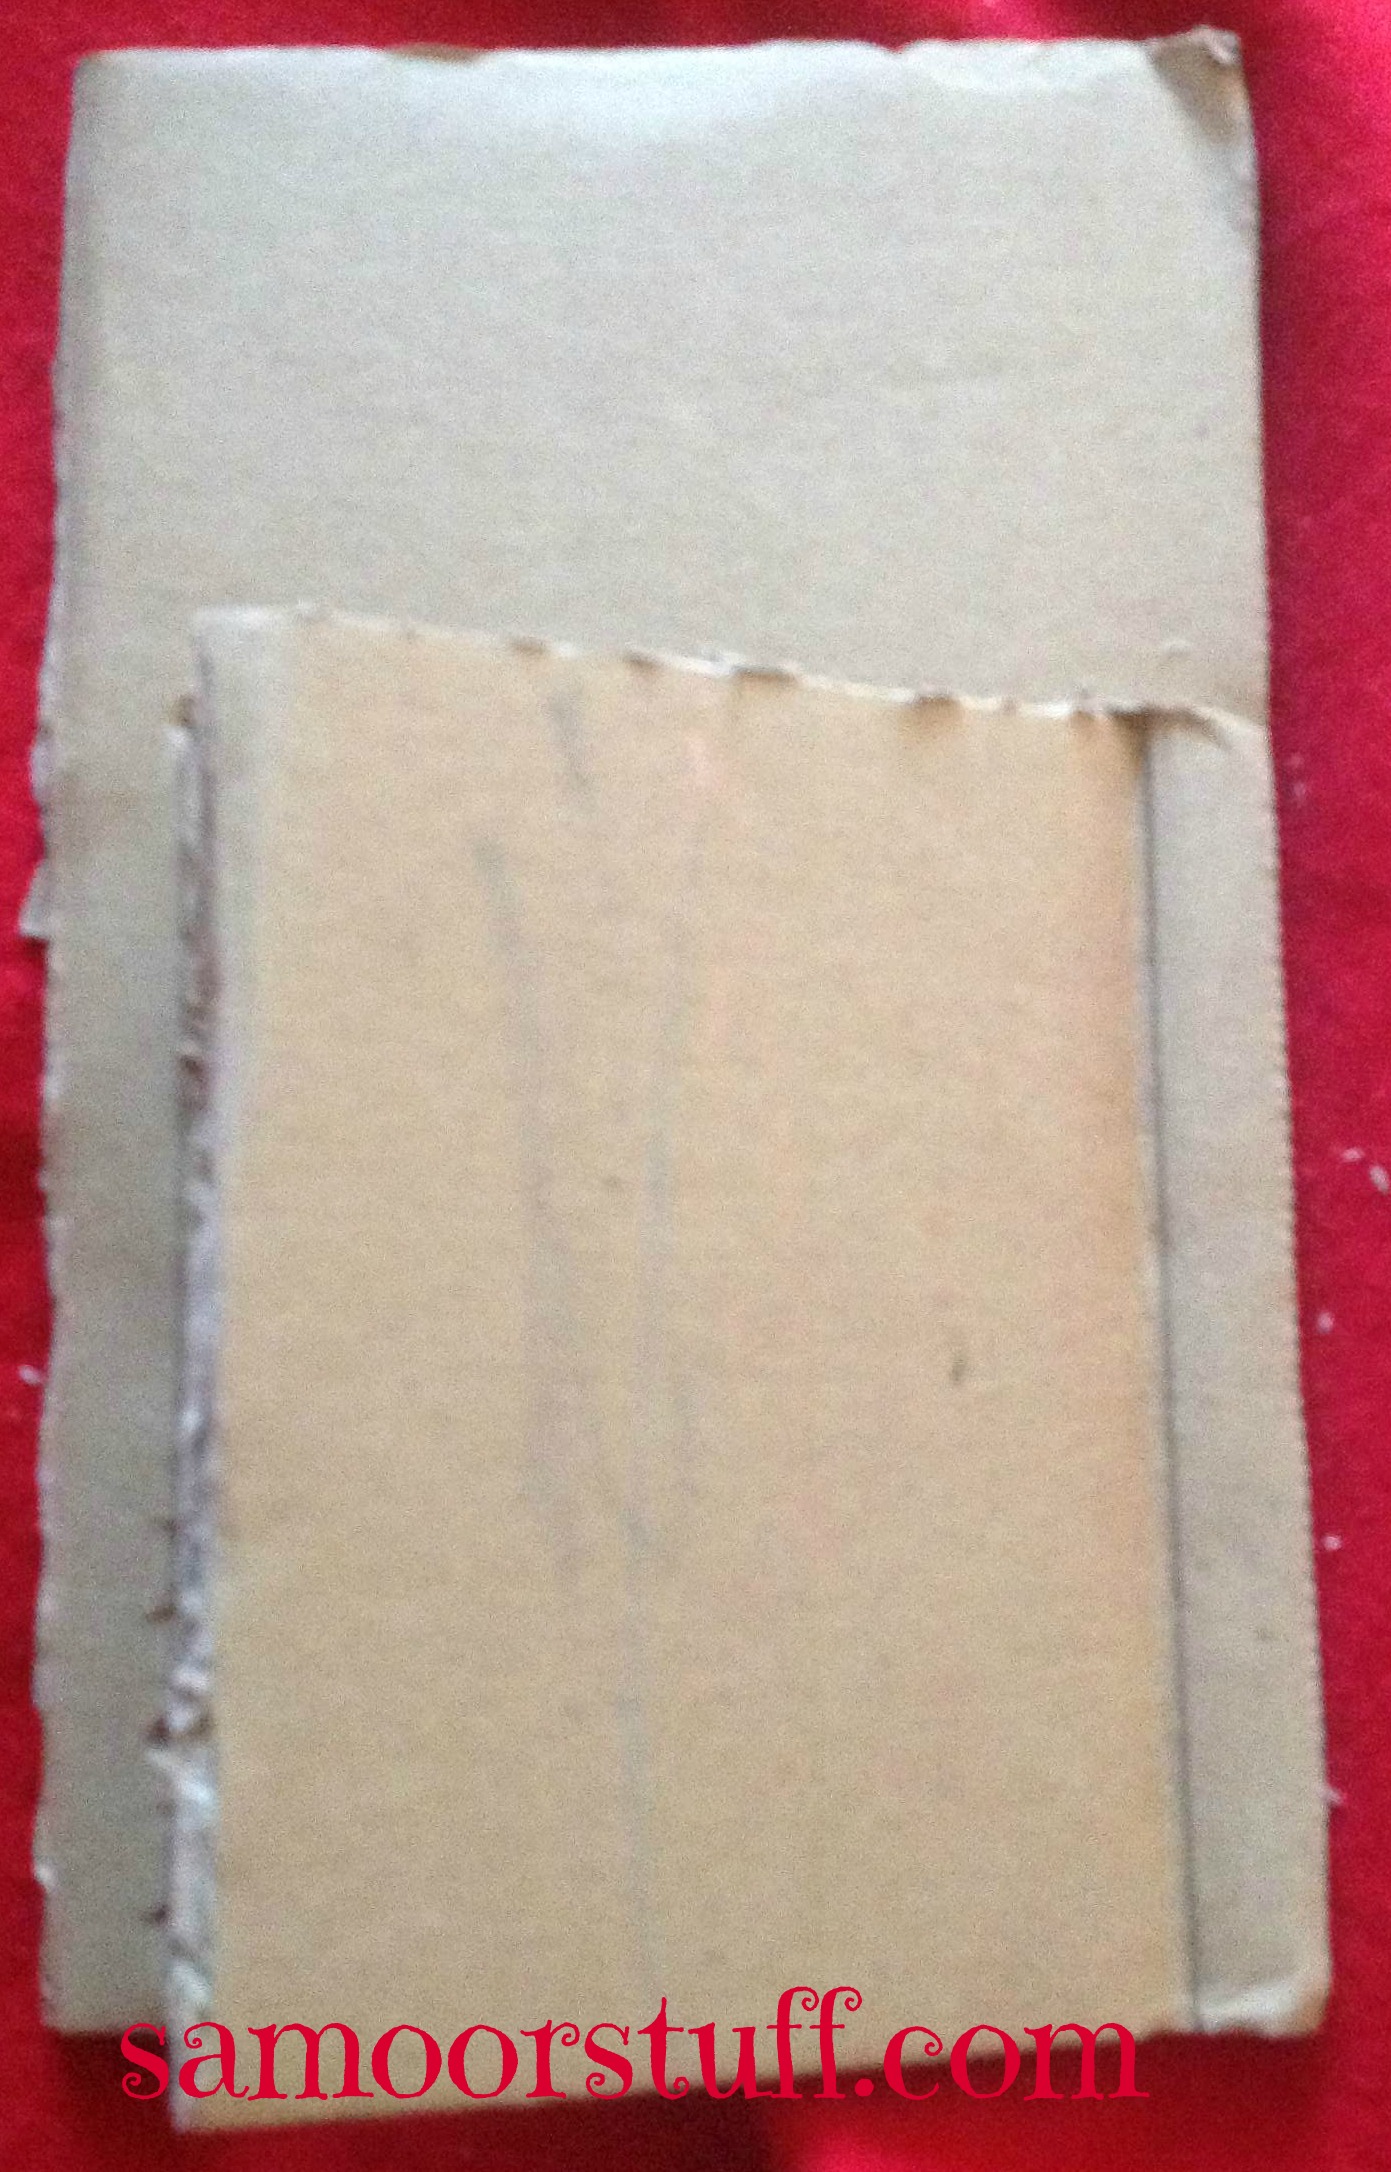
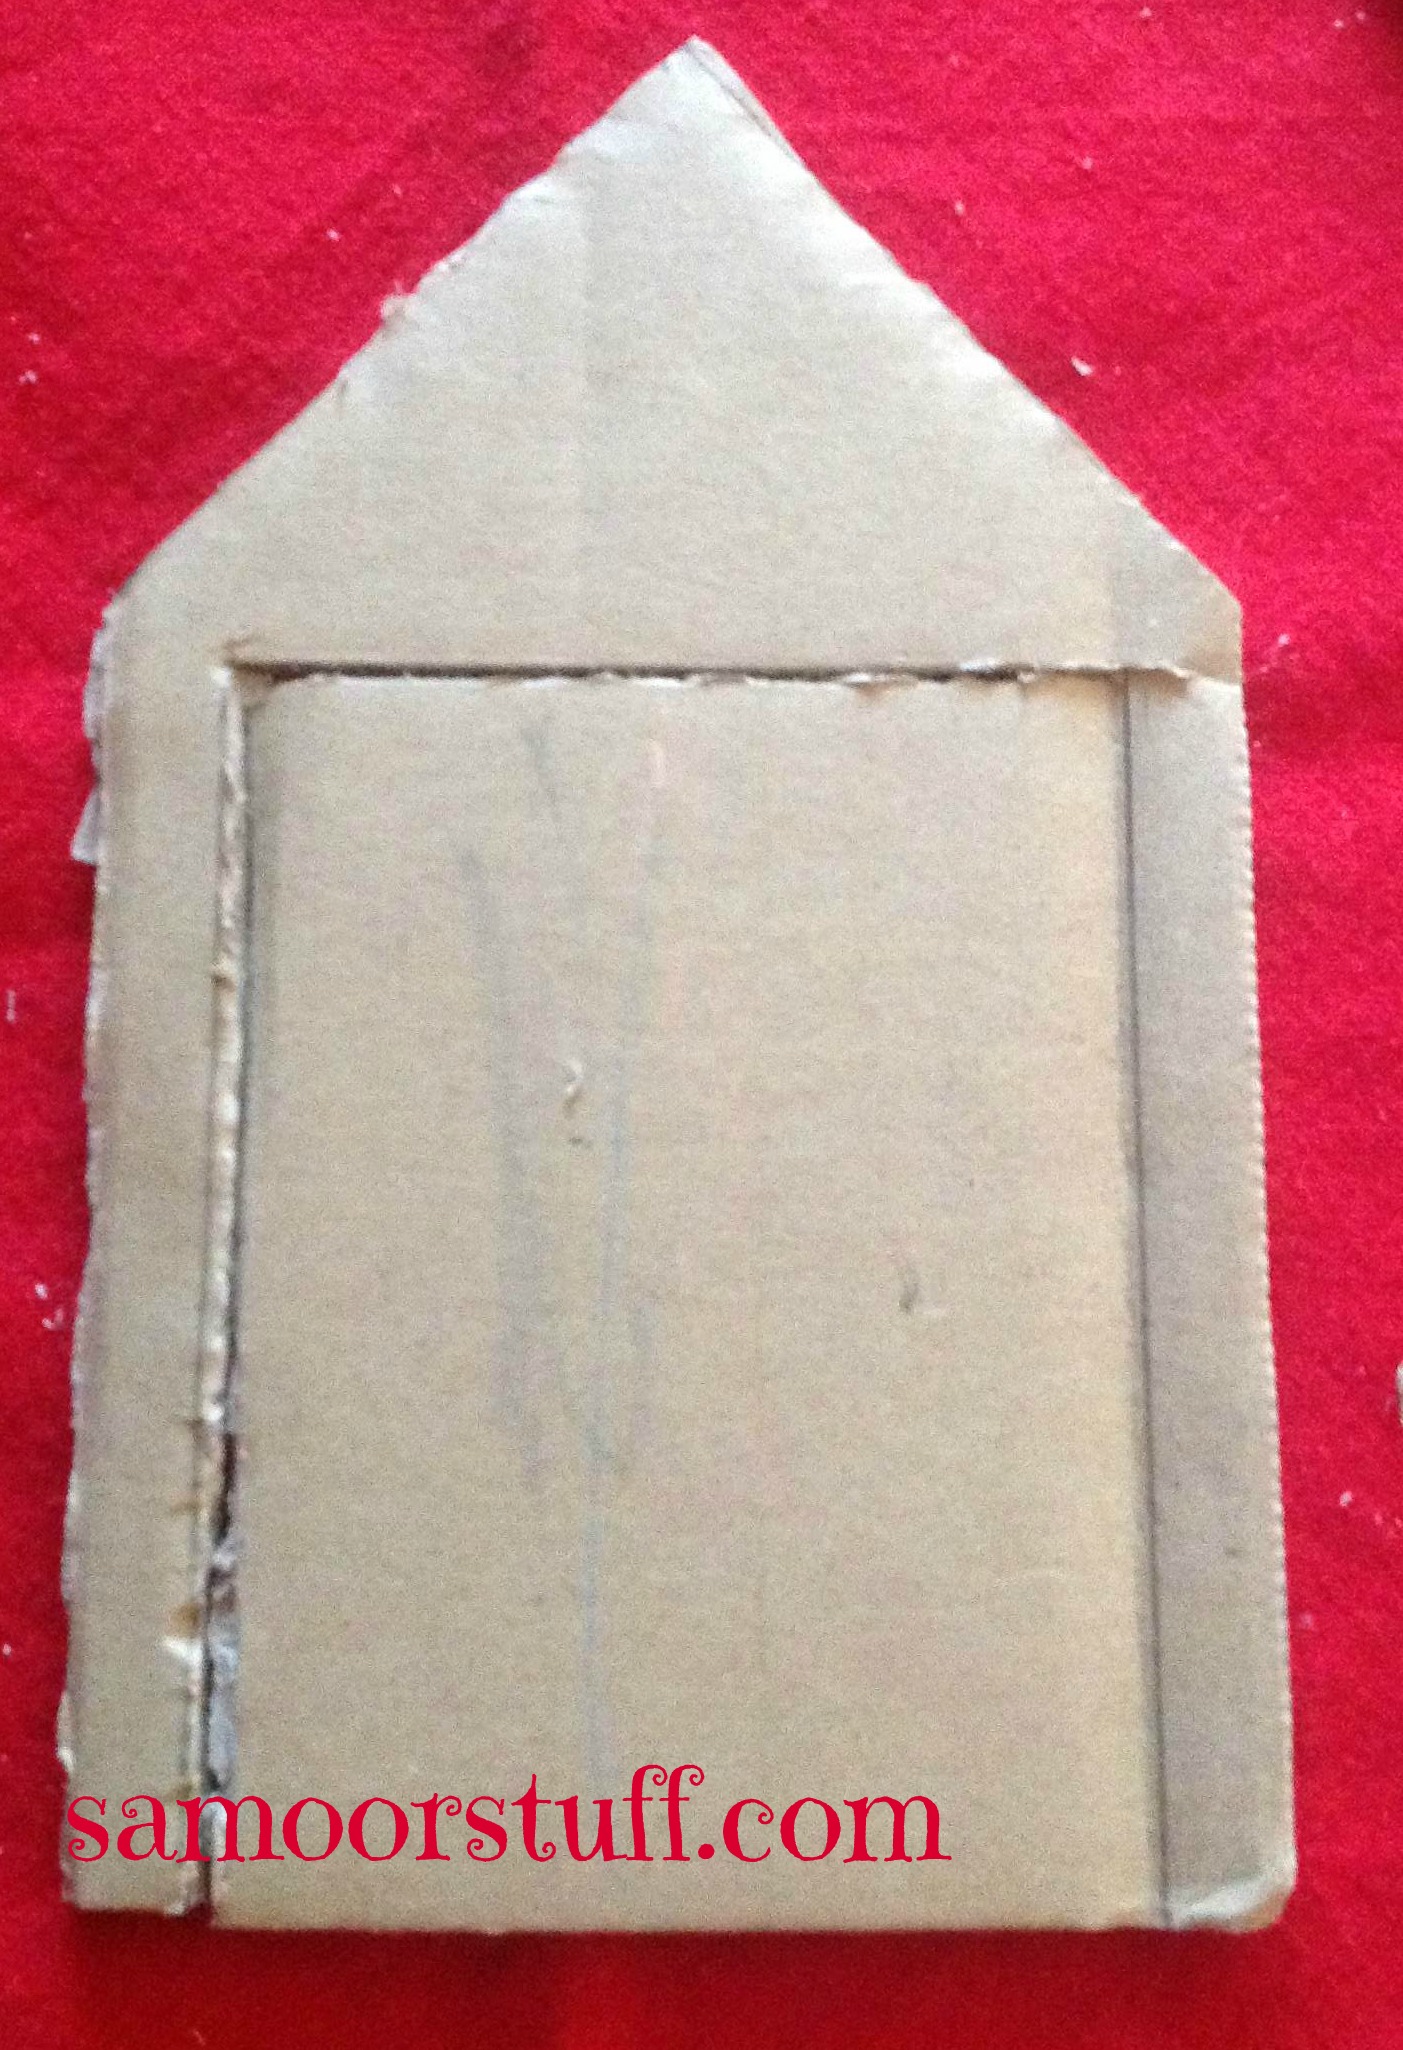
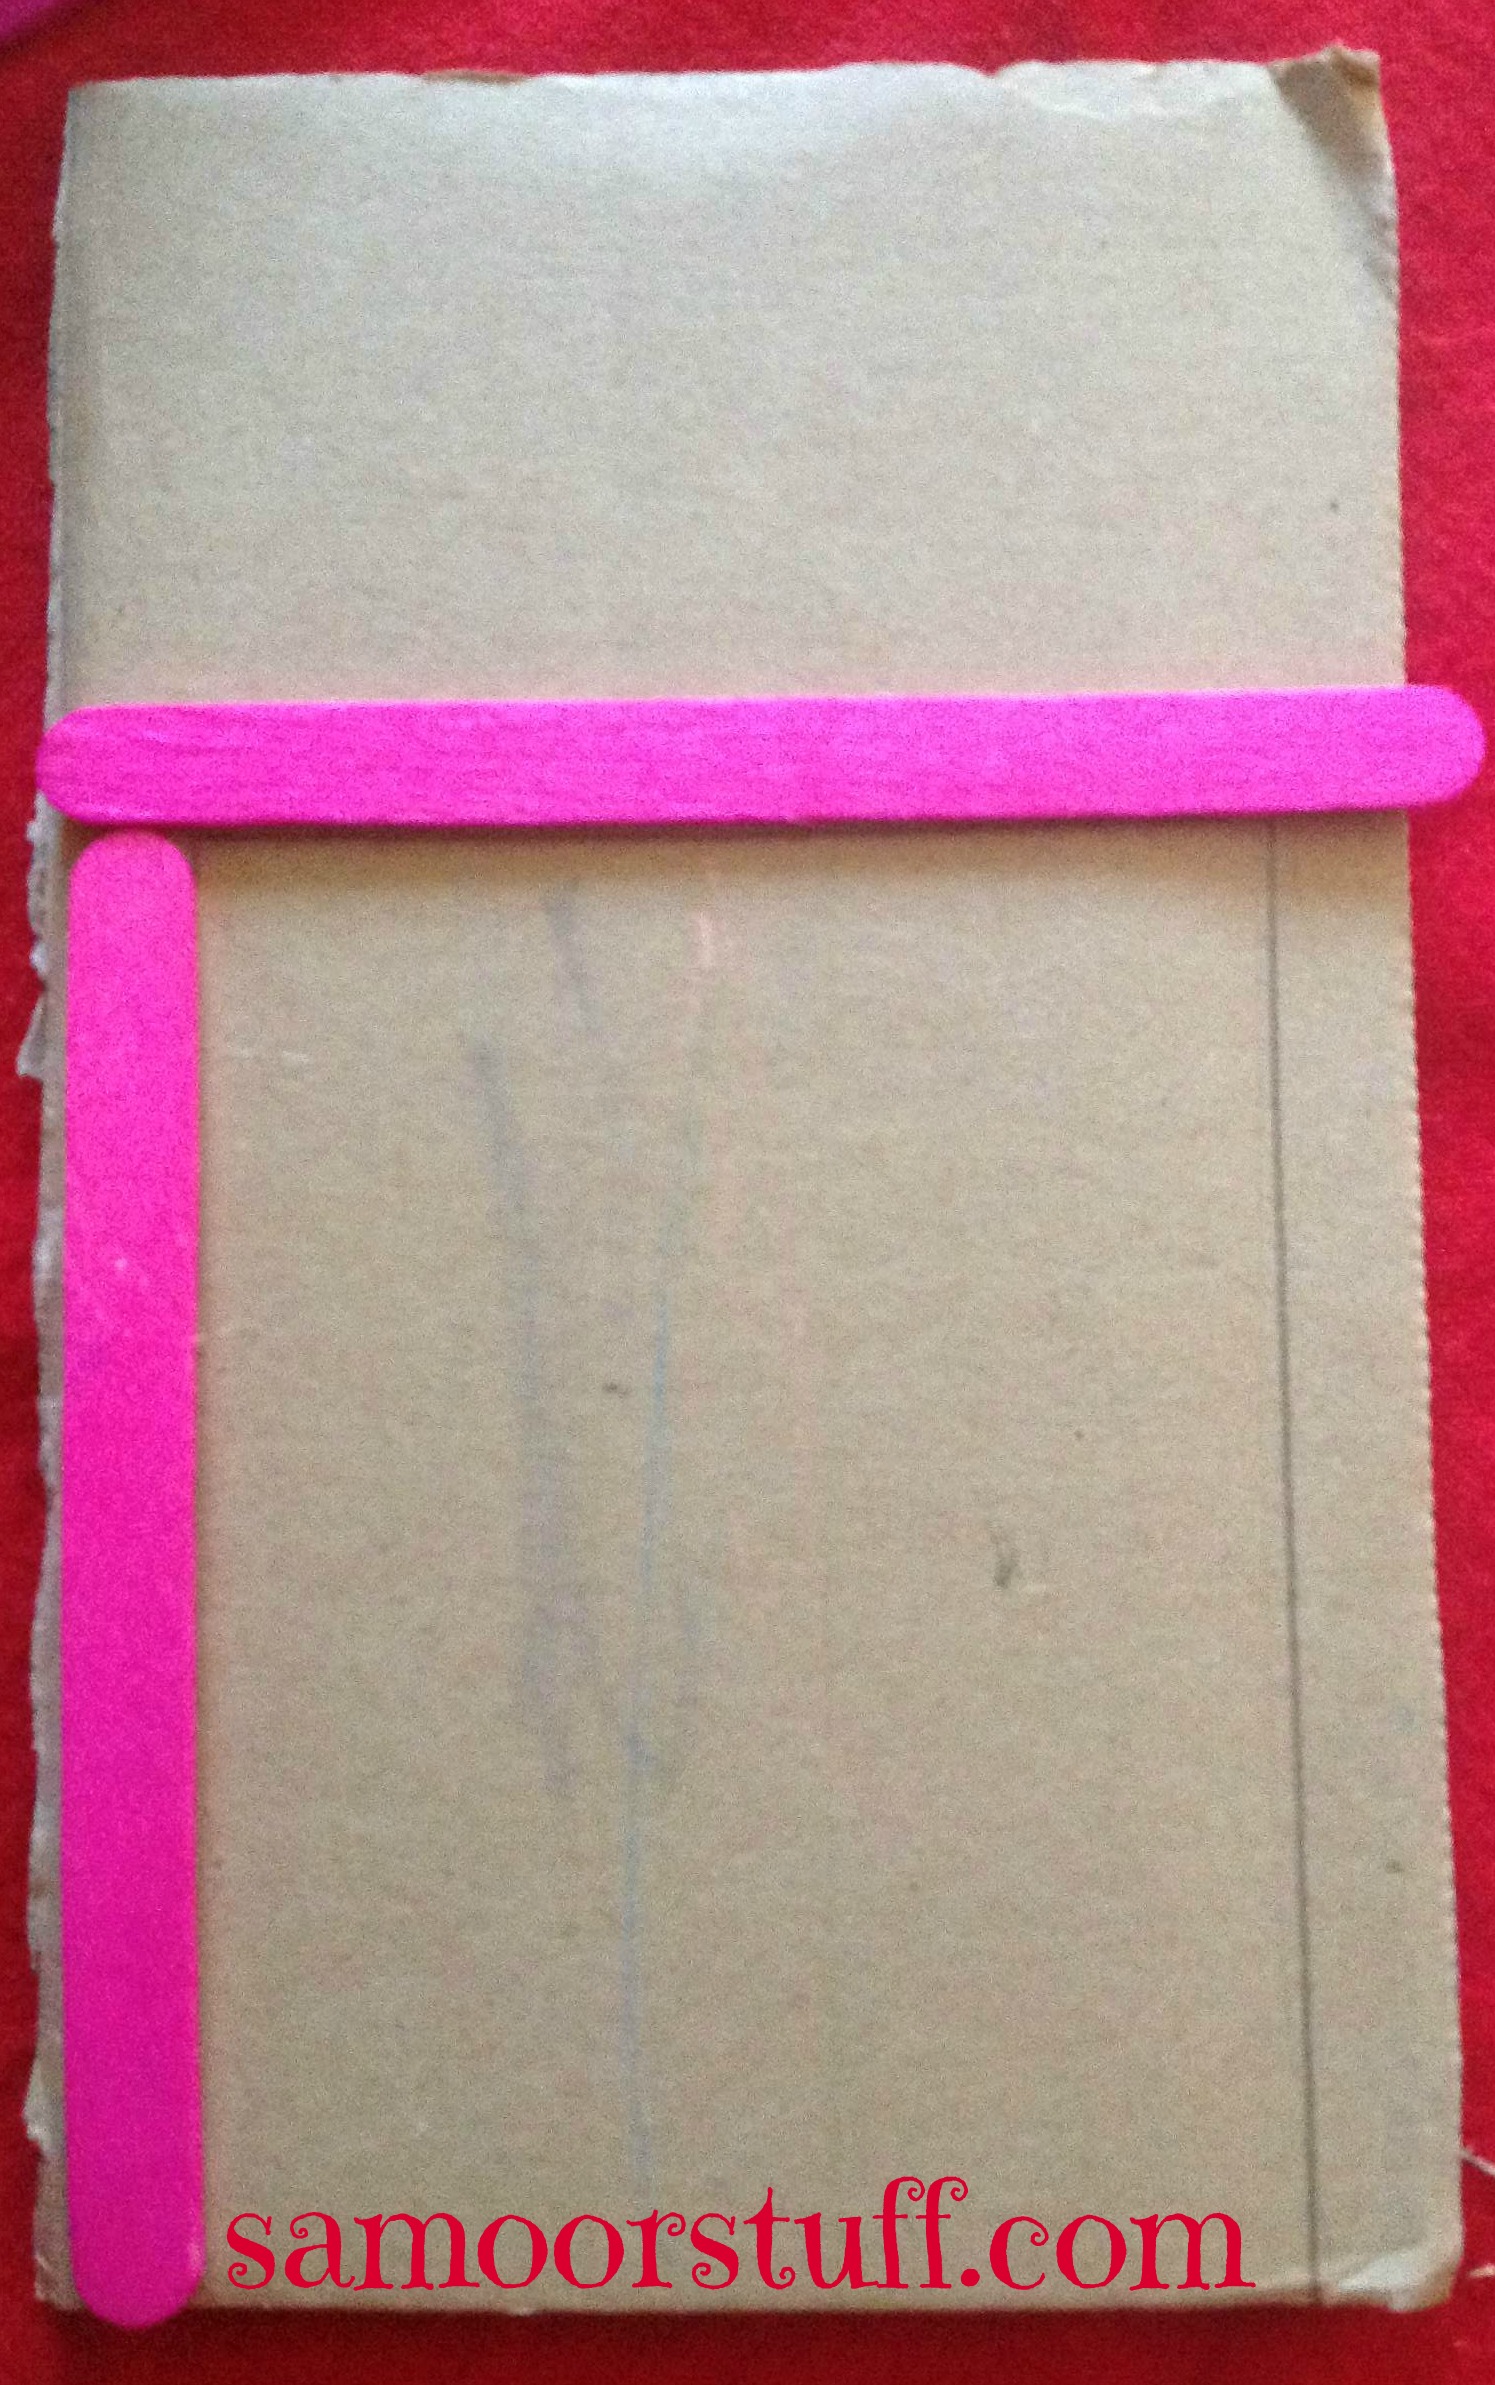
Place 2 of the popsicle sticks on the sides of the cardboard from the bottom to make and the third on the top to attach the other two making a rectangle.
 

Mark the inside of the sticks with a pencil.
 
With your cutting tool, I suggest a razor blade, cut the left marking and top all the way through. Slightly shear the right marking to enable you to bend it easily.


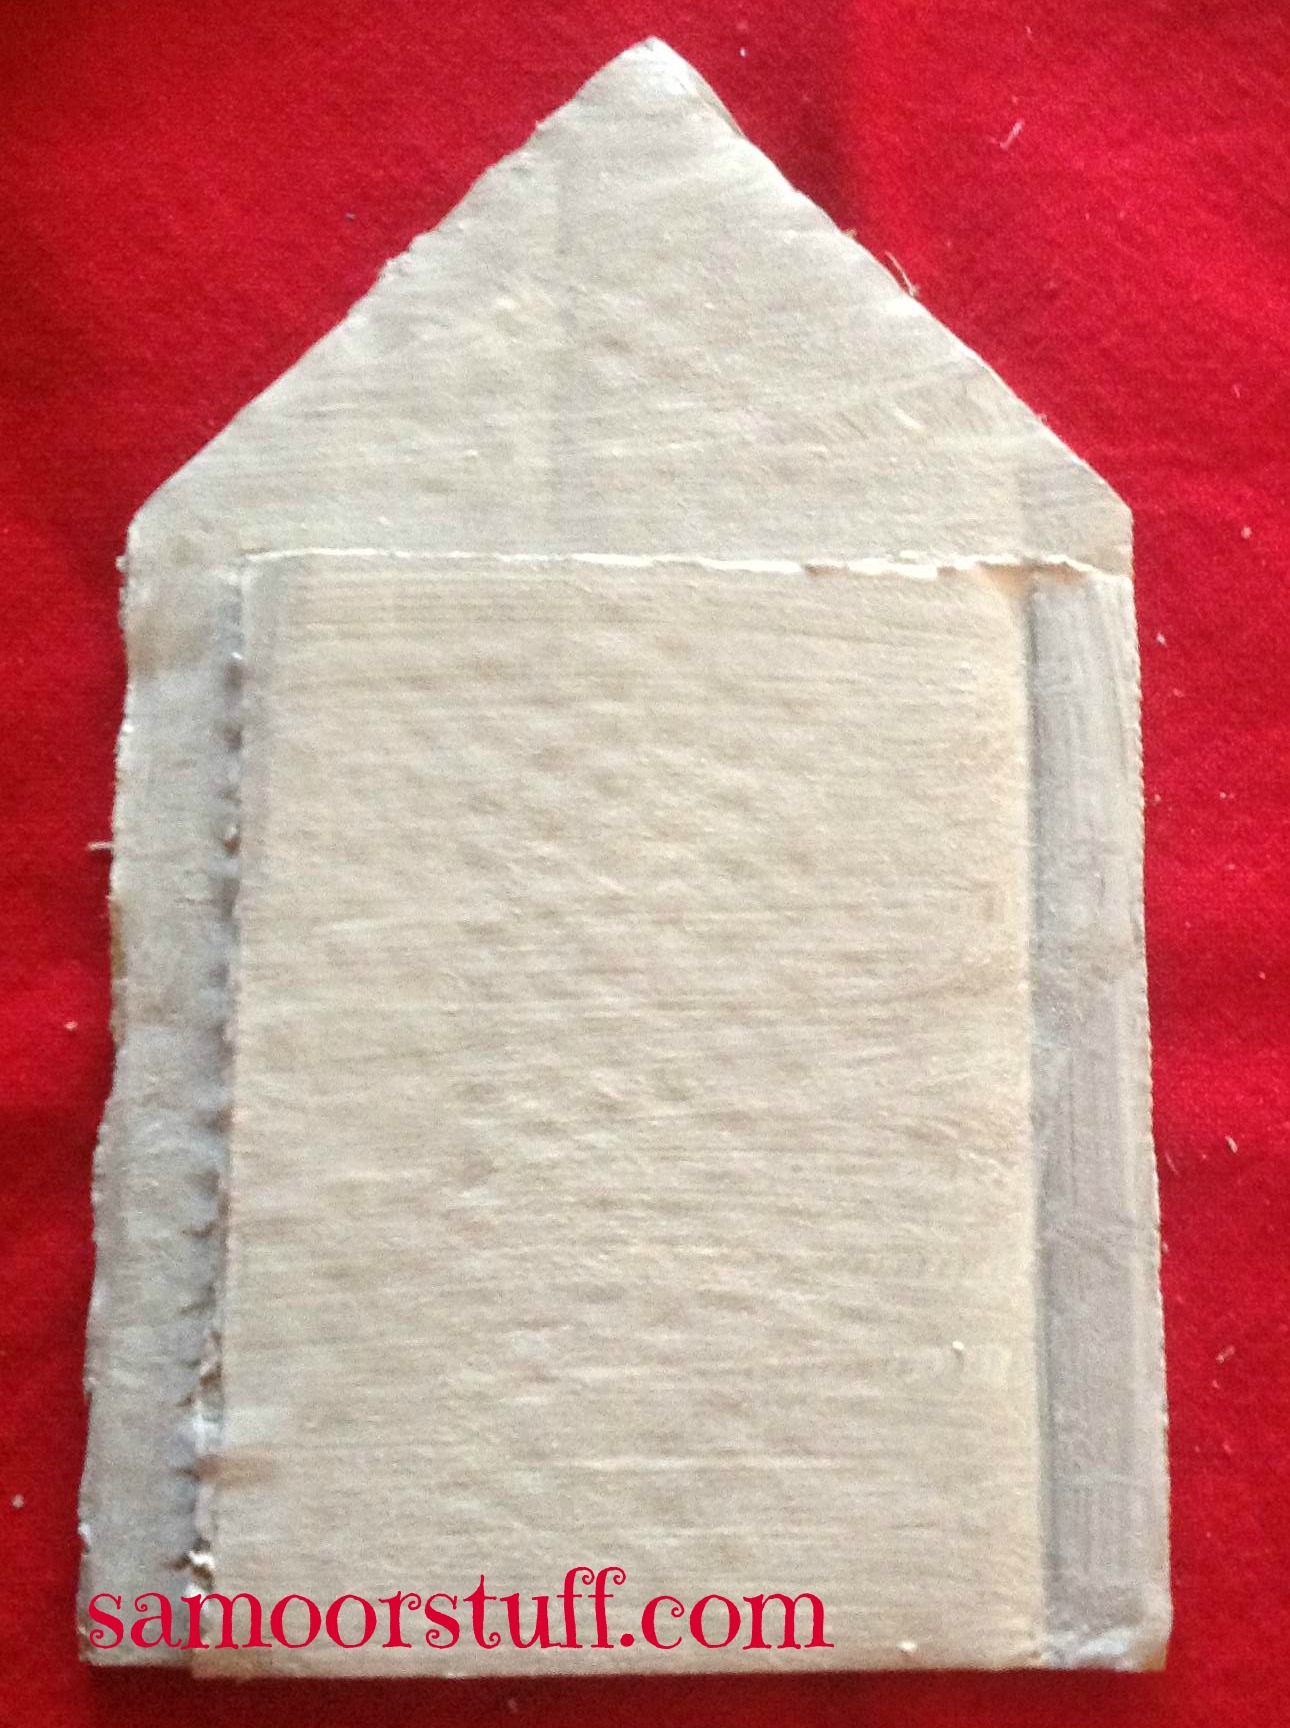
Cut the top of the door as to resemble a rooftop.
B3


B4
B5

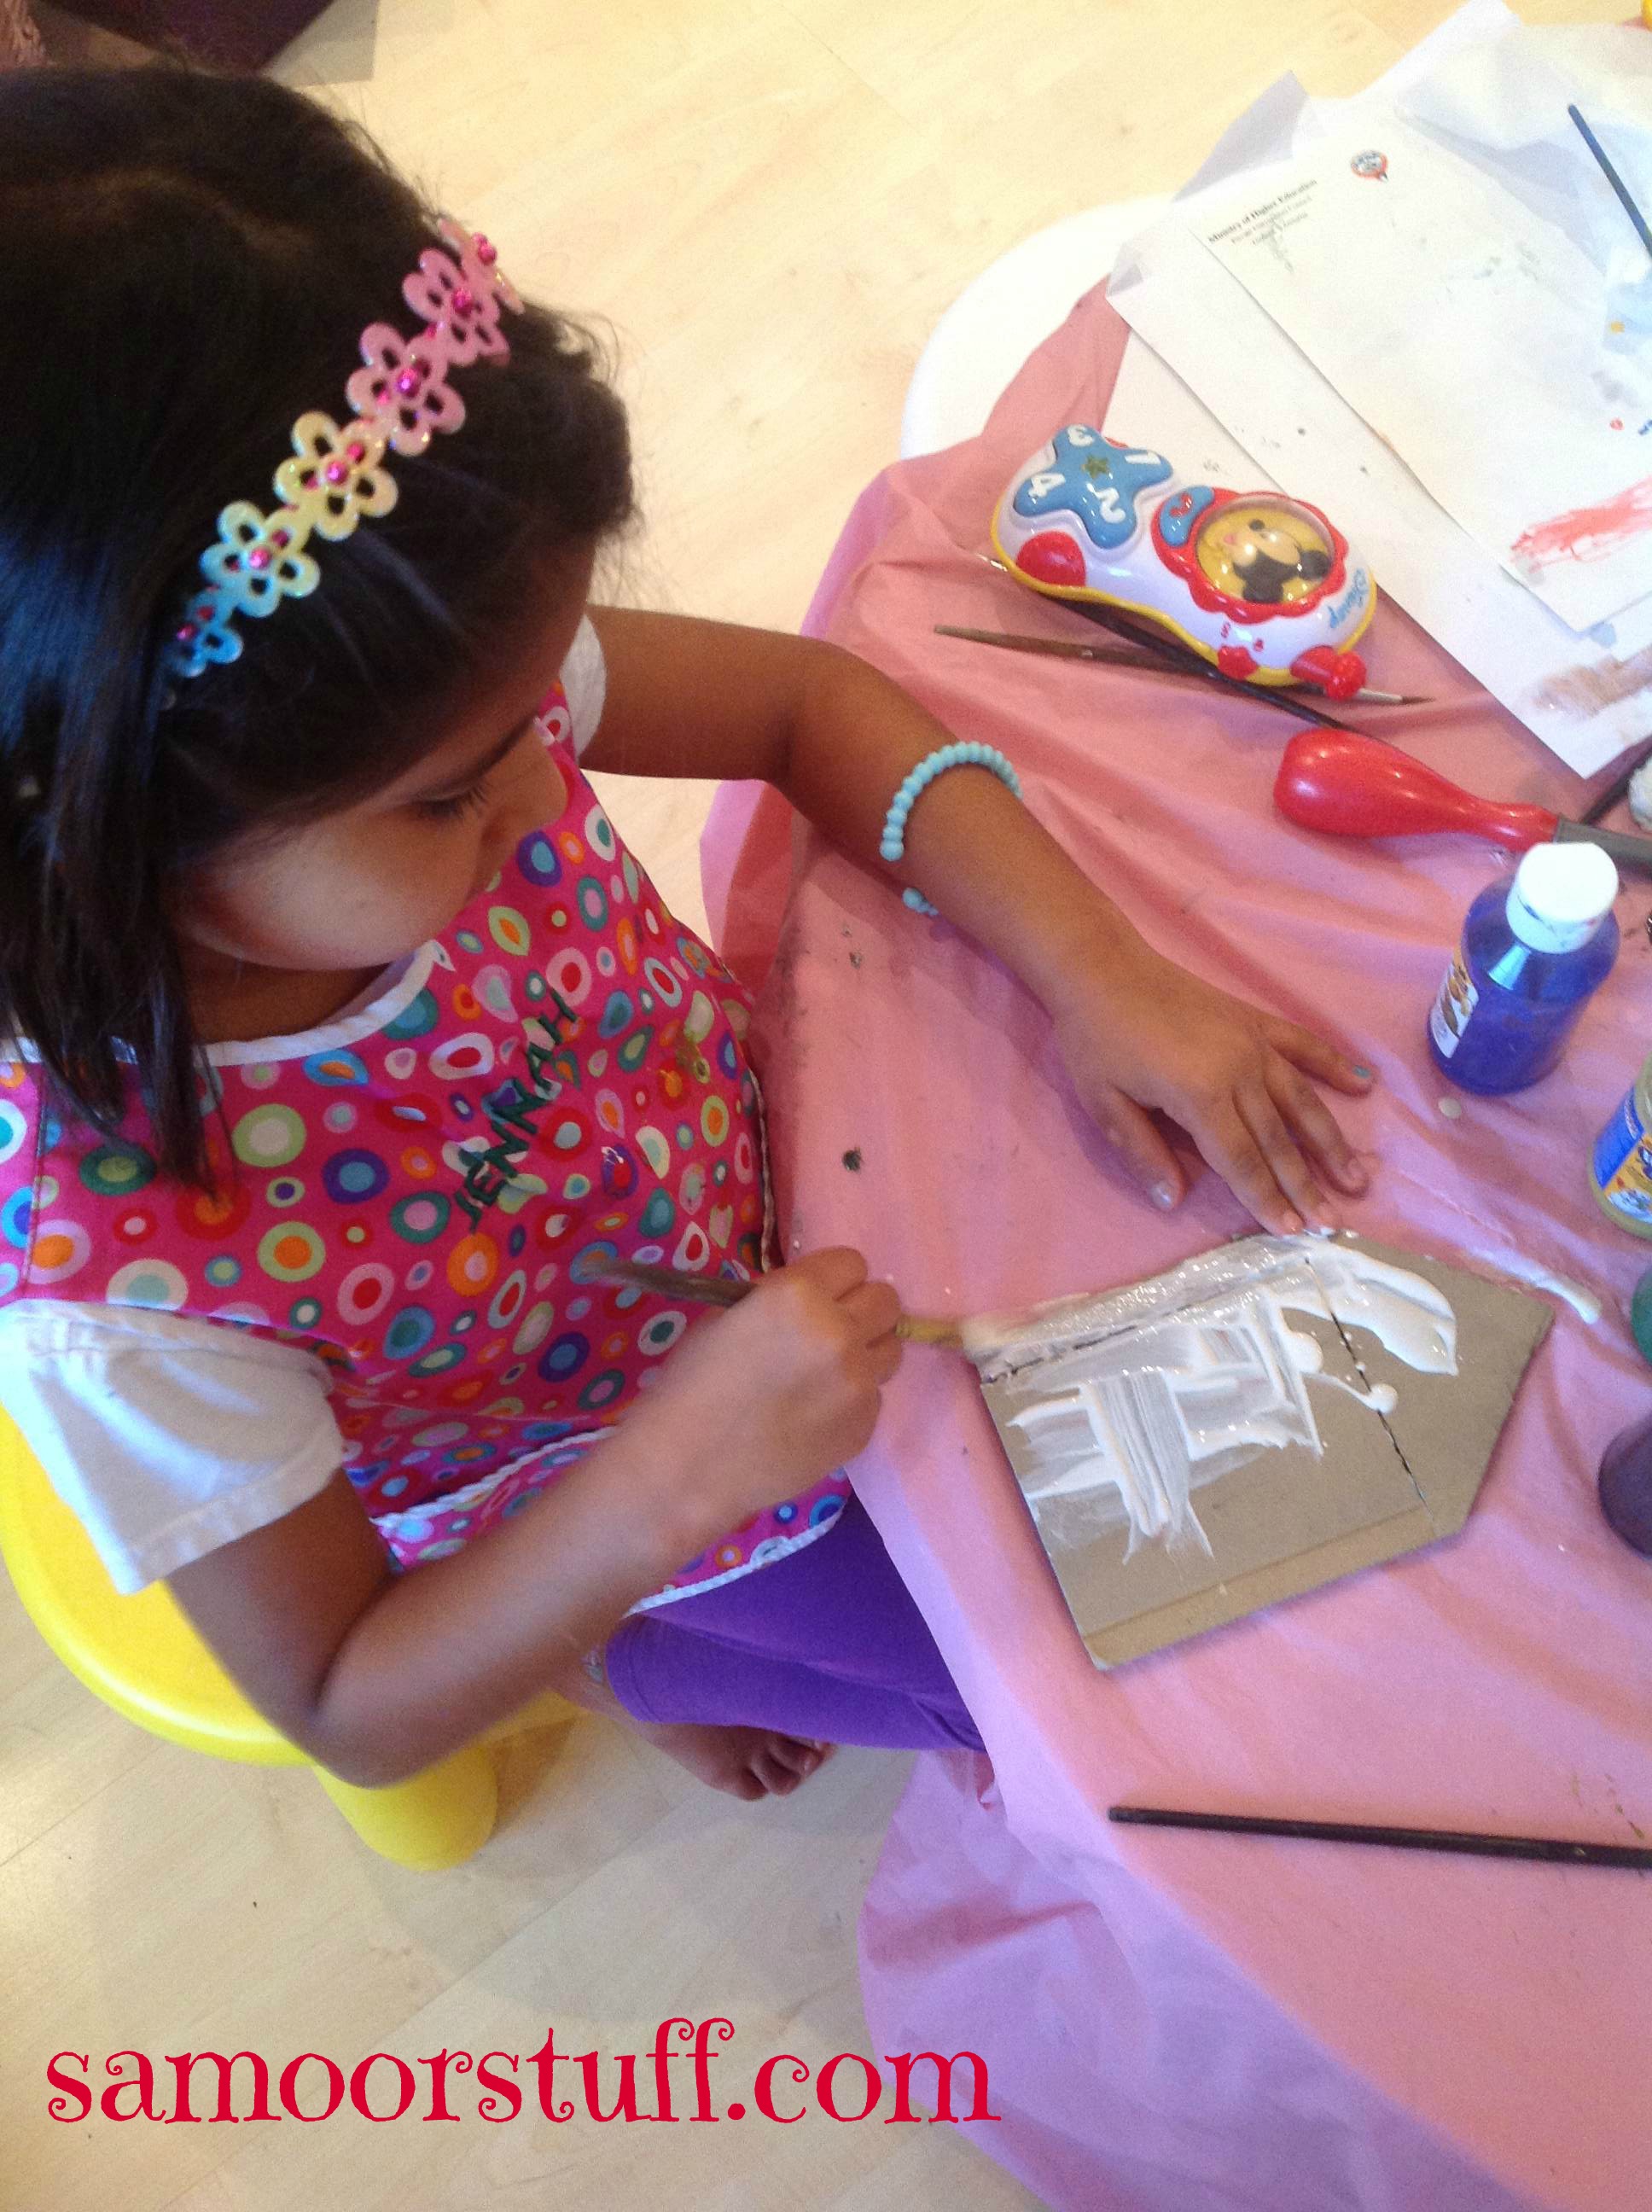
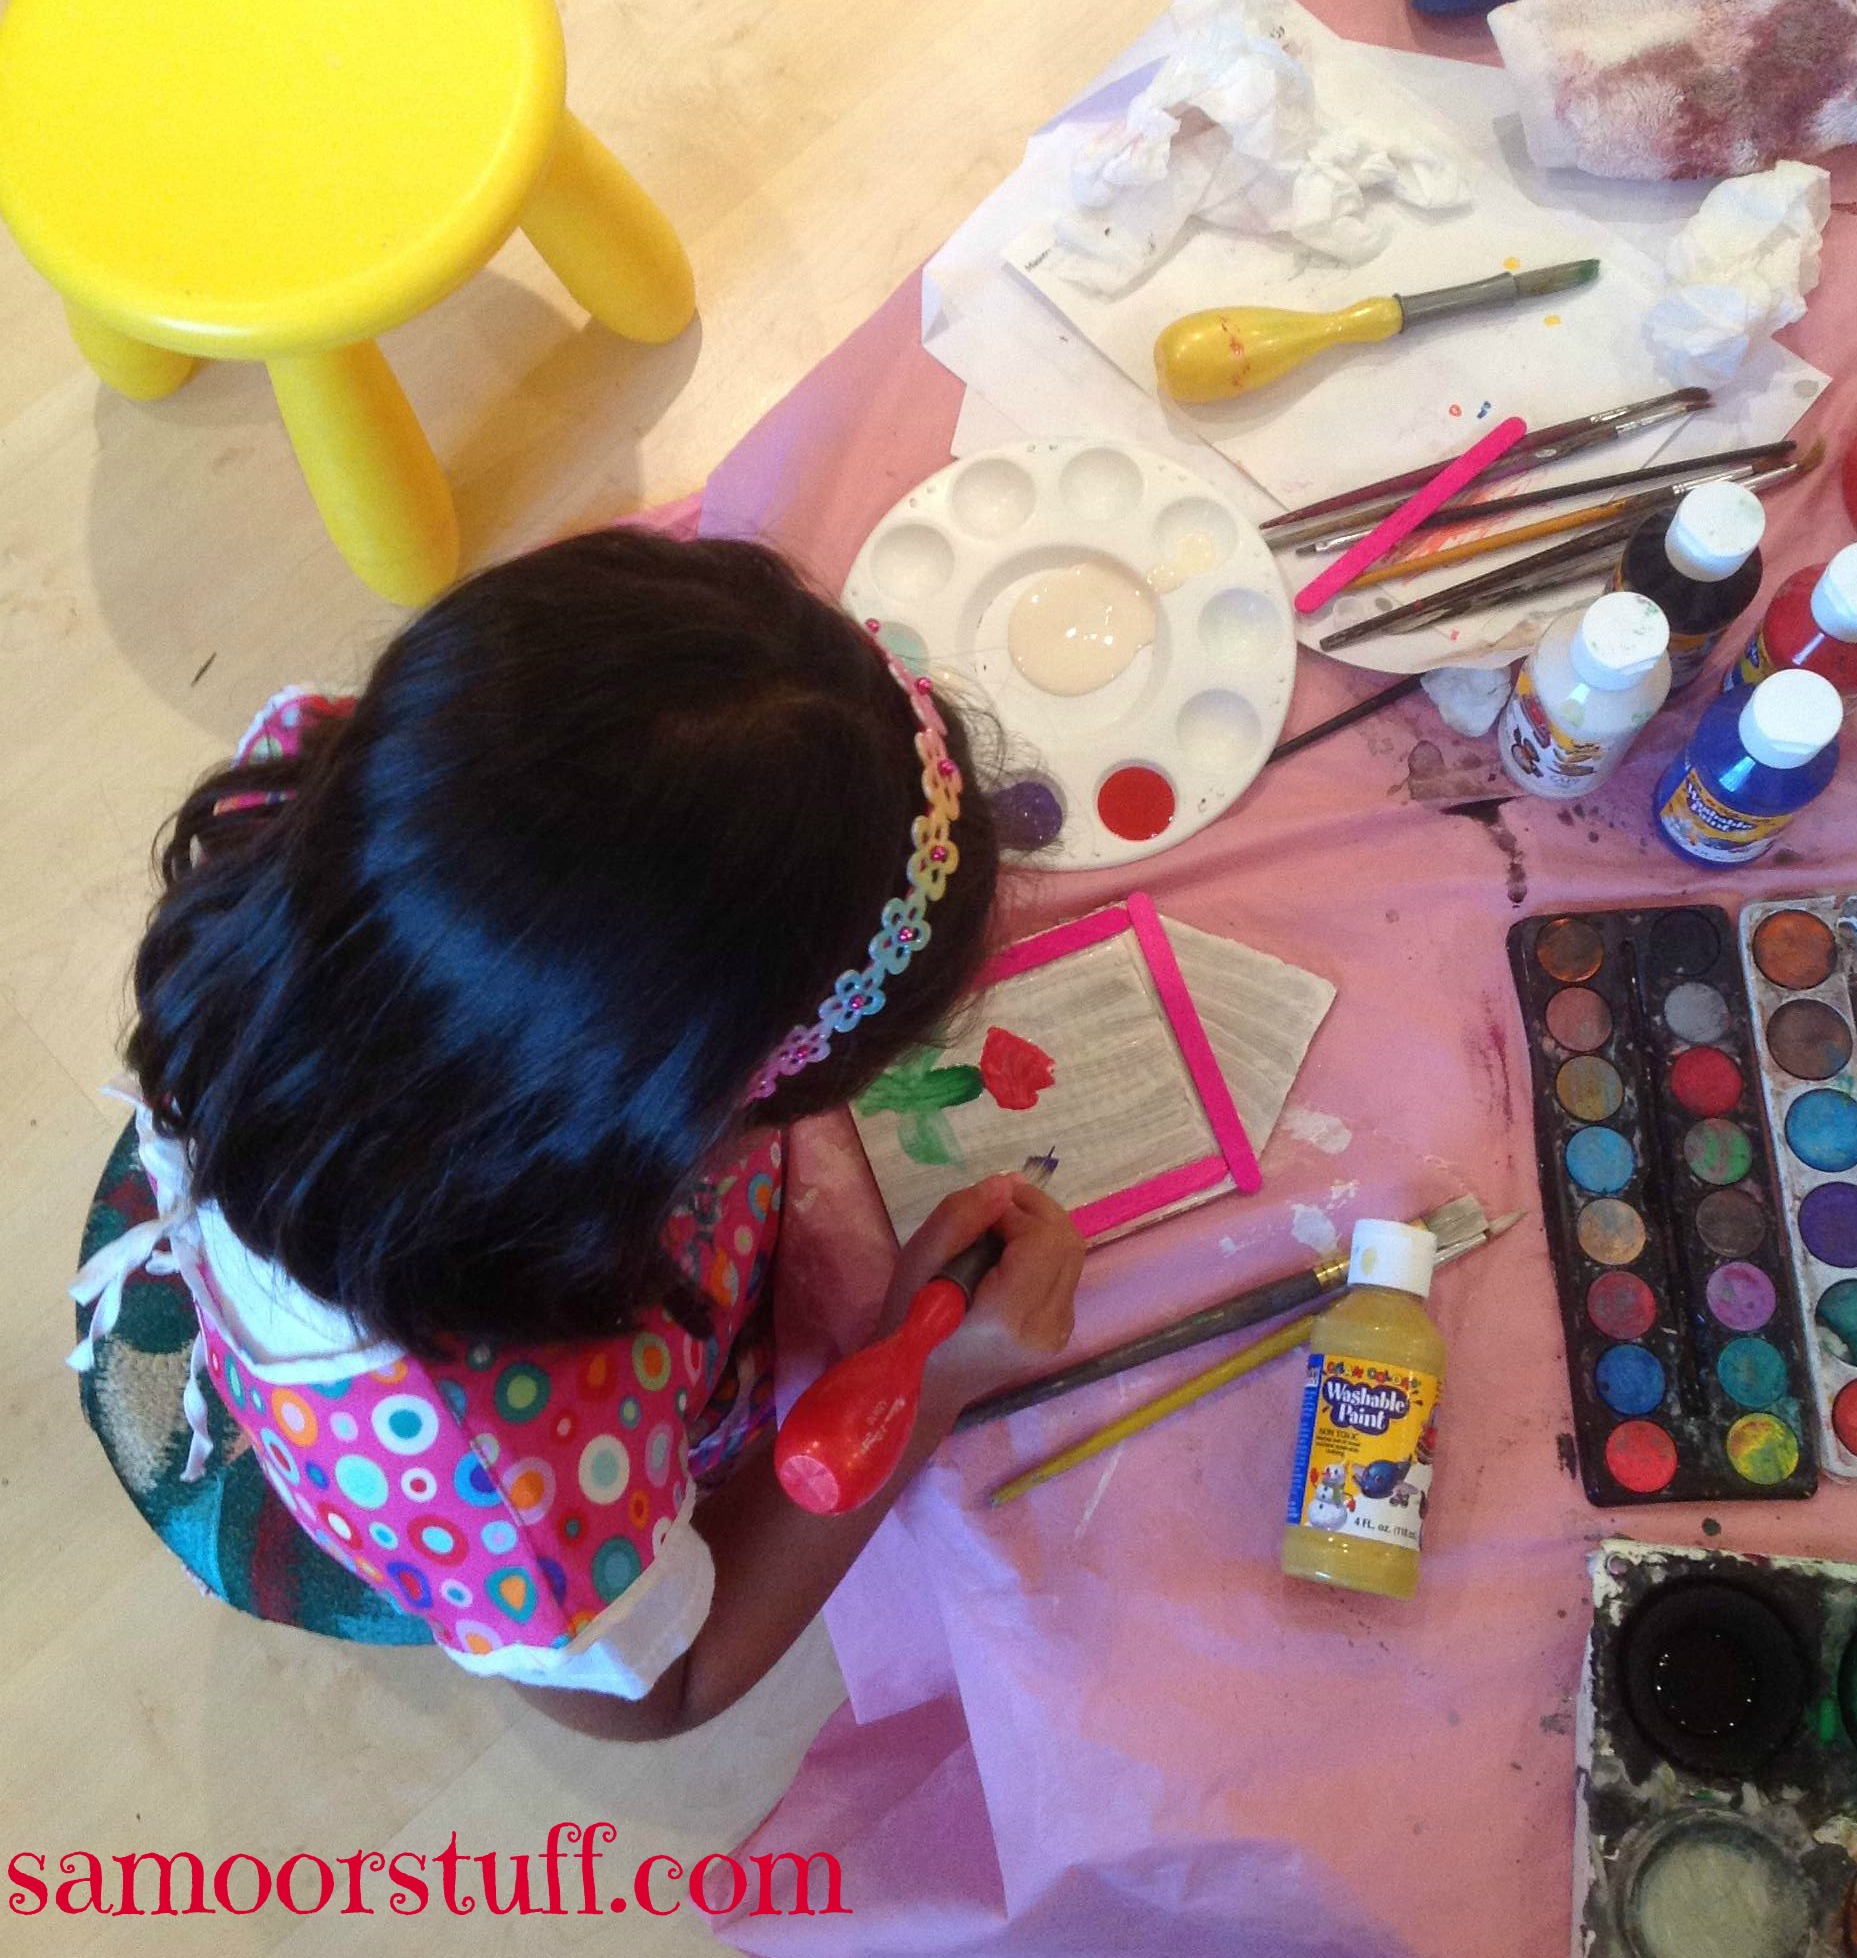
Paint the cardboard white or any color your child prefers.

Other ideas would be to either use white cardboard or cover it with tissue or construction paper…

We went with painting because it’s just more fun for the kids!


Off course the challenge is to keep them occupied with something else while the paint dries.

My suggestion is stick to the Tooth Fairy theme and either makeup or read a tooth fairy story or find cute facts online about Tooth Fairies.

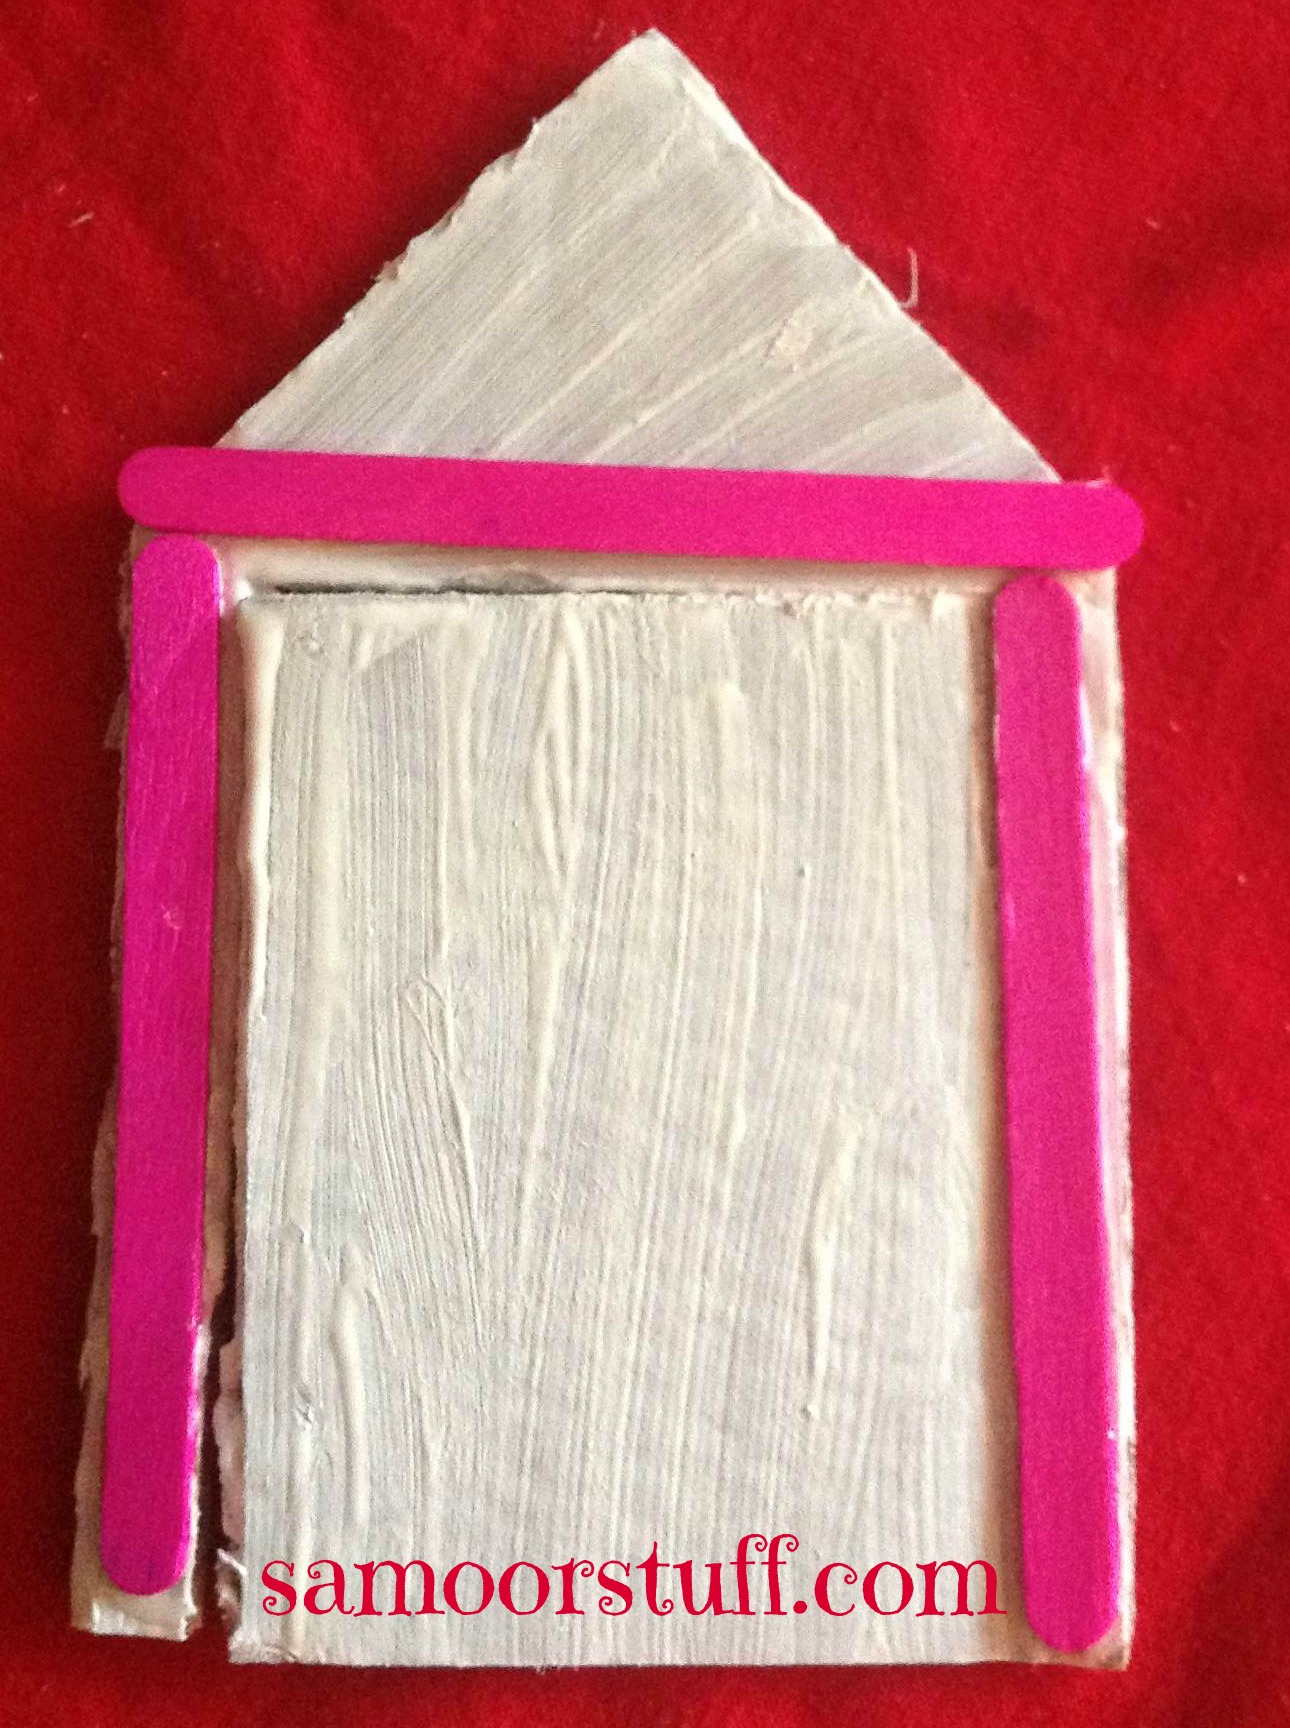
Glue the popsicle sticks on the sides and top of the cut/ folded edged of the cardboard.

B6


B7

Now the real fun begins….

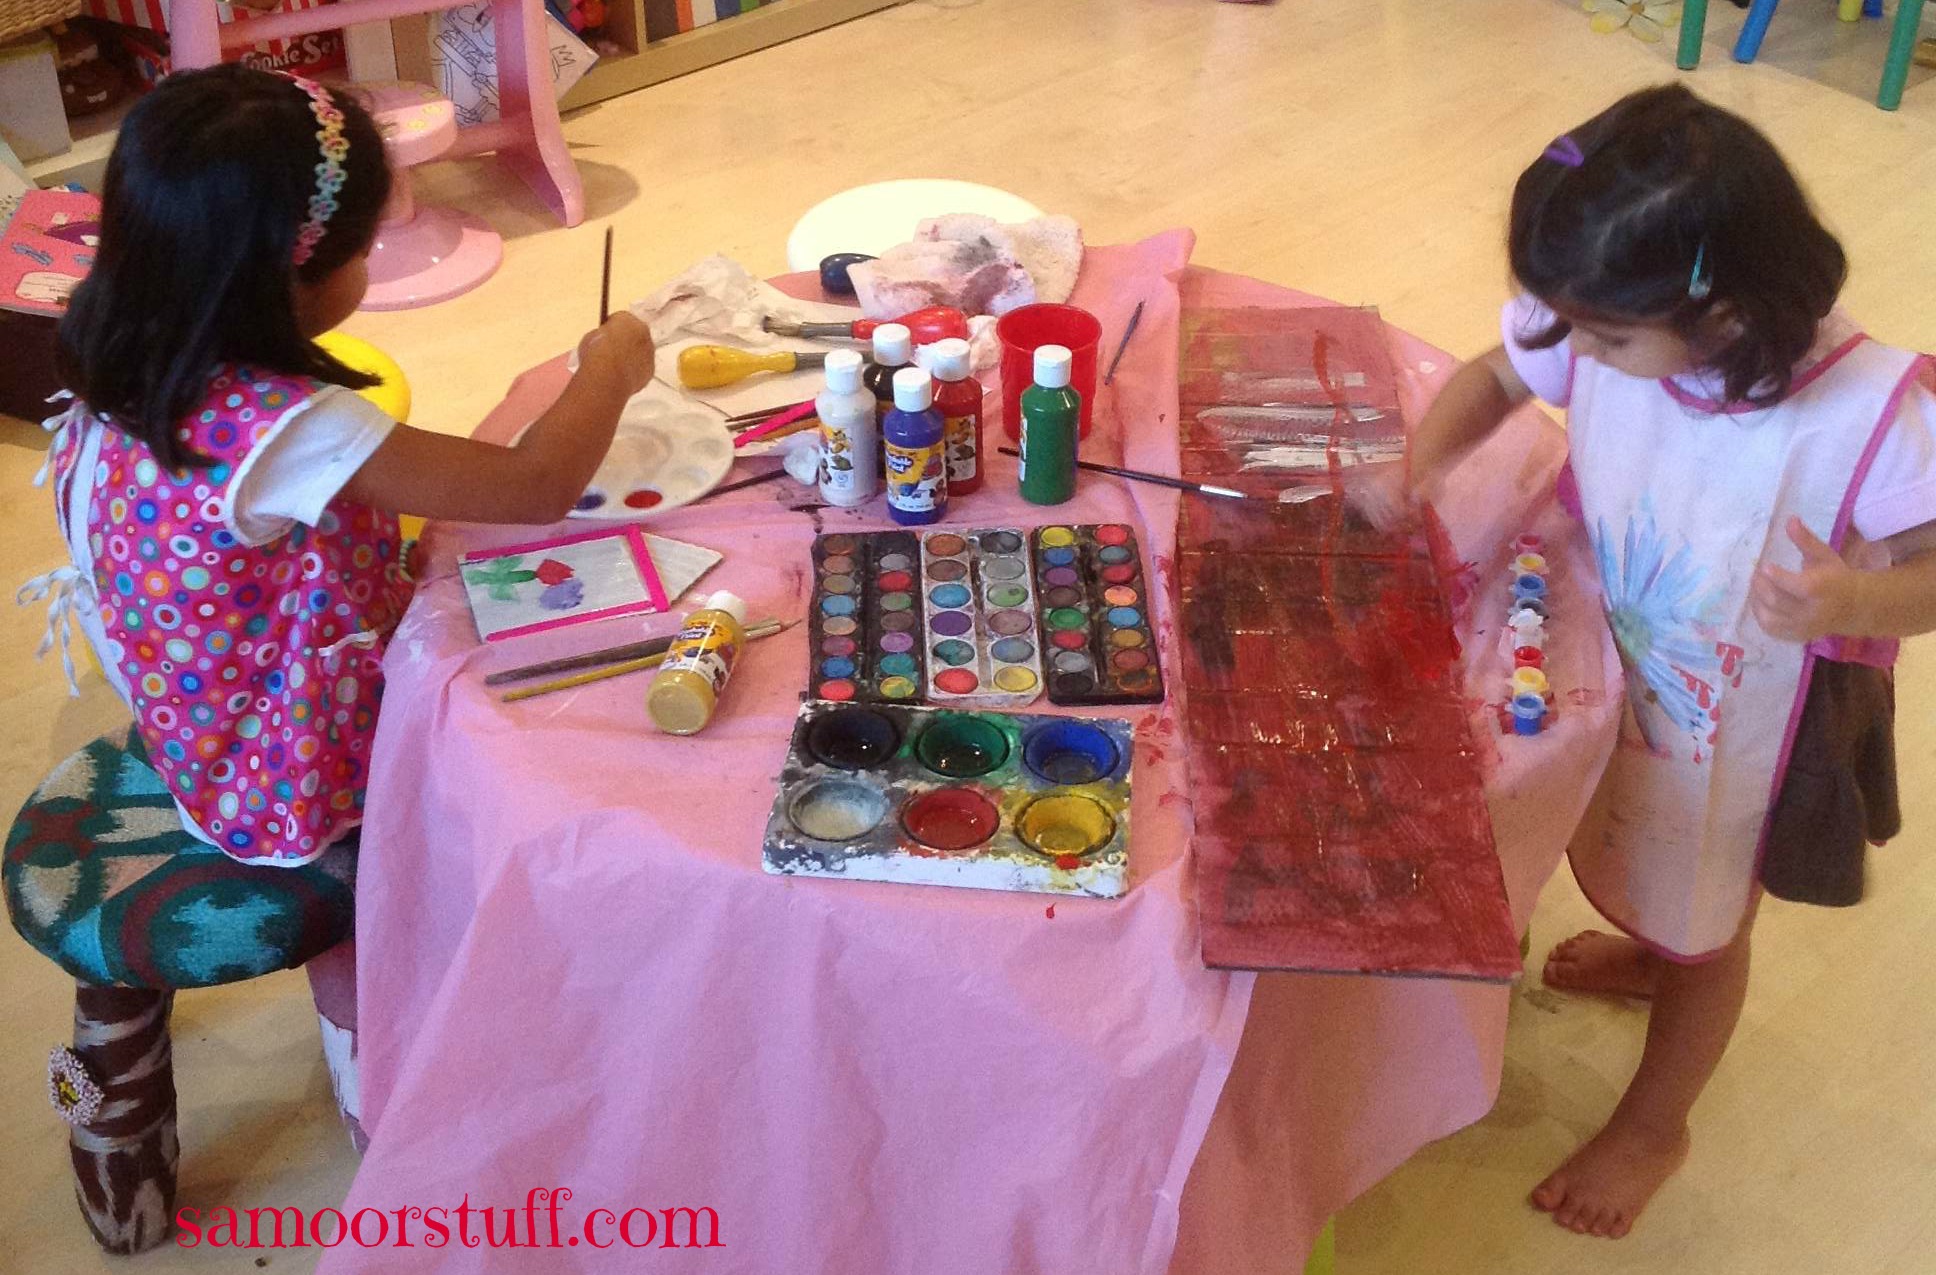
Let your child paint and design the door the way they like. In my world that’s really hard to ust let them do it “their” way.

If you have a younger child that’s continuously getting into the older child’s work keep them involved tooo….

I gave Zeenah a big piece of cardboard to paint. That really kept her busy and away from her sister’s project.
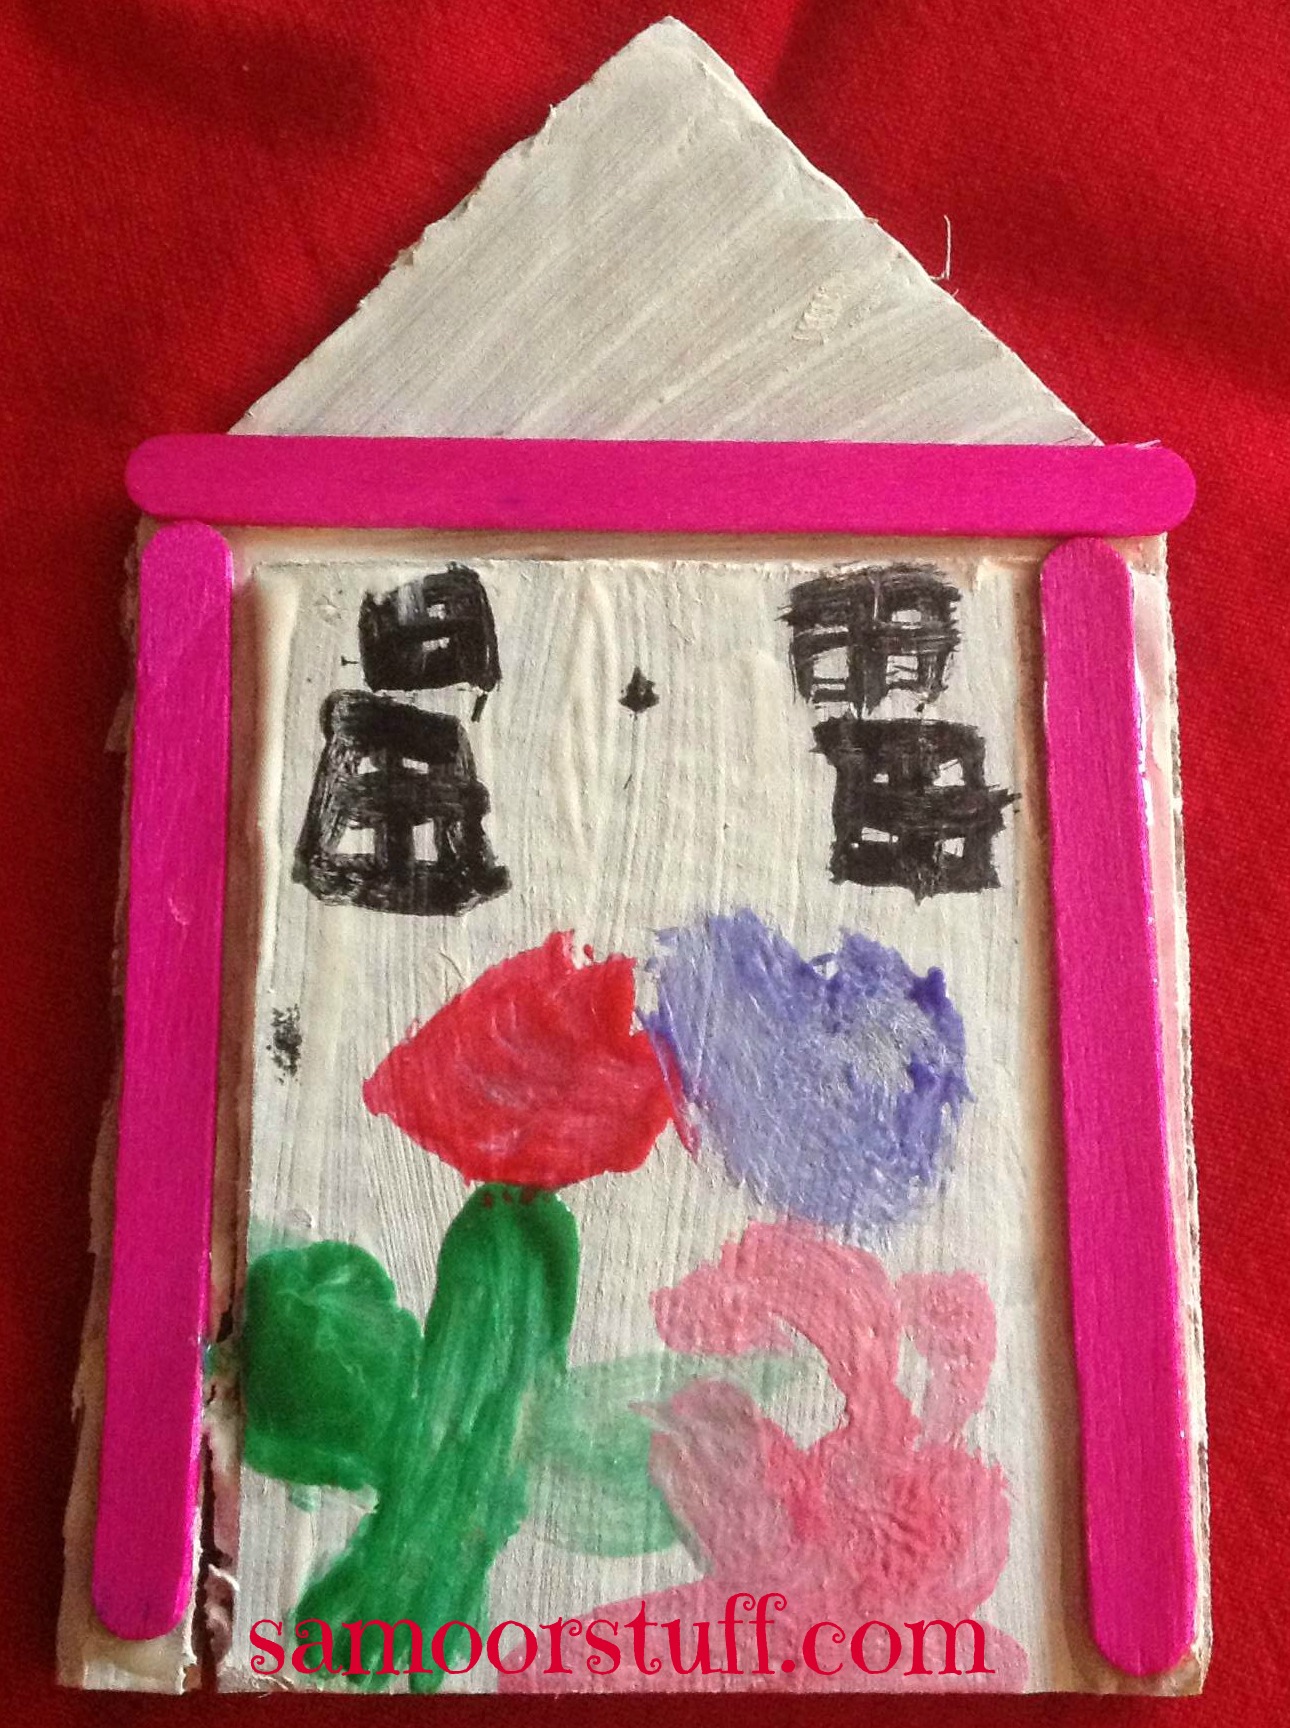
B8

  
B9
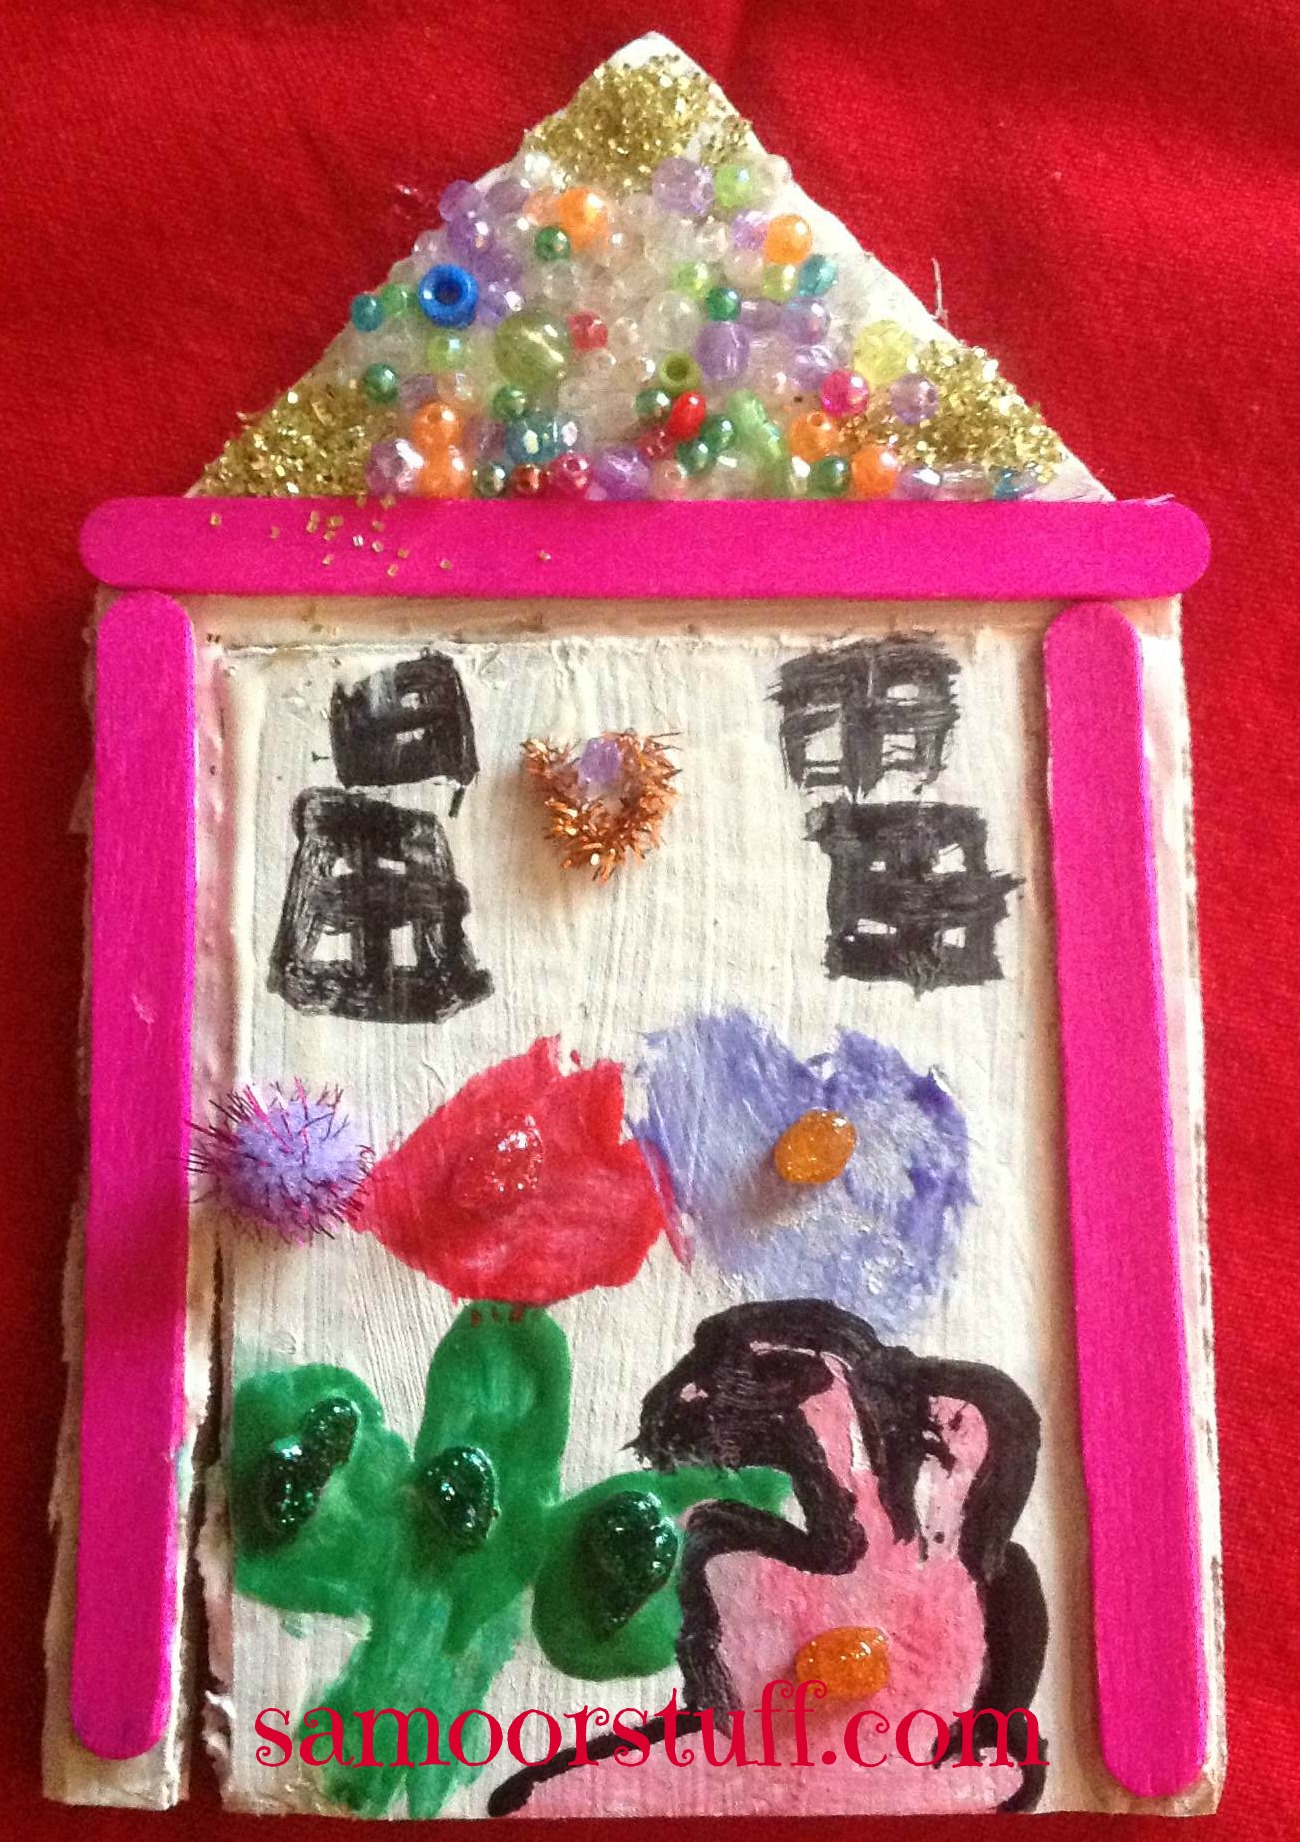
After the paint has completely dried it’s time for the Fairy Décor!
  
D10

Jennah added the beads, glitter, pompom for the door knob and the pipe cleaner for the door knocker.
 
Now you have a gorgeous Tooth Fairy Door that can be placed anywhere the night of the lost tooth allowing her to enter and surprise your child with something in the morning.

Here’s Making Life Memorable one lost tooth at a time!
Fabric Heaven

Fabric Heaven

My girls have caught on way to quickly on my “if I can’t find it I’m gonna make it” mentality… It’s supposed to be my little secret… Well secrets out apparently!

Since occasions/parties and dressing up is a big thing in my household my girls get a choice of what they want to be for Halloween.

zoe
Jennah wanted to be Zoe from Sesame street and suggested I make it since I couldn’t find a ready made costume (in Kuwait and online). Poor Zoe even sesame online doesn’t have a costume for her. Trust my daughter to choose the underdog! Protector of the weak.

So off to the Fabric Souq in sharq I go….. oodles and oodles of fun. No seriously I wanted to buy it all even though I had absolutely no use for it.

Store after store I was looking for orange fury or feathery fabric. I could find one or the other, either orange but not the texture or Fury but not the color.

All the while thinking, it’s Thursday evening and she needs to wear it on Friday to her cousin’s “Halloween Birthday Party”… Serves me right for asking them! My mind racing and reminding me the faster I get the fabric the quicker I can start designing and sewing.

 
zoe-reemas

Finally I was led to a shop called Reemas Bazar, my wishes came true……What a fabulous selection!!! The have more than just fabric, they have all sorts of accessories, beads, and the works!!

Zoe-fabric
The main highlight of the whole thing is that I was in Sesame street heaven!!! I actually found all of the colors and textures for Big Bird, Elmo, Cookie monster, Abby and most importantly Zoe!
 

I got what I wanted and rushed to pick up the girls from their playdate and couldn’t wait to get home. Mind you I hadn’t thought the whole costume through…. There was still the question of the bug eyes….
 

I quickly manage to put the girls in bed to get started…ooops I can’t!!! I had to finish the cake and cupcakes I was making for my niece!!! (that’ a whole other POST!!!)
 

zoe-step1
Fast Forward to the next morning……So I set out to make Jennah’s Zoe Costume. I got a visual idea of the main components of the costume and it was time to get all the supplies. I dug through my craft supplies and got two Styrofoam balls, googly eyes, brown glittery foam paper and confiscated a headband from the girls’ dresser.

I’m all set. So I knew that all I needed to use the fabric for was her arms, a little chest area and somehow a wig. I sat there for a while staring at the fabric then it kinda hit me. I made a shrug that she wore backside front. Just a few stiches for the arms and that’s it. I put elastic through the hem the sleeve to hold it onto her wrists.


Zoe-headband


Next came the real crafty job… I stuck the two Styrofoam balls together and glues each of the googly eyes. I cut out eyelashes from the brown glittery foam paper and also glued them to the eyeballs. Lastly the pair of eyes were glued to the headband.


Now it was time to try it all on and hope for the best.

Zoe-Jennah


Jennah was extremely quick to put her ballet clothes on and just waited for me to turn her into Zoe…. Keeping my fingers crossed that it all fits and makes sense.

She wore the arms and I fixed the extra fabric into a wig and placed the headband to hold it all together. And Viola!!! Another creation I am proud to have made.

So this season its all about “Making Life Memorable” the creative way! Oh wait…..isn’t that always the case in my house?!

P.S. If you’re planning a Sesame street character you know where to find the tools to make it!

Jennah Lost her Tooth!!!!

Jennah Lost her Tooth!!!!

What a milestone in one week!! Jennah survived the first week of school AND she lost her first tooth!!

J-toothless
It’s official my first born is a big girl now.

I’m so glad my motherly instincts kicked in this morning and I got her what she wanted.

She’s been talking about her wiggly tooth almost everyday. “When is it going to fall?” “why is it taking long?” “Is the tooth fairy real?”

Off course as a mother you take full advantage of the Tooth Fairy’s existence. “If the tooth fairy finds out she’ll be upset” “You better clean up or else the tooth fairy won’t come”

It’s not all questions and threats… there’s always the FUN stuff.

We spoke about pixie dust and how the fairy might leave some behind. The land of tooth fairies. The existence of Boy tooth fairies. We also spoke of the things that good teeth get in return like gifts, money, toys….

Almost every time we shopped she would ask if the fairy was going to buy this or that for her. Never did I see that Sparkle in her eye of wanting something specific…..

UNTIL a few days ago we went into Claire’s and she saw purple furry “eye muffies” as she called them and I knew by her giddy voice and question THAT was the perfect gift to go under her pillow.
gift
Now for the Pixie dust…. I thought of getting a small vial and putting some glitter in it. Then I started to think maybe that’s taking TOO much imagination into reality.

So Next thought was glittery nail polish……but that should be a gift on it’s own we still have a full mouthful of teeth!

Then I found it!!! I almost was jumping for joy…. The cutest Necklace ever. A vial pendant with tiny beads. I can’t wait to see her reaction in the morning!

I had to document the loss of her first tooth with a certificate. I looked up a few different fairy names and meanings. I chose fairy Feeorin Austrian she appropriately loves music and dancing… Perrrrrrfect for Jennah! I designed the certificate and put a few nice words and I can’t say I’m not pleased with the outcome:)
cert

While I was at it I also made two little notes to add under her pillow. The tooth fairy description and another one explaining the necklace.

Meanwhile Jennah worked on decorating a jewelry box for the tooth fairy and writing the cutest “Tooth Fairy Request”. She tucked the note in the drawer of the jewelry box and then we put the tooth in the top part.
JennahNote

We neatly put the box with the tooth fairy door we made in the corner of her bed and Jennah said “I can’t wait for tomorrow!”
J-bed
Now all I need to do is sneak in there at some point and put her goodies under the pillow.

Hope this “Makes Life Memorable” for her.