Tag Archives: craft

Don’t save that Glitter!!!

Don’t save that Glitter!!!

In my big move from Kuwait to Canada I was faced with the extreme challenge of putting my life into boxes….. A lifetime of memories, accumulating and collecting was put to the test of ” attempt to sell”, “Give Away”, “Save” or “Pack”.

For every website, Pin, organizing list it was universal in its advice. Sound simple until you actually have to do it! This is in no way a post to help you in packing on the contrary it’s about how you should live leading up to the point of needing to pack.

I always took pride in my double closet in my home office/craft room filled with everything your heart desires when it comes to crafting materials. It was really a miniature craft store on its own from paints, card stock, colored  papers, paintbrushes, crafting tools, Styrofoam , felt, fabric, ribbons, wrapping papers, beads, an array of canvases, paint brushes, sketchbooks, floral supplies and most importantly GLITTER. 

In my mind there’s glitter and there’s GLITTER. To the normal person they really sound/look the same. Nope!! not for me. There was regular glitter that I let my girls use and splurge on and there’s GLITTER that was “special glitter” that the girls were only allowed to admire from afar and I was the only one that used it sparingly.

Then the day came that I opened my wonderfully organized and stocked up closet and I had to part with it AAAALLLLL….. The cost of shipping could not be justified in comparison to buying everything new was my husbands perspective, Logic says he’s right but then there’s my crafting logic screaming internally “Precious….its precious!”

I replayed in my head all the times we didn’t use the GLITTER while crafting and the life lesson hit me. Never save anything for that “special” day. Use it and abuse it because you never know where life takes you and you end up looking back like I did at all the missed chances to enjoy it.


So don’t forget use that GLITTER while Making Life Memorable before you have to give it away!!!

Tooth Fairy Door

Tooth Fairy Door

The wonderful world of make believe is such an amazing place to be, I remember as a child when you thought EVERYTHING was real… Call it the Disney syndrome or perhaps it’s the Peter Pan? Whatever the name it’s all the same a world where everything is magical that’s where I want to live.

If any of you out there is like me with “issues” about being a grown up I’m sure you’d agree. Life was so simple when the worst thing was your mom not letting you go to a friend’s house and you’d feel like it’s the end of the world.

If we only knew what was REALLY in store:) Well moving right along before it turns into a therapy session…….

The world of make believe. Santa, Tooth Fairy and the Easter Bunny are those things that make you tingle and feel young.

I had to make the experience of Jennah’s wiggly tooth and the much awaited Tooth fairy visit extremely special.

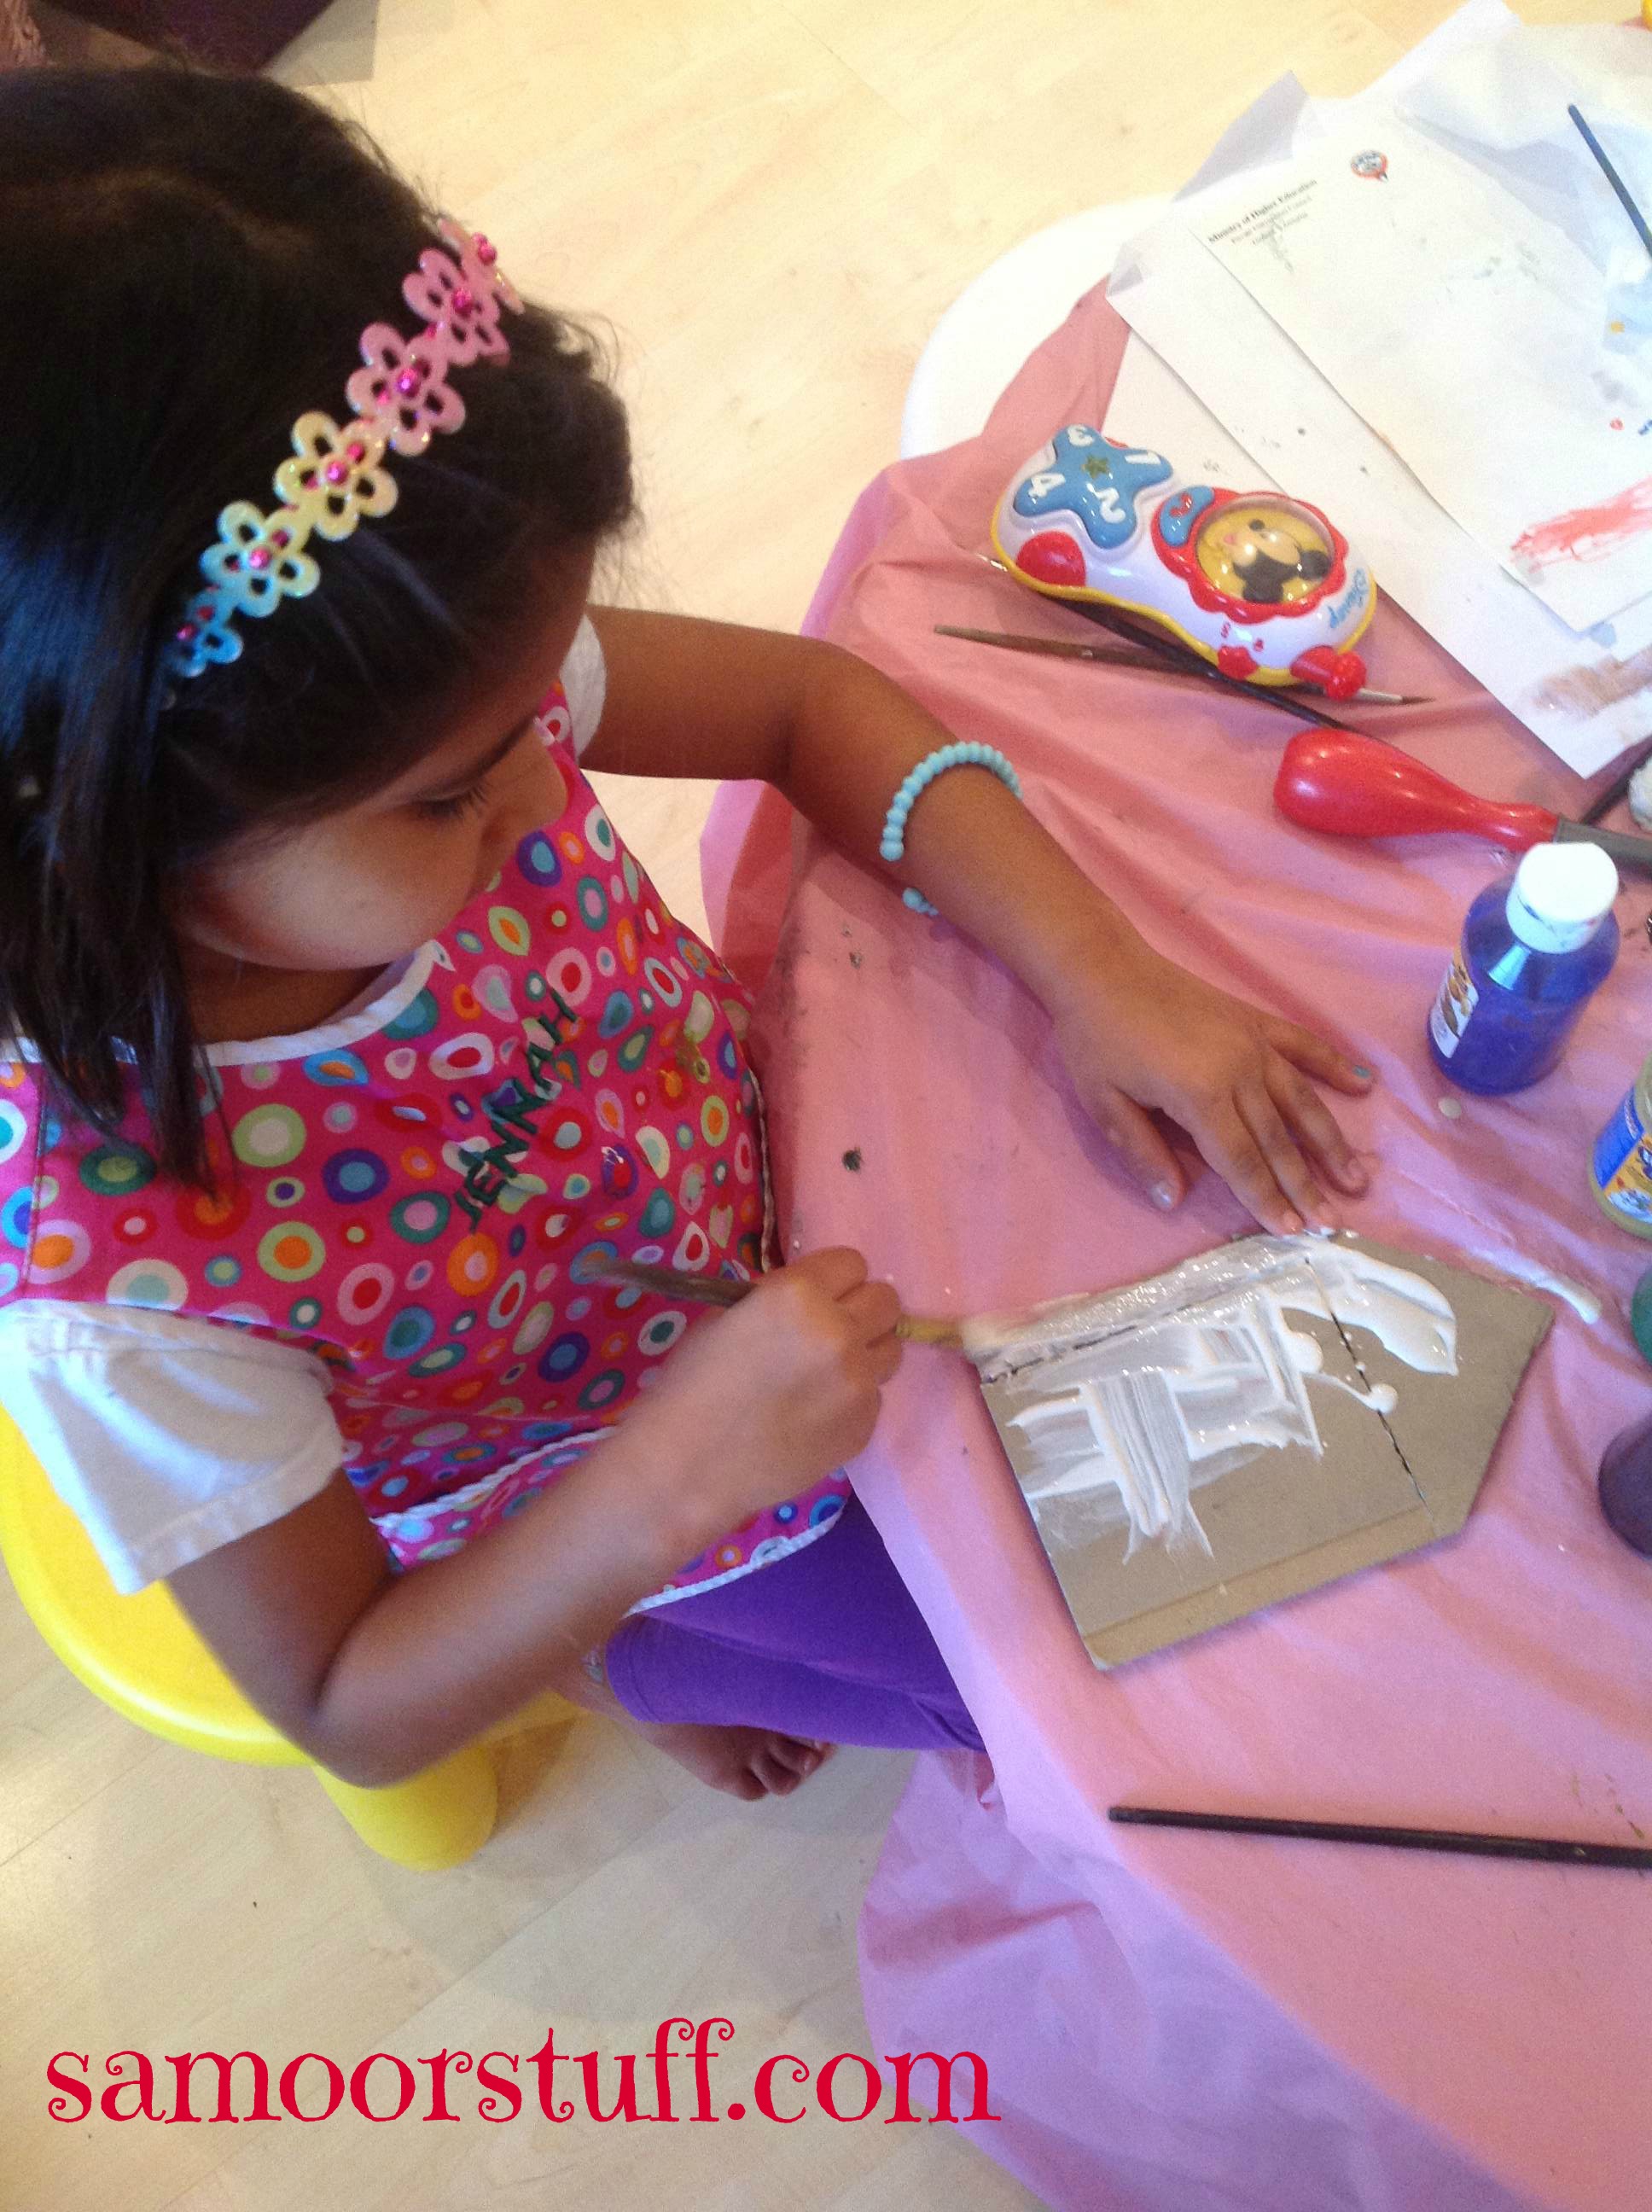
I decided to make a little tooth fairy door for that occasion. I debated for a while if it should be a surprise or make Jennah involved but I figured it would make it all that more special if Jennah made it.

So here’s your inspiration and How to…..

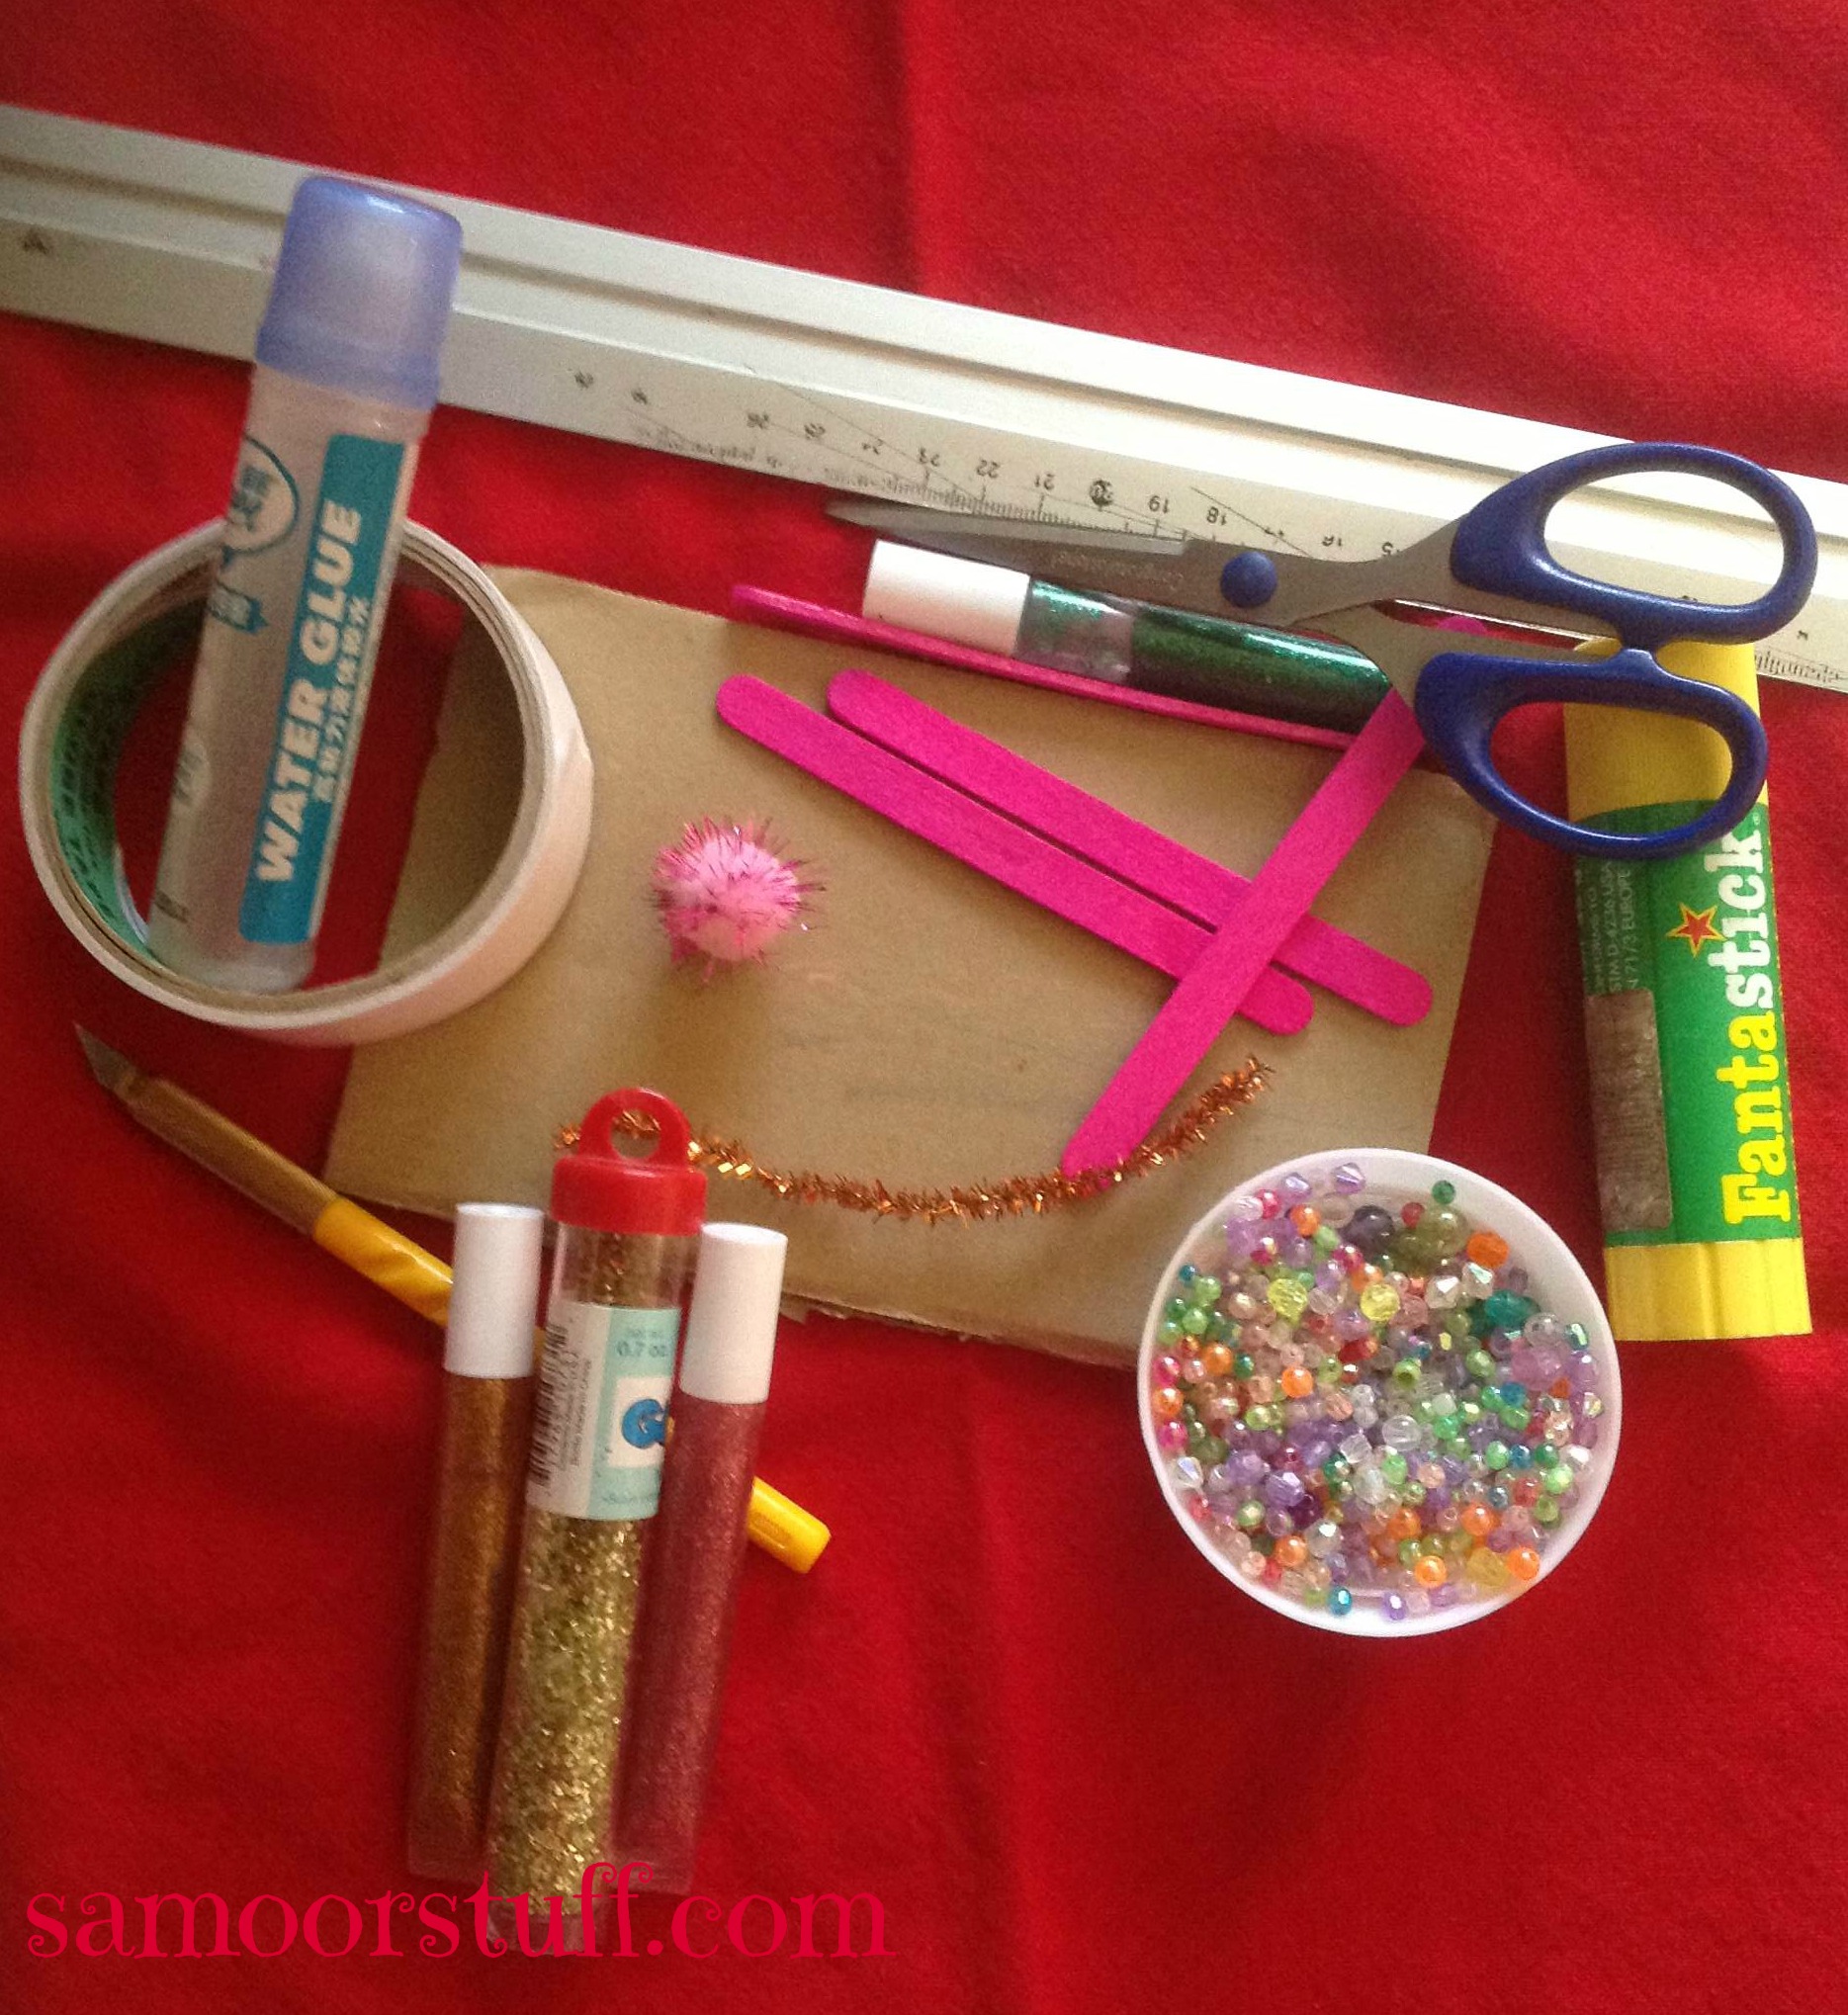
TOOLS
You’ll need:
Ruler
Cardboard (about 18cm x 11cm, 7inchx4.5inch)
3 Popsicle sticks
Glue
Pencil
Glitter
Beads
Paint
Pipe cleaner
PomPom
Any cutting tool (scissors, razor blade..)


Directions:
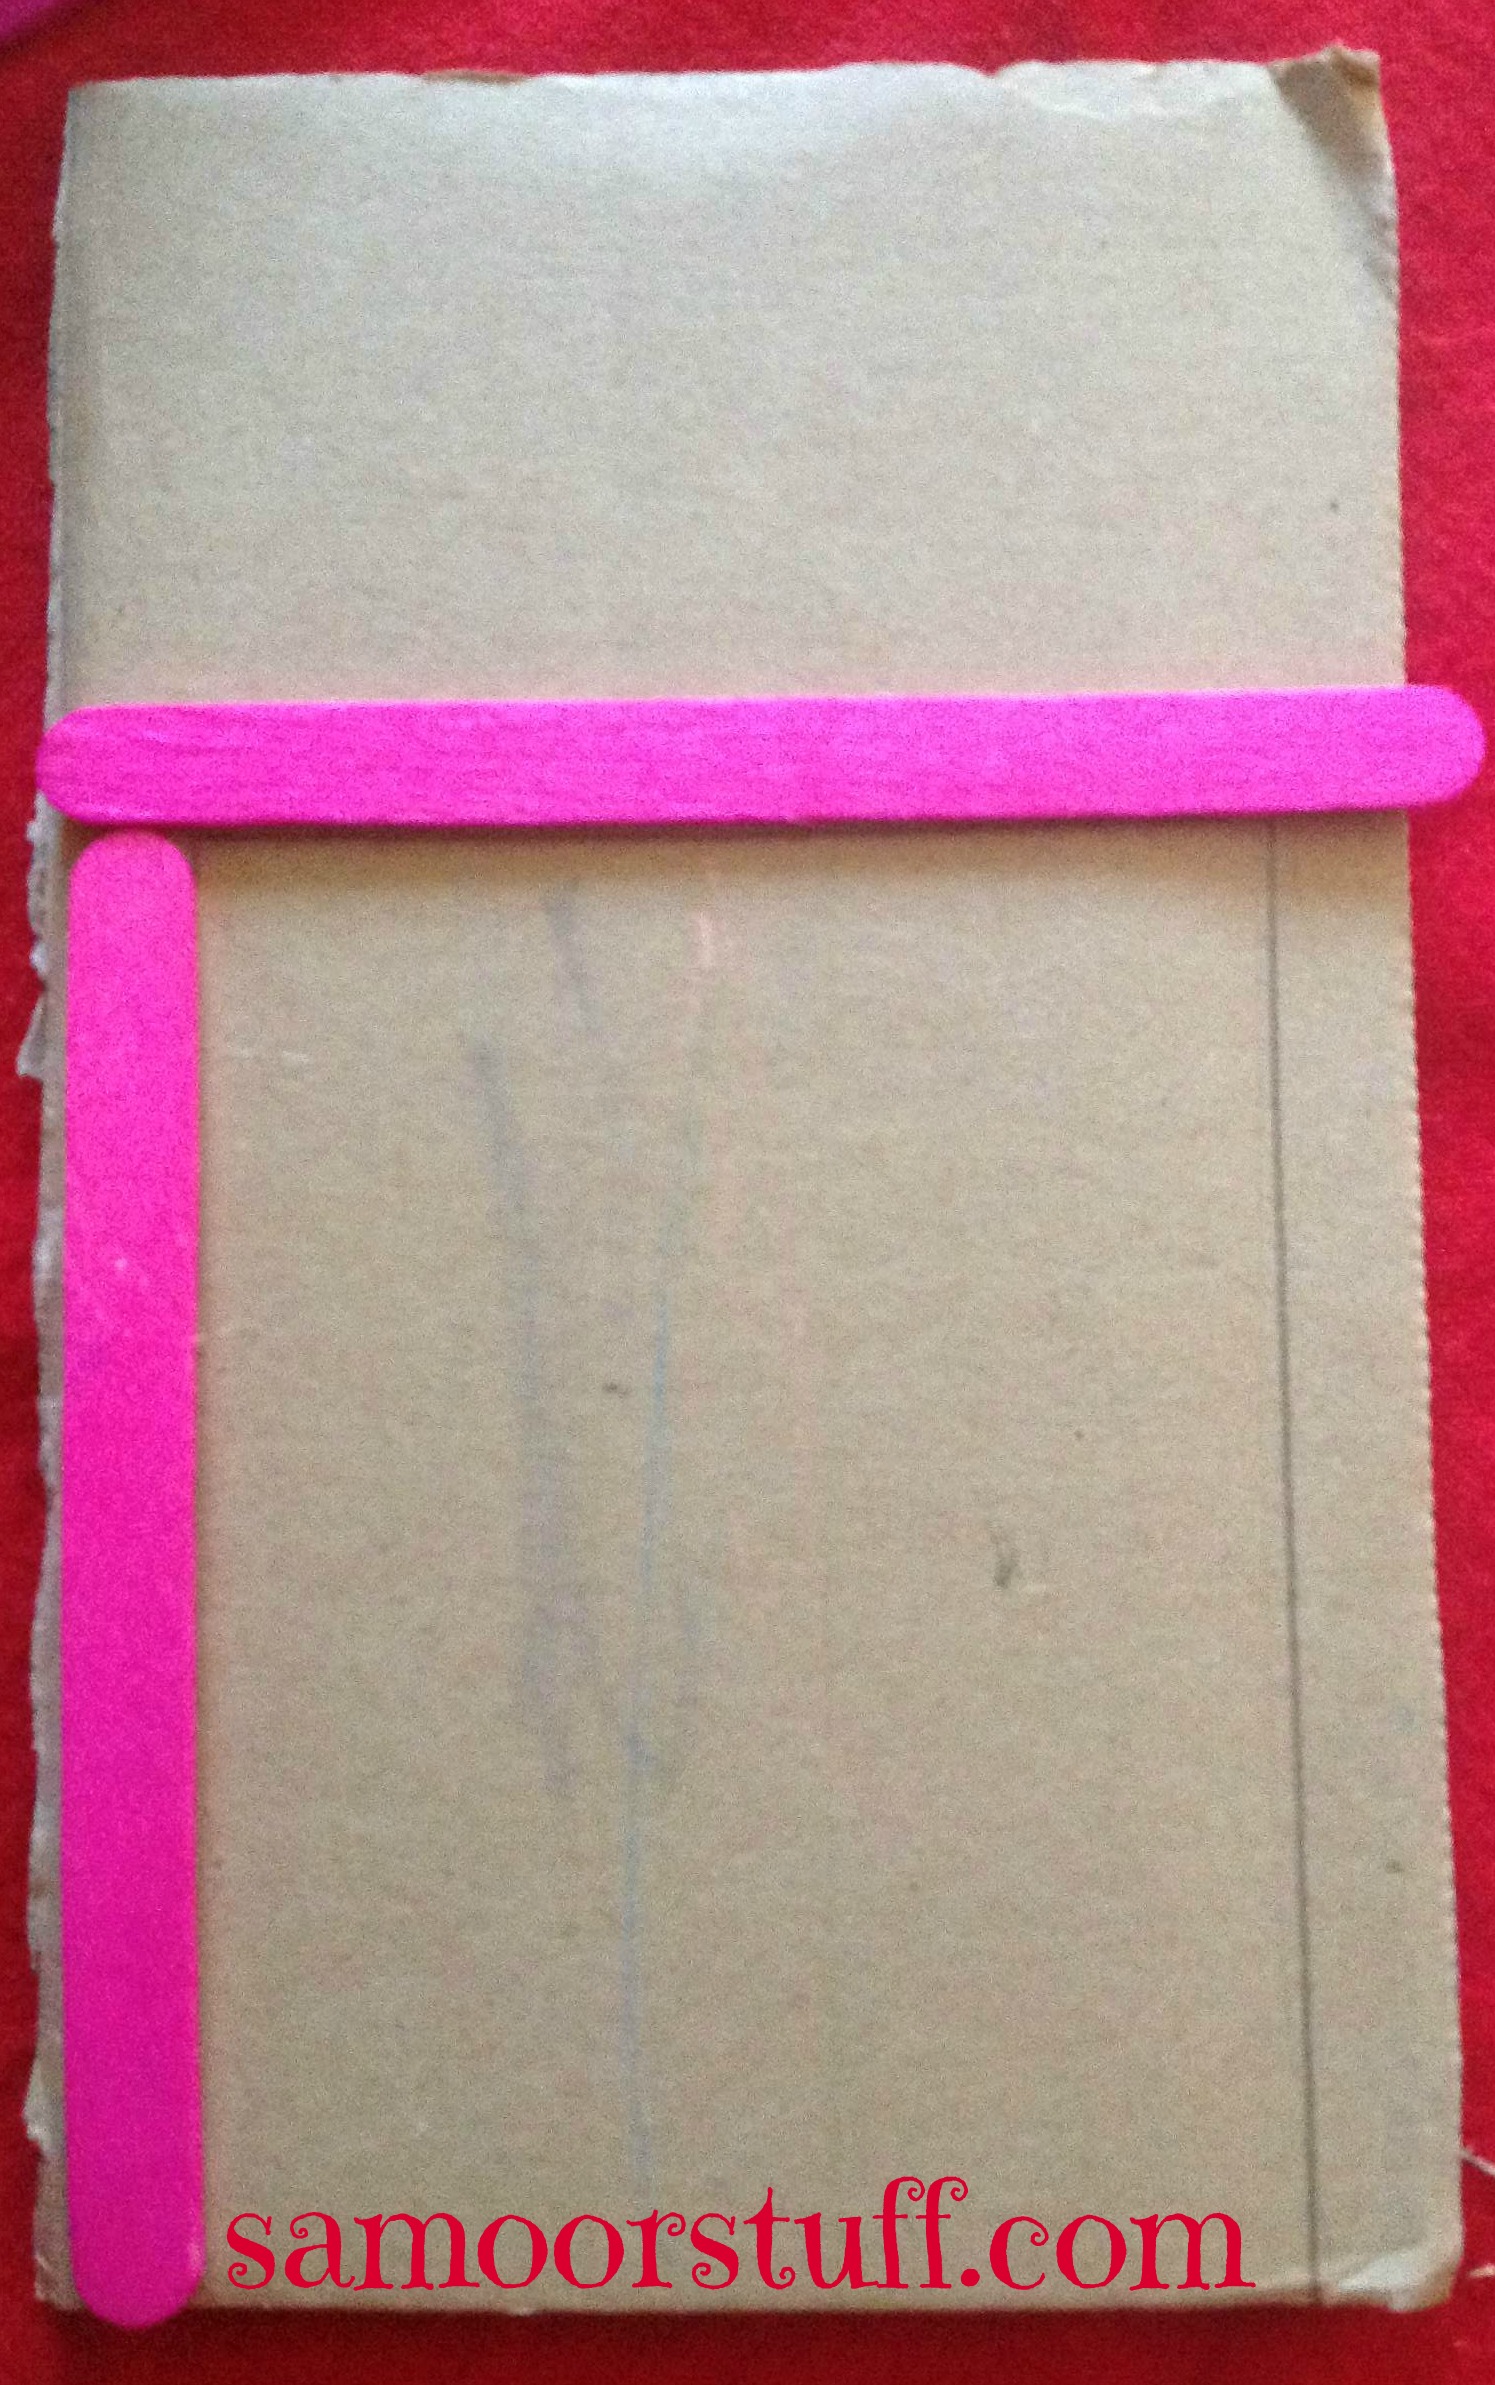
Measuring and cutting the door.

B1

B2

 
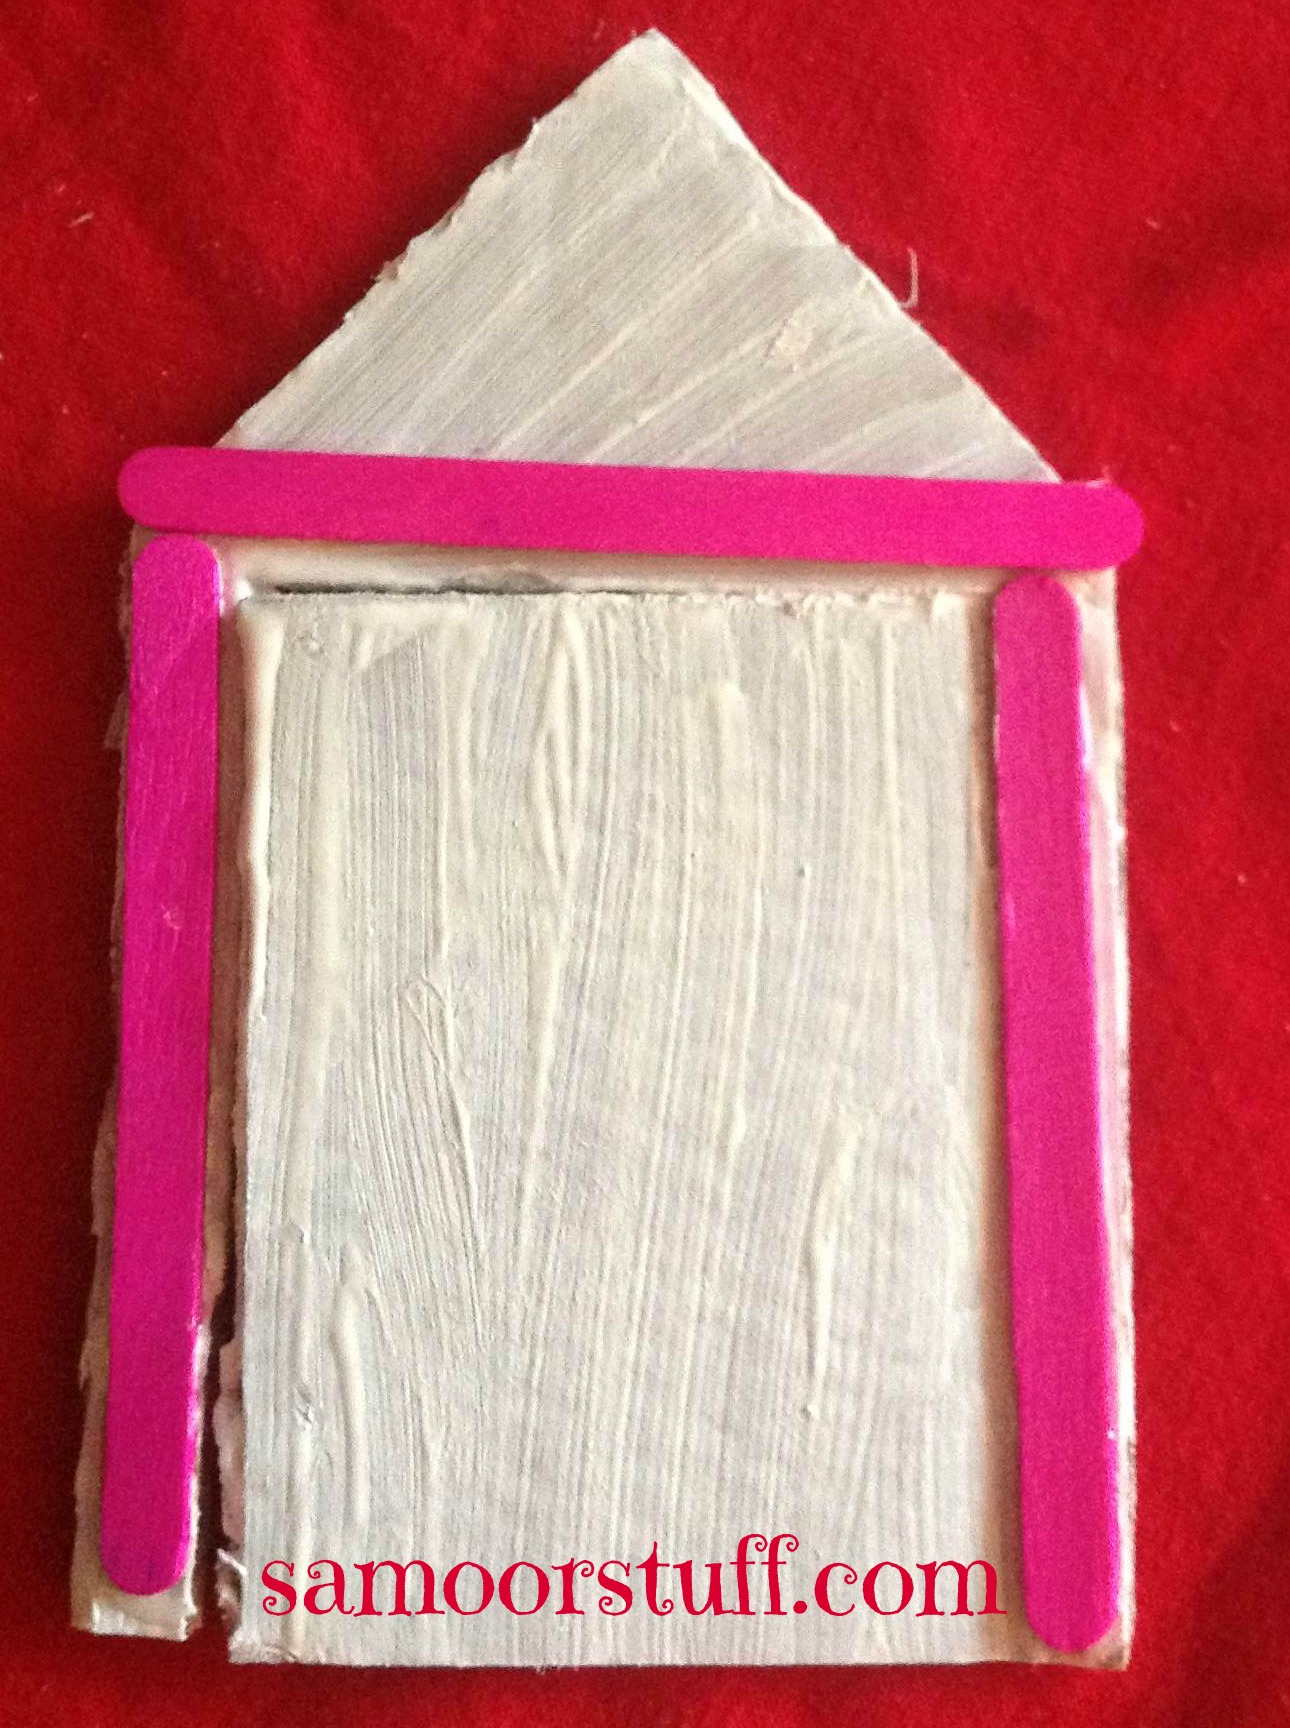
Place 2 of the popsicle sticks on the sides of the cardboard from the bottom to make and the third on the top to attach the other two making a rectangle.
 

Mark the inside of the sticks with a pencil.
 
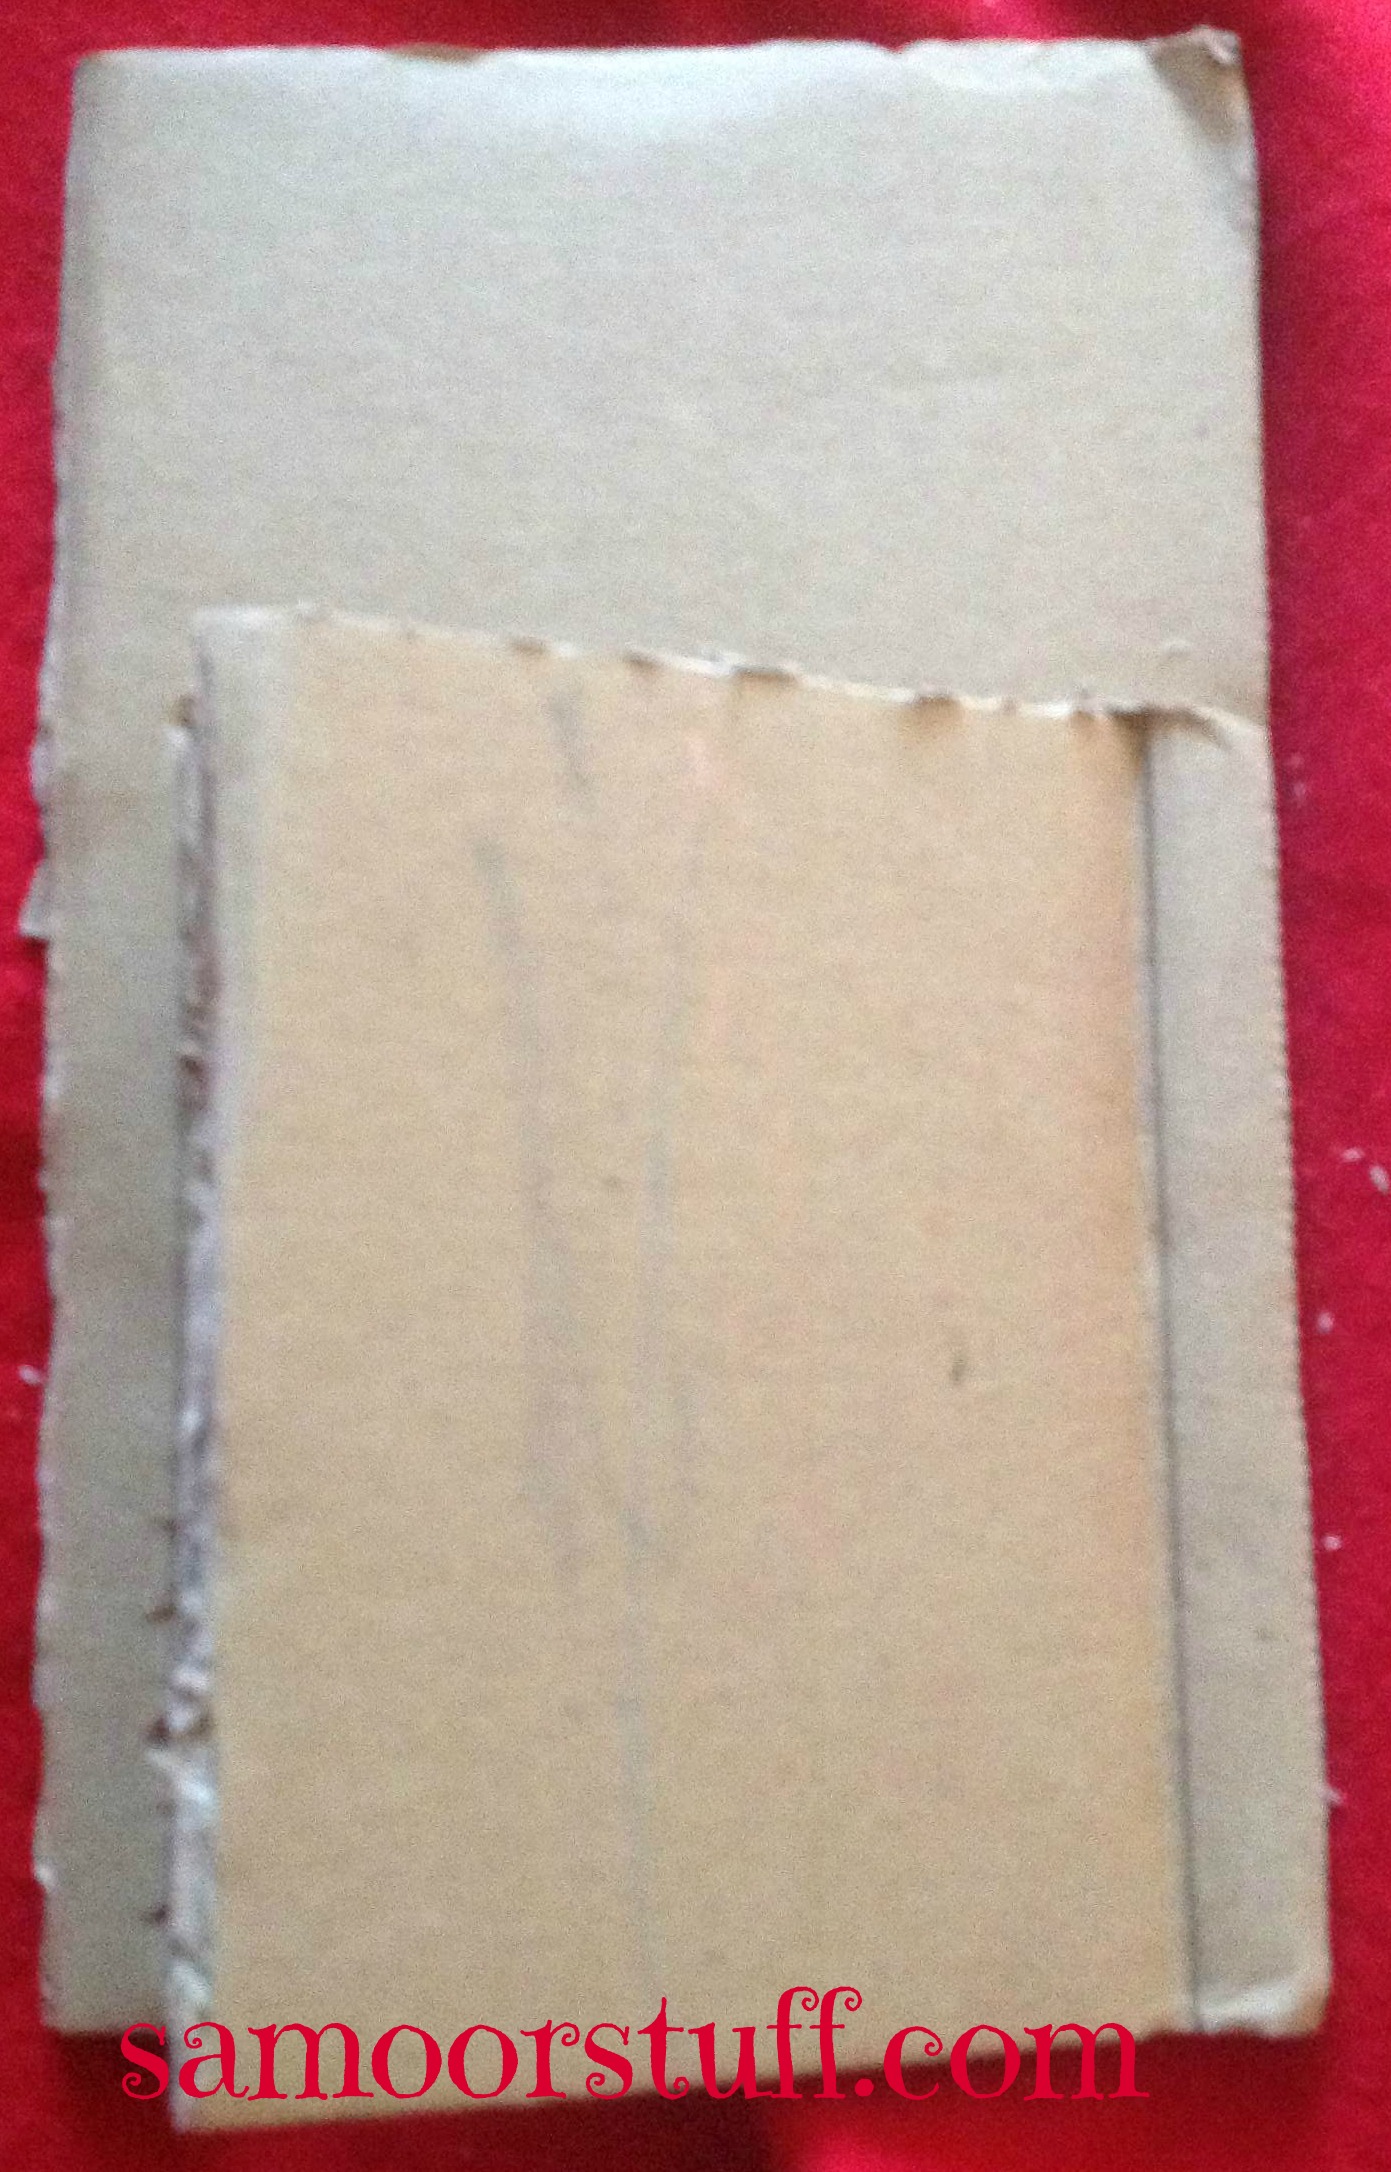
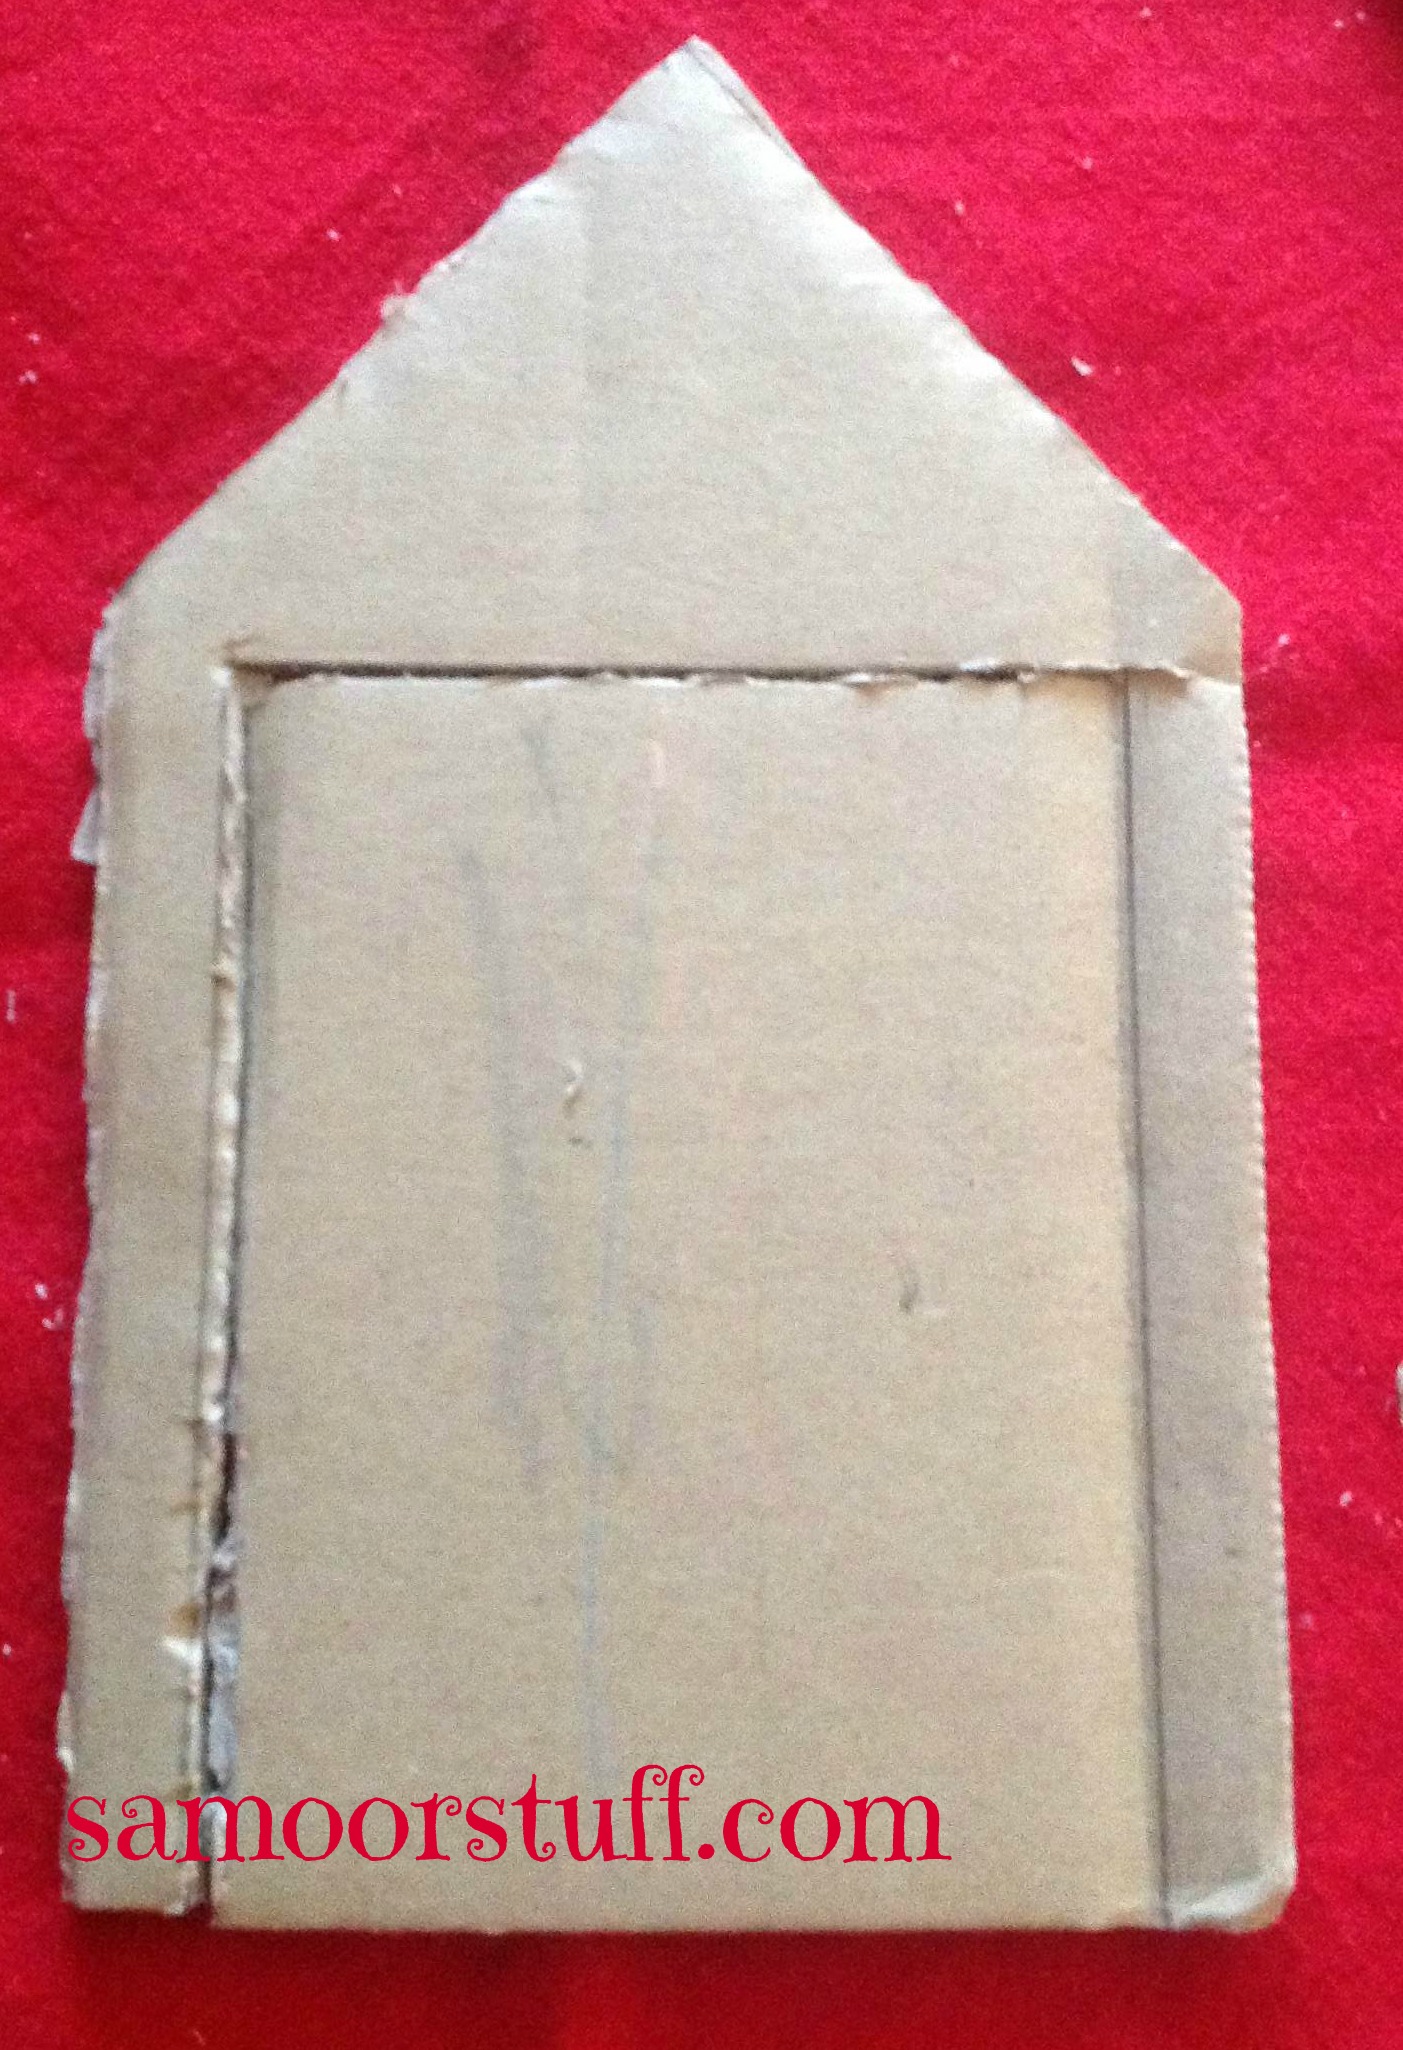
With your cutting tool, I suggest a razor blade, cut the left marking and top all the way through. Slightly shear the right marking to enable you to bend it easily.


Cut the top of the door as to resemble a rooftop.
B3


B4
B5

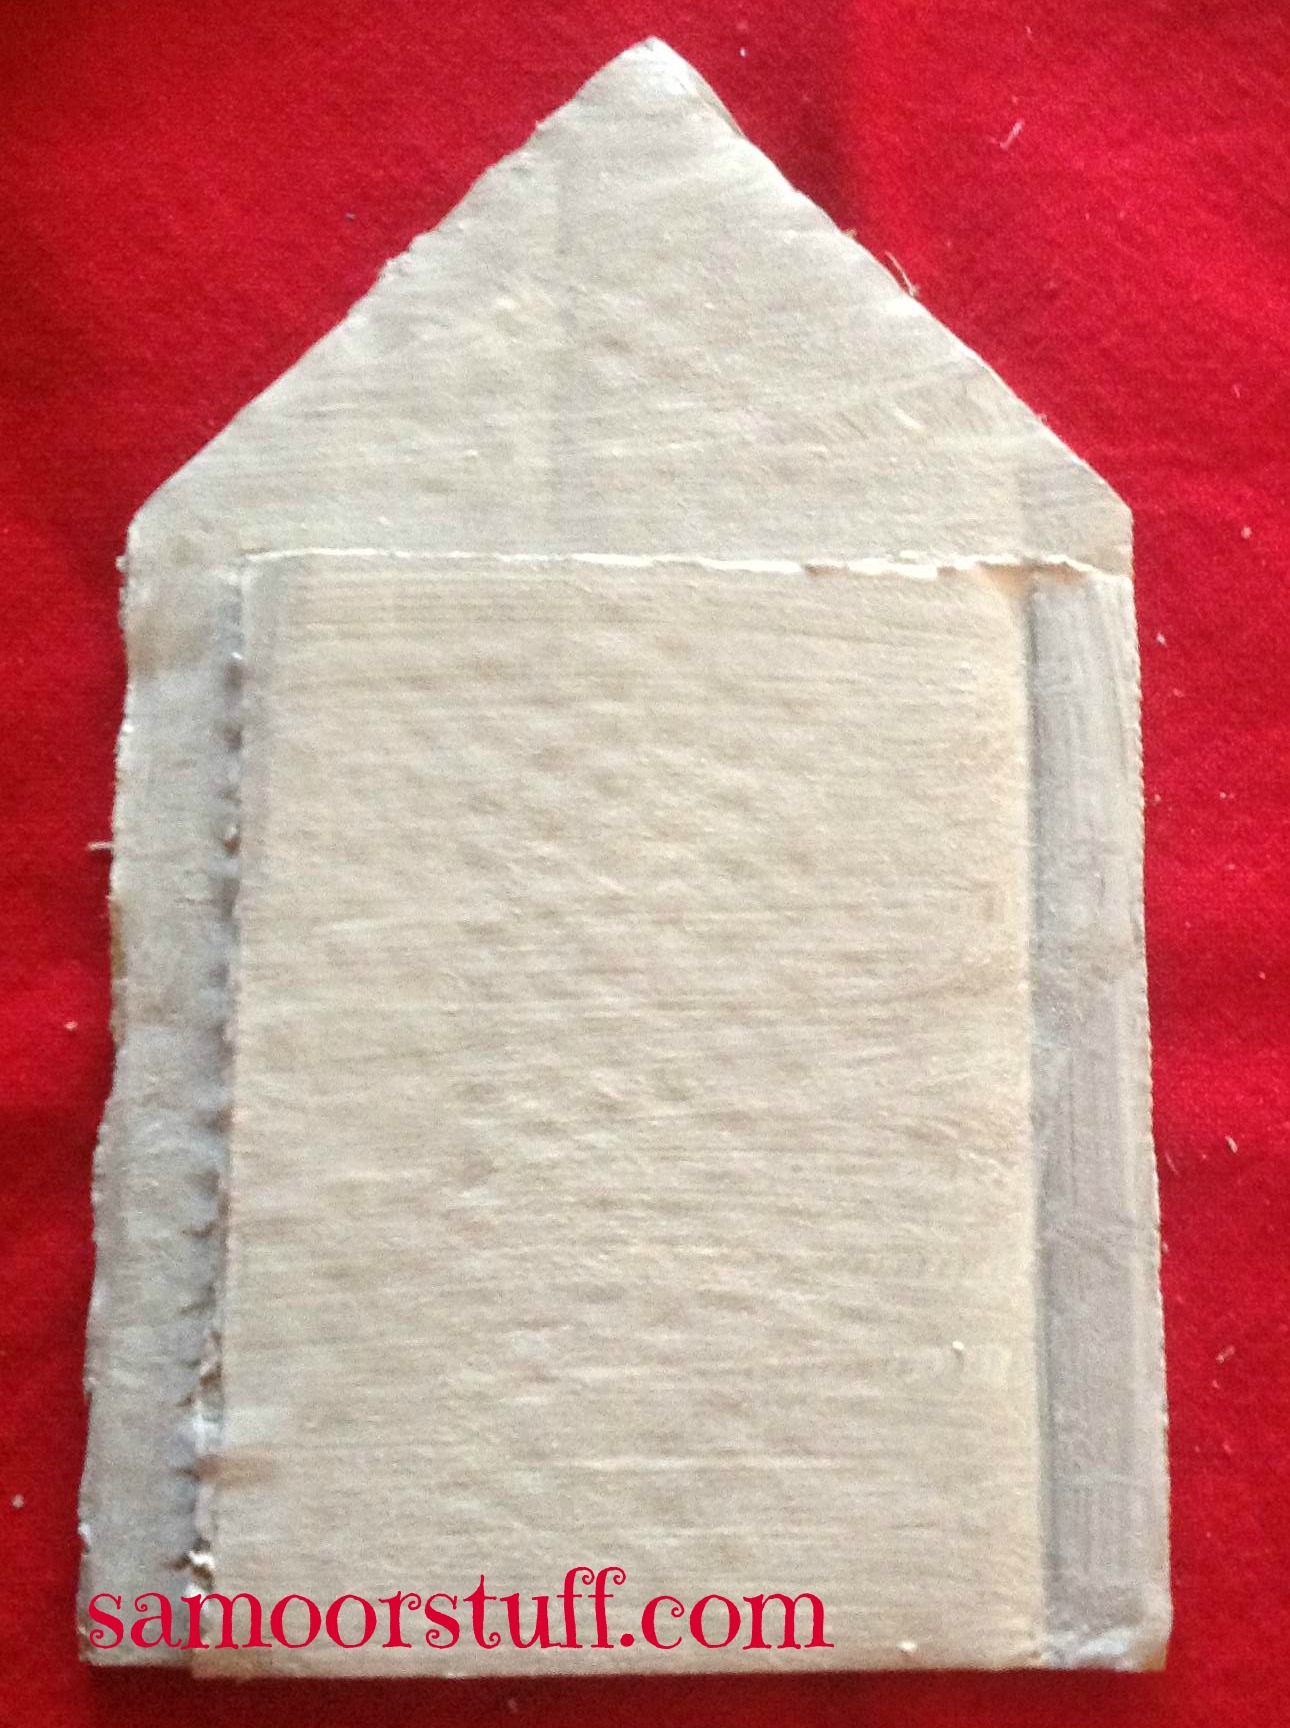
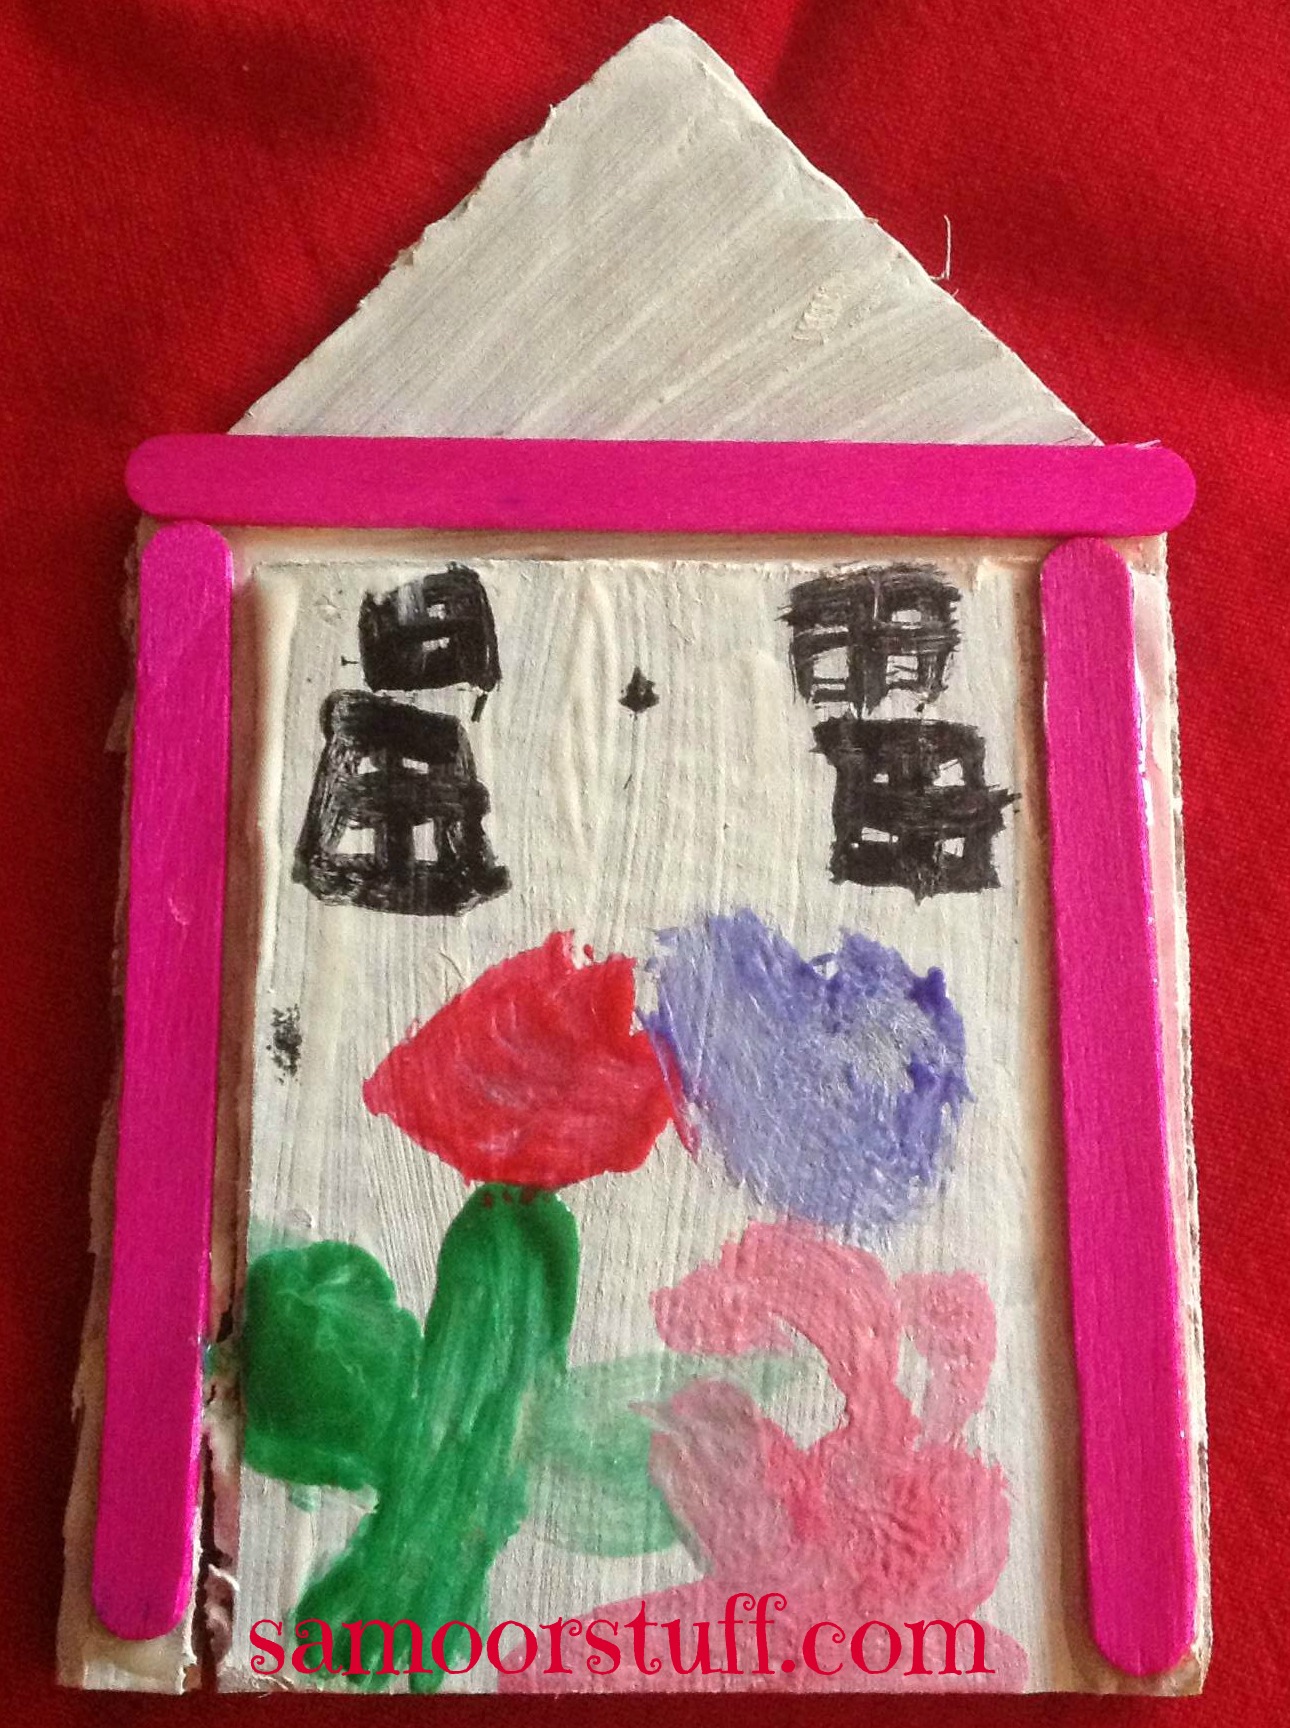
Paint the cardboard white or any color your child prefers.

Other ideas would be to either use white cardboard or cover it with tissue or construction paper…

We went with painting because it’s just more fun for the kids!


Off course the challenge is to keep them occupied with something else while the paint dries.

My suggestion is stick to the Tooth Fairy theme and either makeup or read a tooth fairy story or find cute facts online about Tooth Fairies.

Glue the popsicle sticks on the sides and top of the cut/ folded edged of the cardboard.

B6


B7

Now the real fun begins….

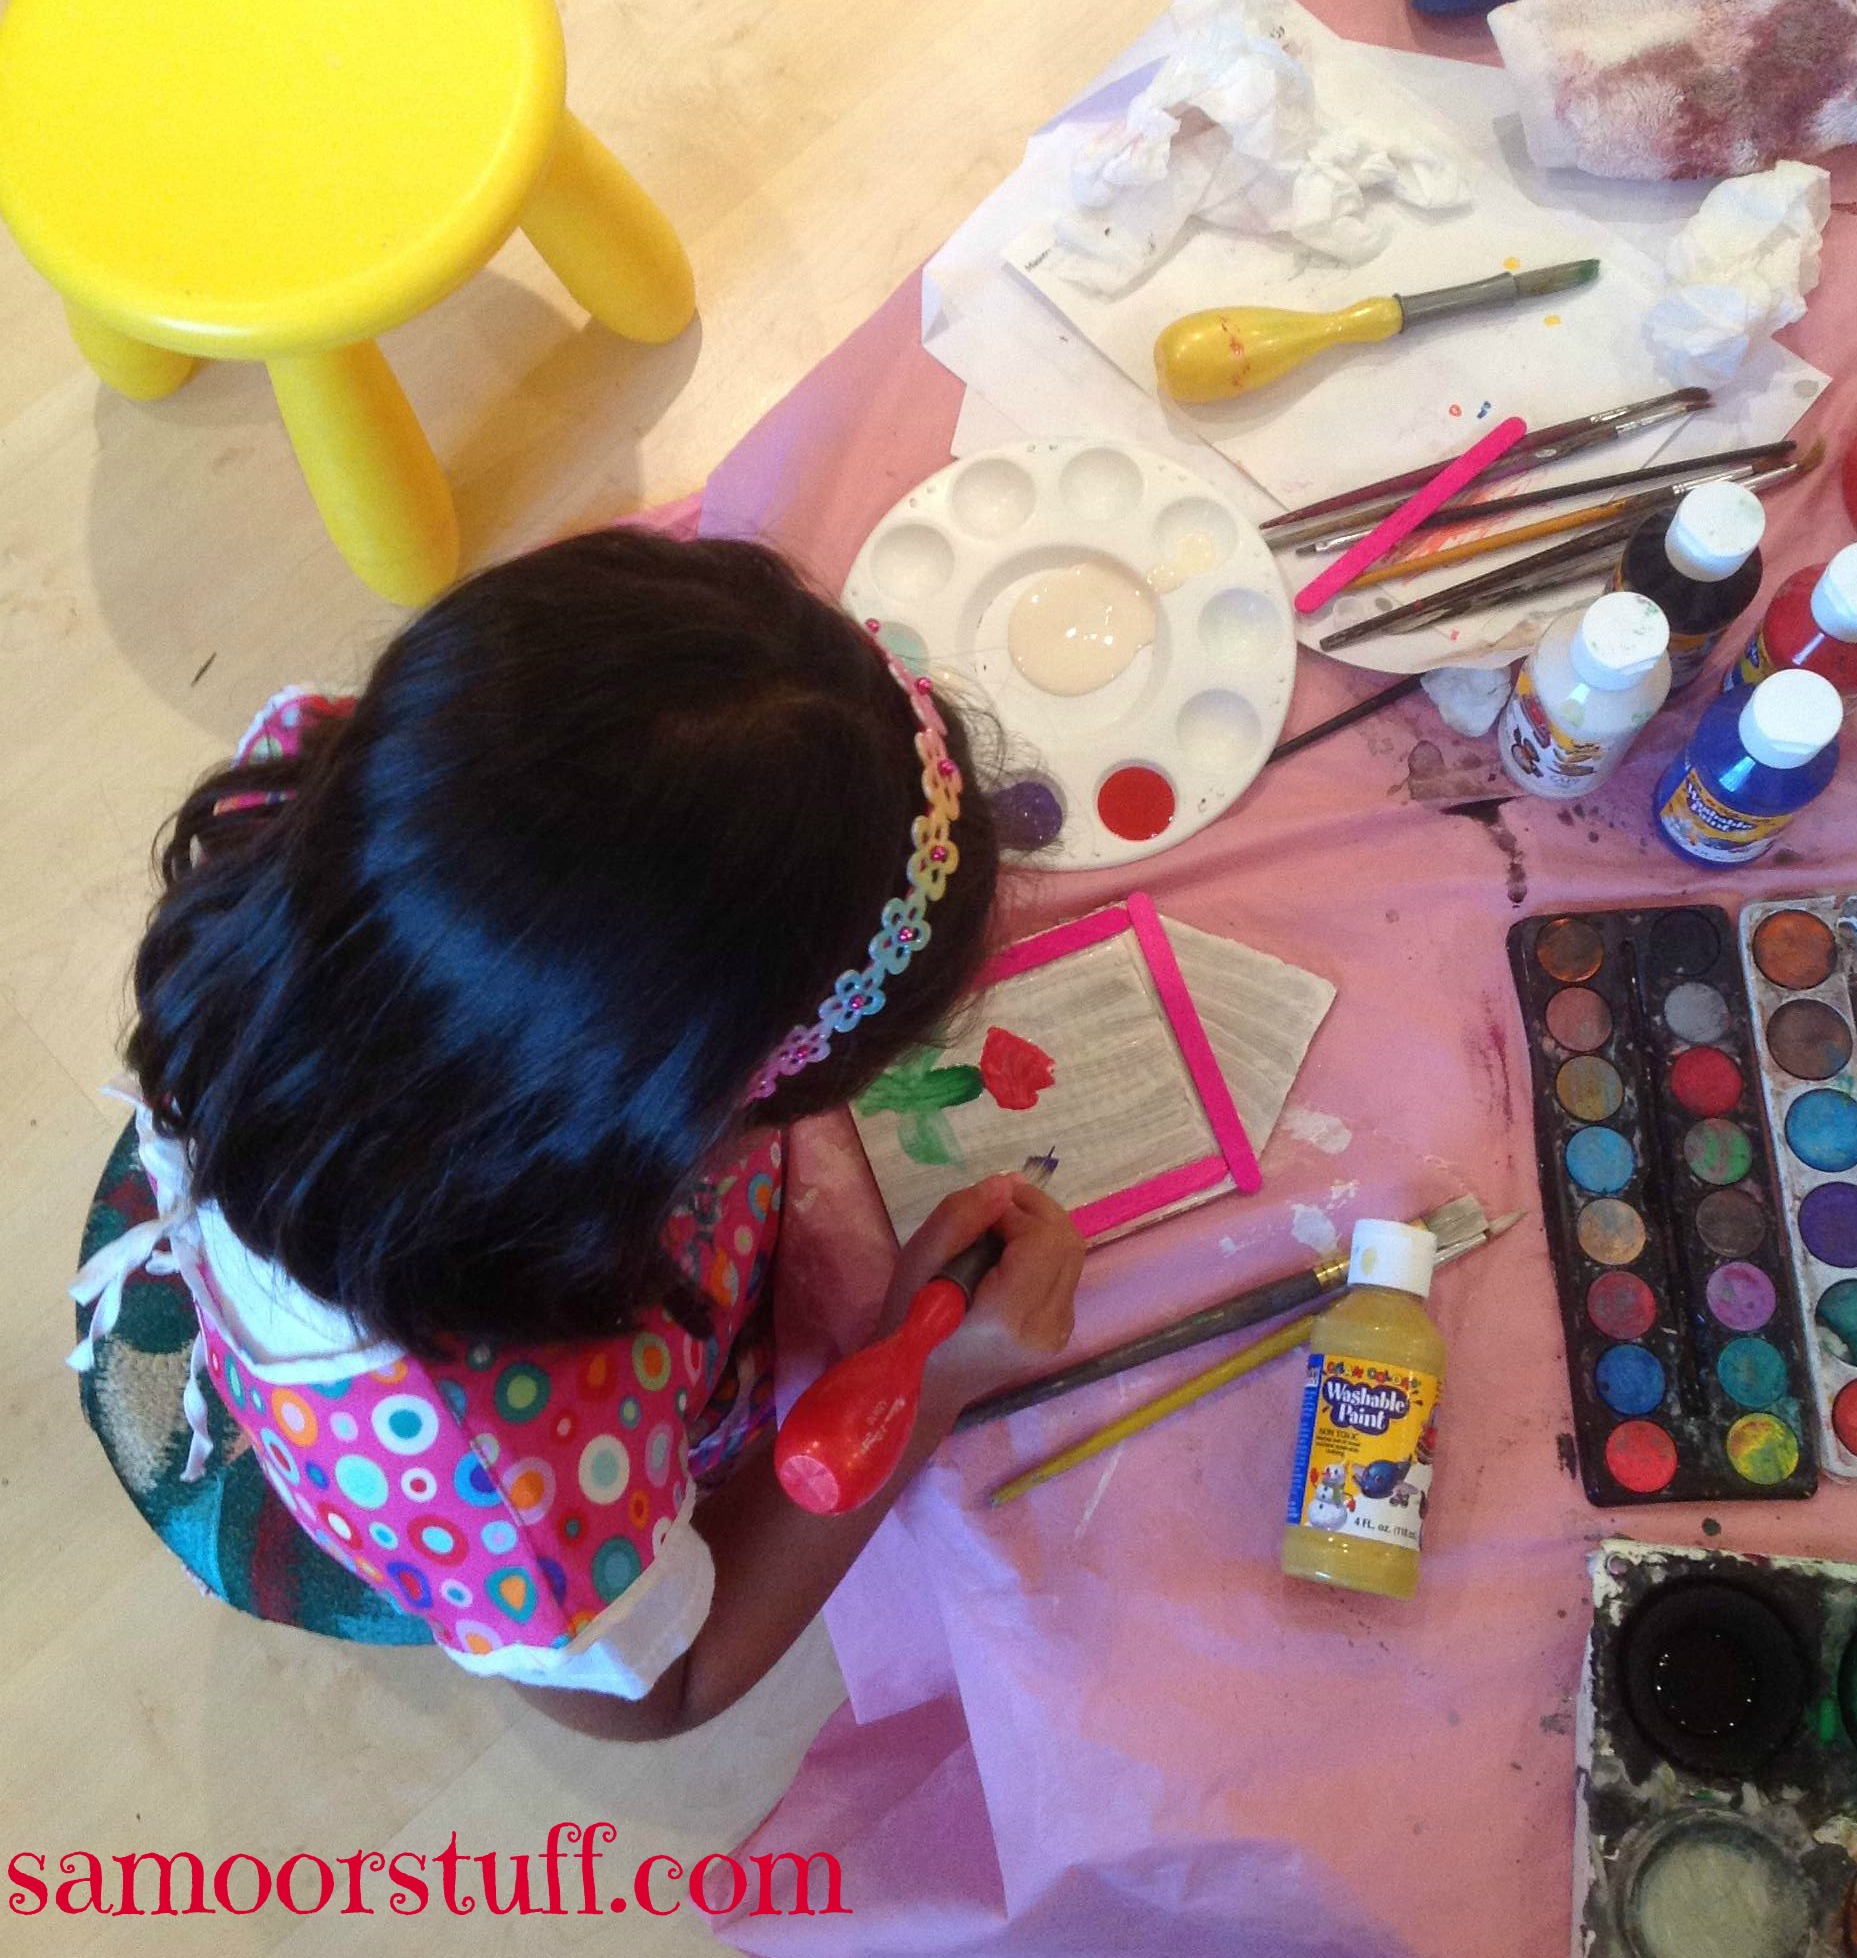
Let your child paint and design the door the way they like. In my world that’s really hard to ust let them do it “their” way.

If you have a younger child that’s continuously getting into the older child’s work keep them involved tooo….

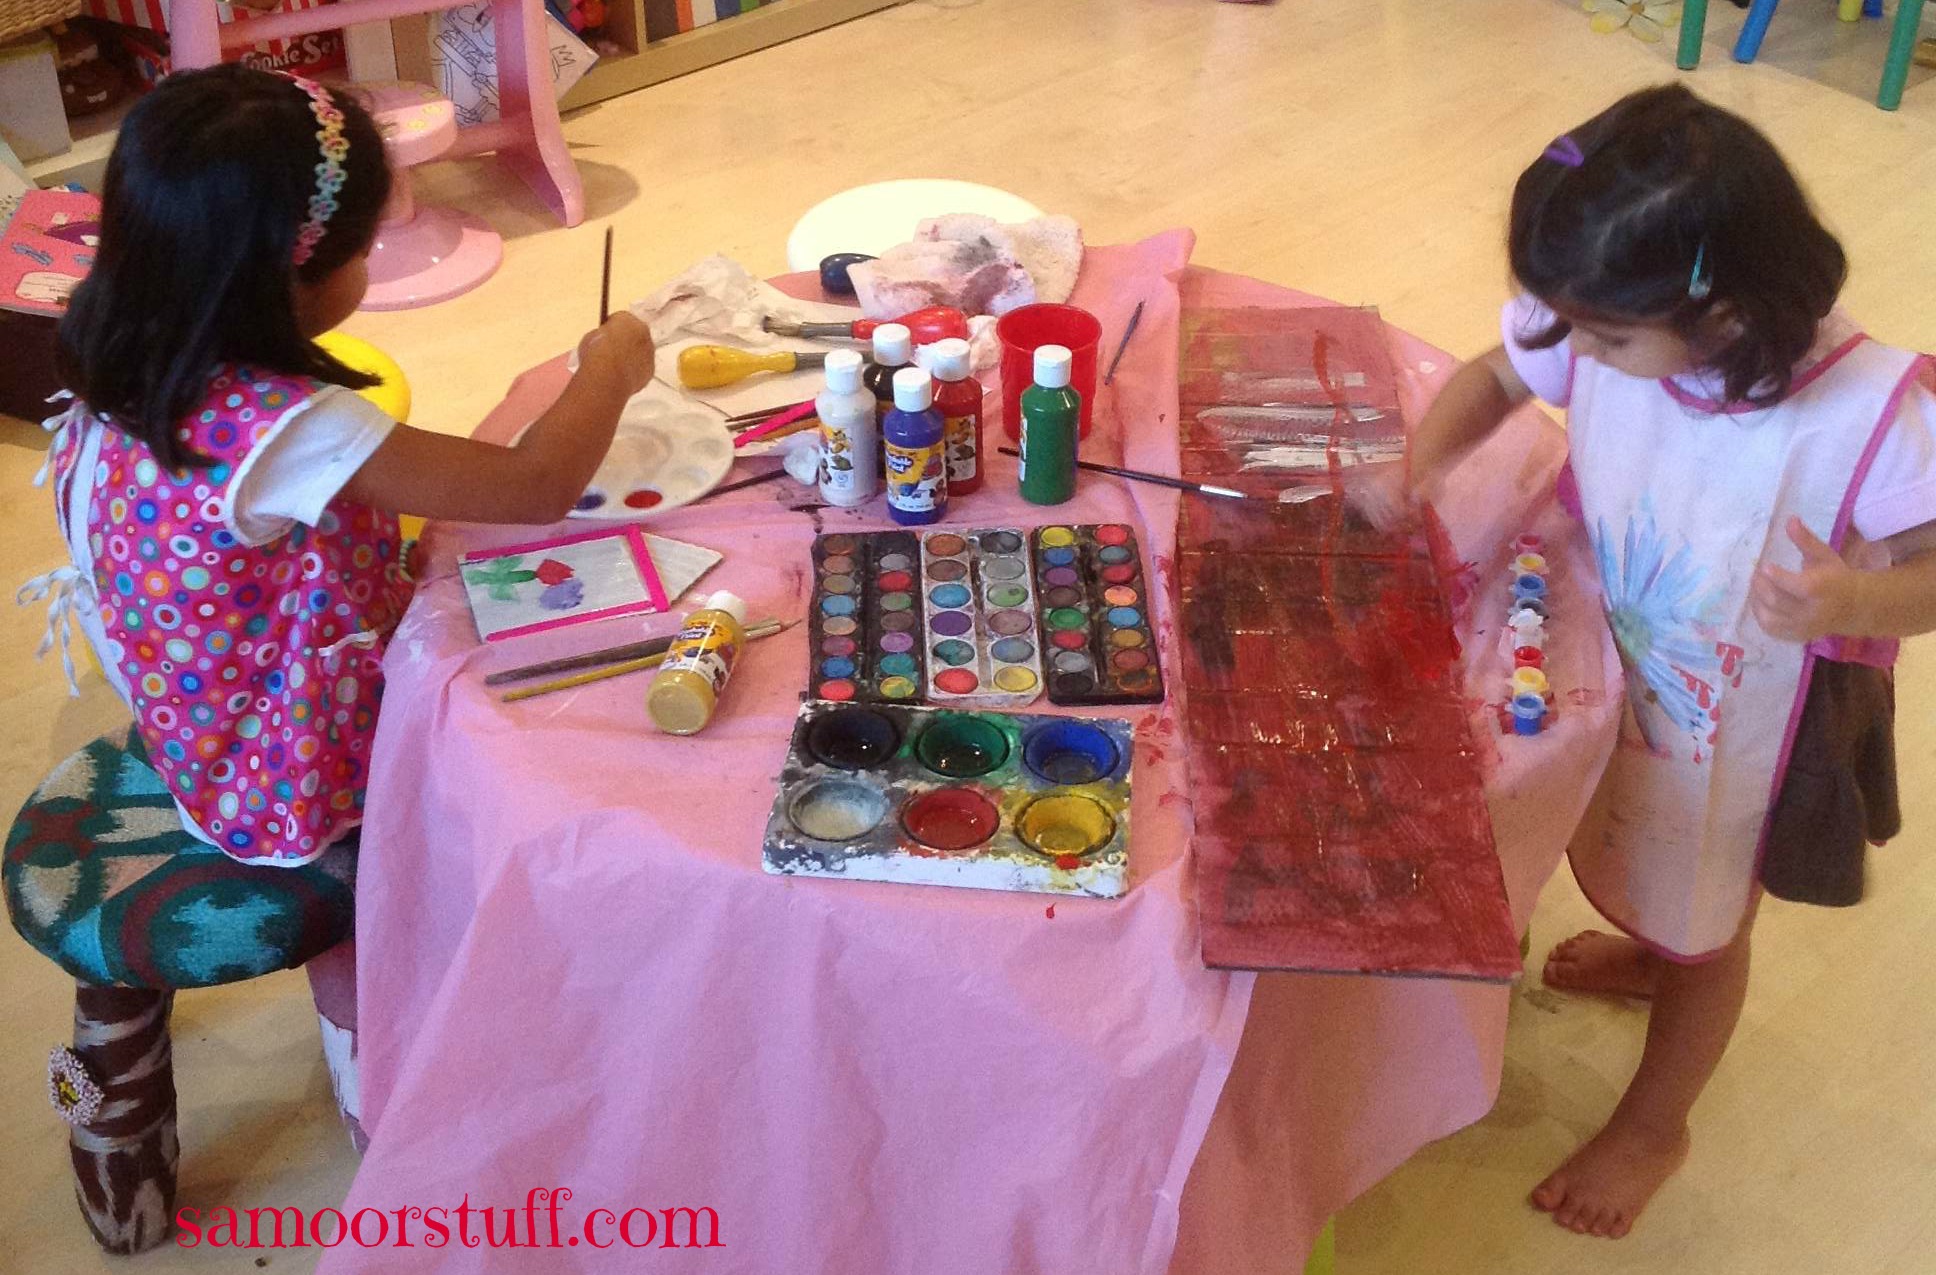
I gave Zeenah a big piece of cardboard to paint. That really kept her busy and away from her sister’s project.

B8

  
B9
After the paint has completely dried it’s time for the Fairy Décor!
  
D10

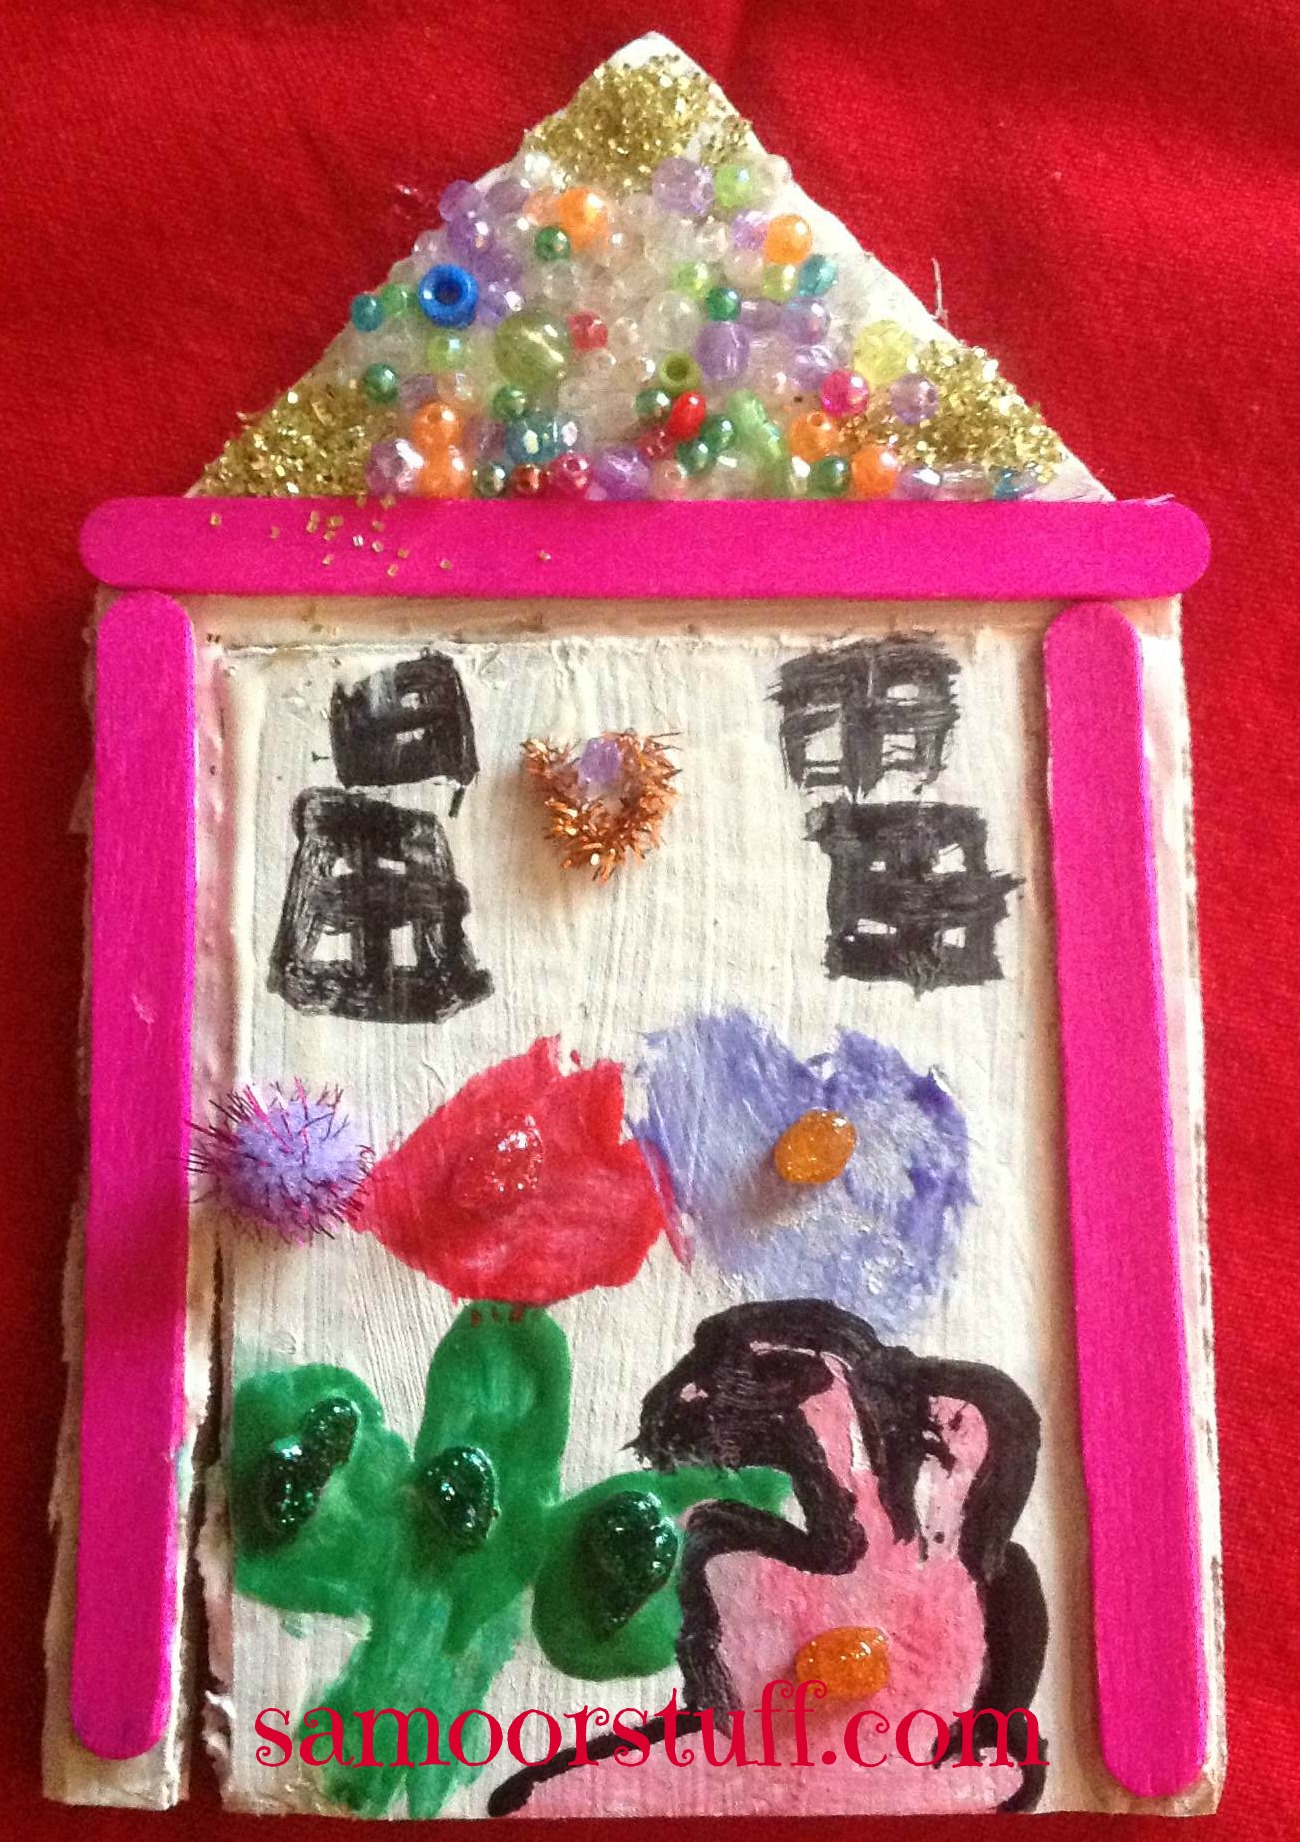
Jennah added the beads, glitter, pompom for the door knob and the pipe cleaner for the door knocker.
 
Now you have a gorgeous Tooth Fairy Door that can be placed anywhere the night of the lost tooth allowing her to enter and surprise your child with something in the morning.

Here’s Making Life Memorable one lost tooth at a time!

Paper Mache

Paper Mache

There is something fascinating about getting your hands dirty and being messy while doing some craft or arts project. I’m not talking about just for kids but also as an adult.

Maybe it’s the feeling like you’re a kid again and reliving your childhood but I never realized how thrilling it was until I actually got my hands dirty.

Part of planning my girls’ birthdays is making the piñata. An easy yet long process because of drying time, especially if you want to make it into a specific shape.

The key to making a good piñata isn’t just the design but also having a really good Paper Mache recipe.

I would love to use professional Modge podge but unfortunately it’s not sold in bulk and isn’t cost effective for big destroyable projects.

Many recipes use Elmer’s or white glue as an adhesive which also falls into the same category as my former statement.

I’m all for saving a Fils (or more) in everything I do and I would rather save the money for something that’s more lasting than a piñata that’s going to be beaten to death and thrown into the recycle bin.

Hence I present to you a fabulous Paper Mache recipe that’s easy to make and fantastic to handle.
Paper Mache


Mix the following ingredients:
2 Cups Flour
4 Cups Water
2 Tablespoons Salt (optional, prevents rotting)


All you need now are newspaper strips, dip each strip into the Paper Mache paste and get dirty!!!
paper


Have fun Making Life Memorable extra messy!!

See hoe you can use this recipe in my LadyBug Piñata Post!